Marshmallow flowers make fun edible crafts for kids or for Spring recipe ideas (add them to your Spring cupcakes or marshmallow flower cookies!). They’re also great for hot chocolate marshmallows or fun desserts all year!
Simple Marshmallow Flowers
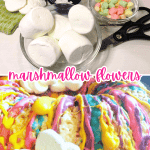
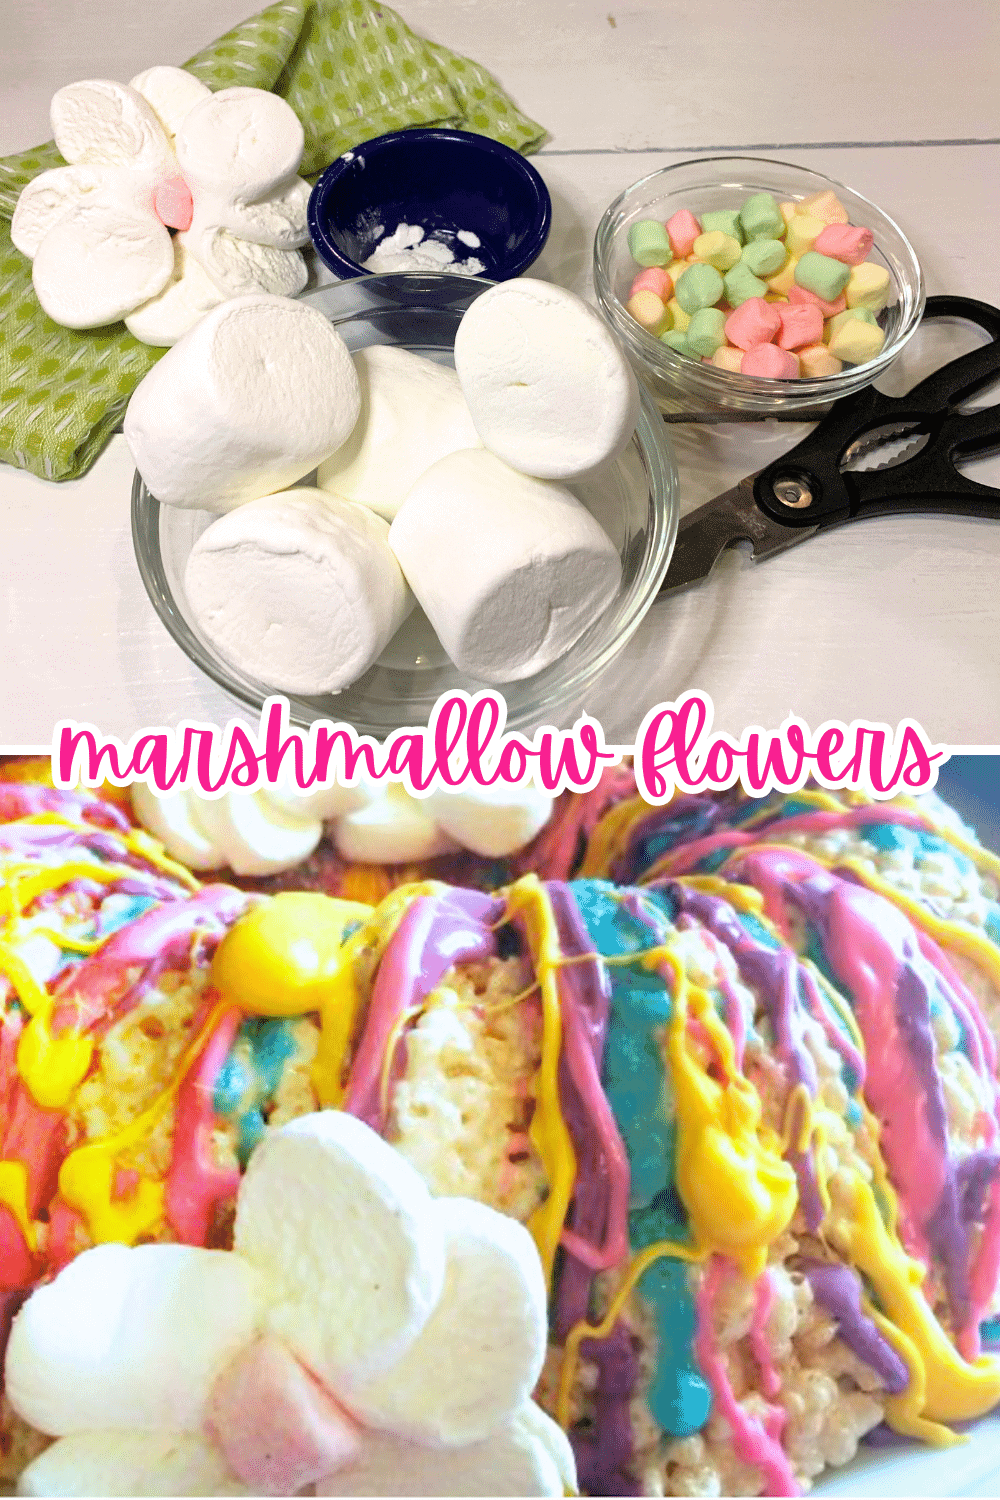
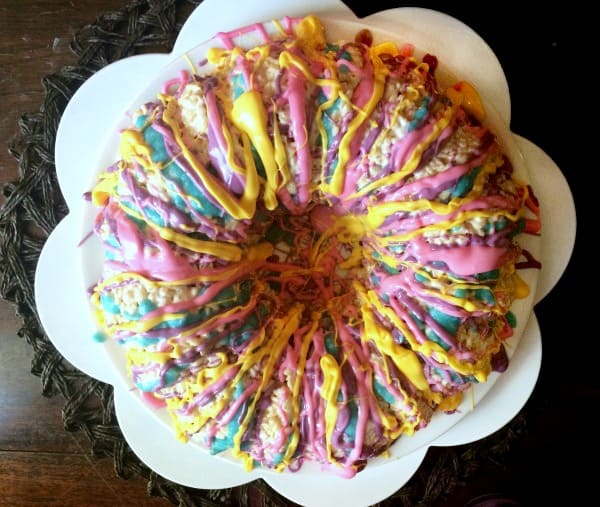
If you’re looking for fun marshmallow flowers recipes or flower themed crafts for kids activities, this is it! We used our flowers made of marshmallows on a rice crispy marshmallow flowers cake for an Easter dessert, but these are fun to make with kids as a snack, for flower activities themes / spring flowers crafts, or to use for other dessert decorations any time of year.
How to make a flower out of marshmallows?
To Make Flower Marshmallows, You’ll Need:
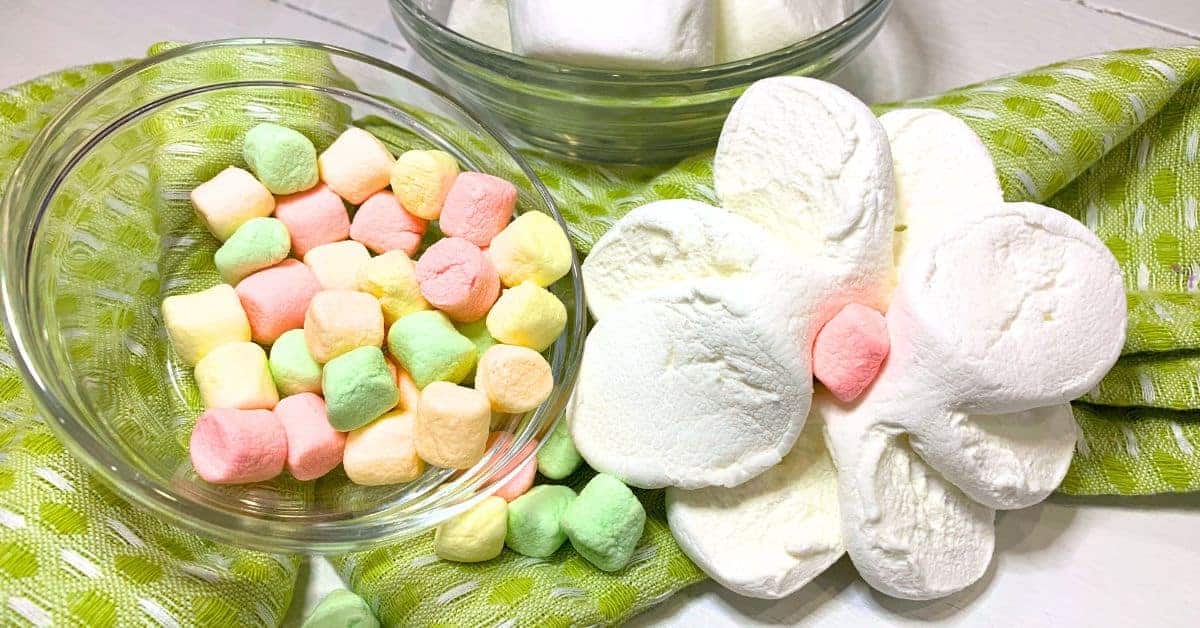
- Large white marshmallows (2 for each flower)
- Small colored marshmallows (1 for each flower center)
- Powdered sugar
- White icing (optional)
- Kitchen shears
Don’t forget to also watch the how to make marshmallow flowers video!
How To Make Marshmallow Flowers Step-By-Step With Pictures and How To Video
Tips and Steps For Making Marshmallow Flowers
You can use any color marshmallows that fit your theme or dessert. We made white flowers with colored centers, but you can change your marshmallow flowers up to any colors you want!
PRO TIP: When working with the cut marshmallows, very lightly powder your fingers with powdered sugar. Otherwise, the marshmallows will stick to your fingers once they’re cut. HOWEVER, you do not want to use too much powdered sugar because the sticky part of the marshmallow is what makes the flower stay together!
Step 1: Cut Flower Side #1
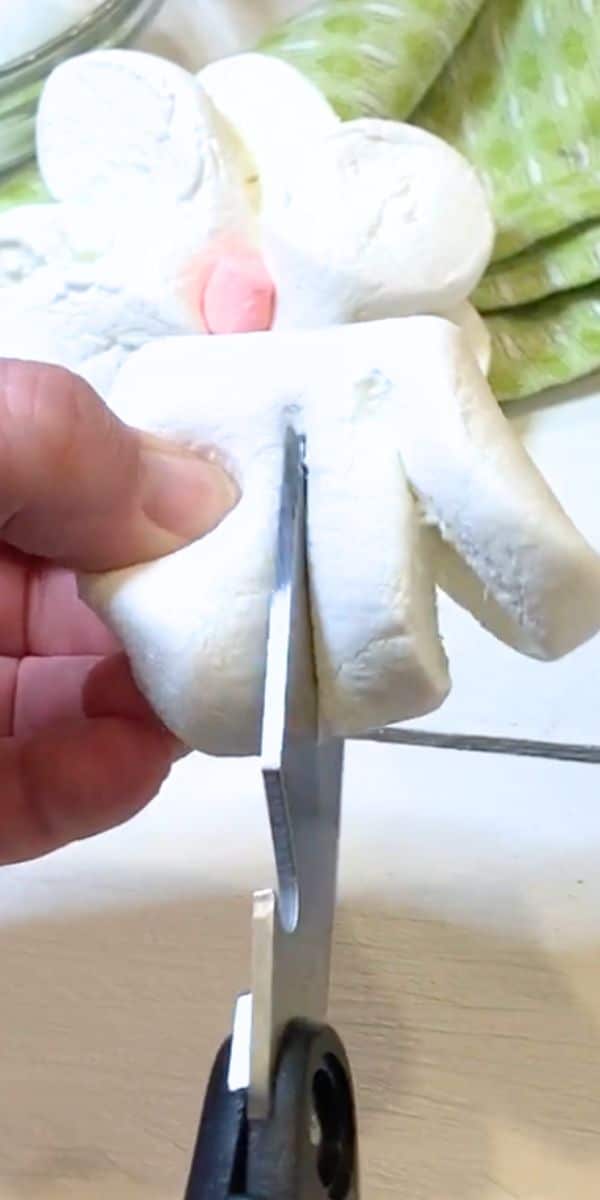
On the side of one large marshmallow, make three cuts.
Be careful not to cut all the way to the other side of the marshmallow! You want one side to stay attached.
You will have three cuts, but four marshmallow sections (the flower “petals”).
Step 2: Create Marshmallow Flower Petals For Side #1
Very lightly flower your fingertips with powder sugar (confectioner’s sugar).
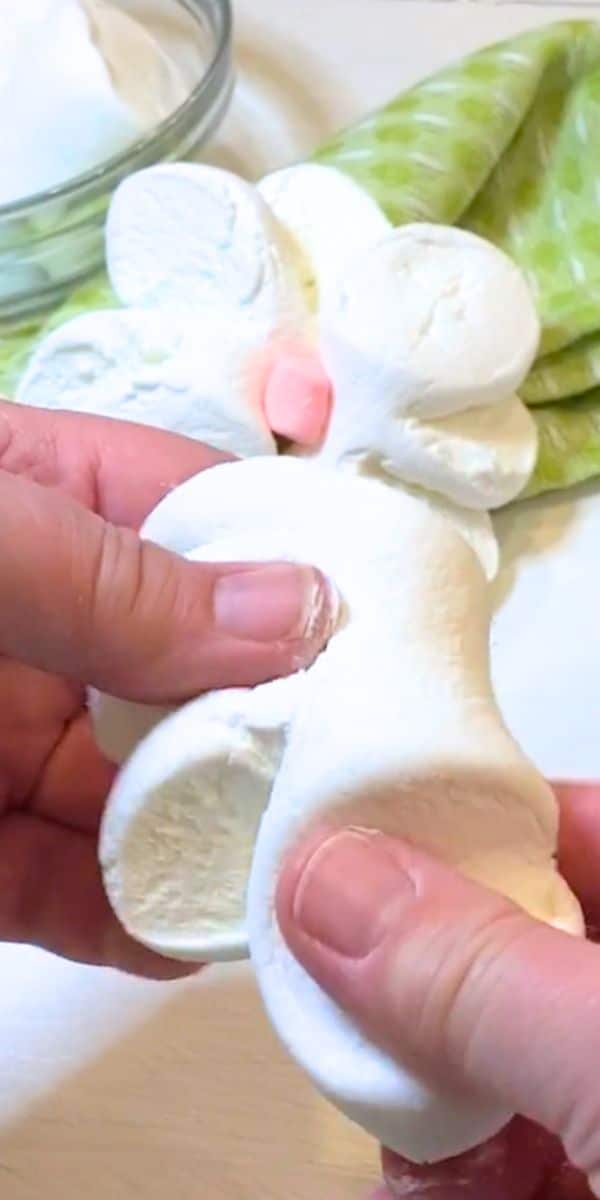
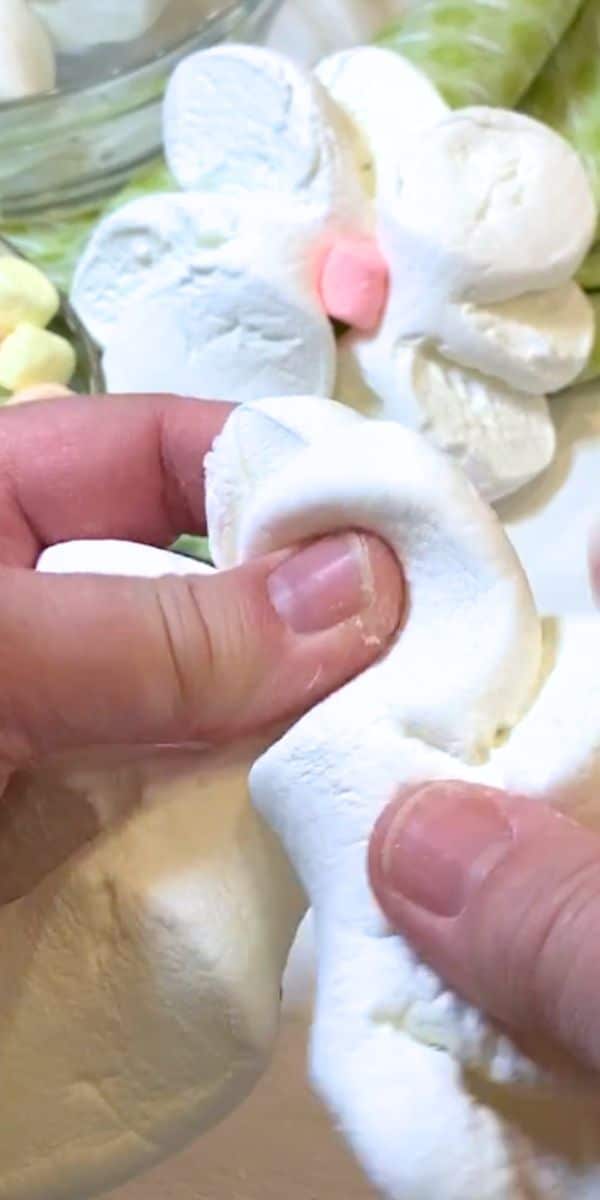
Spread the cut pieces of the marshmallow into flower petals, stacking one petal piece on another and pushing down lightly to stick the edges together.
Set aside.
TIP: The edges should naturally stick together because the inside of the marshmallow is sticky. However, if you get too much powdered sugar on the marshmallow (from your fingers) the pieces will no longer stick easily. You can use a small dot of icing to help your petals stick together, if needed.
Step 3: Repeat To Create Marshmallow Flower Petals For Side #2
Repeat Step 1 and Step 2 to create the second side of the flower marshmallow.
Step 4: Form The Flower
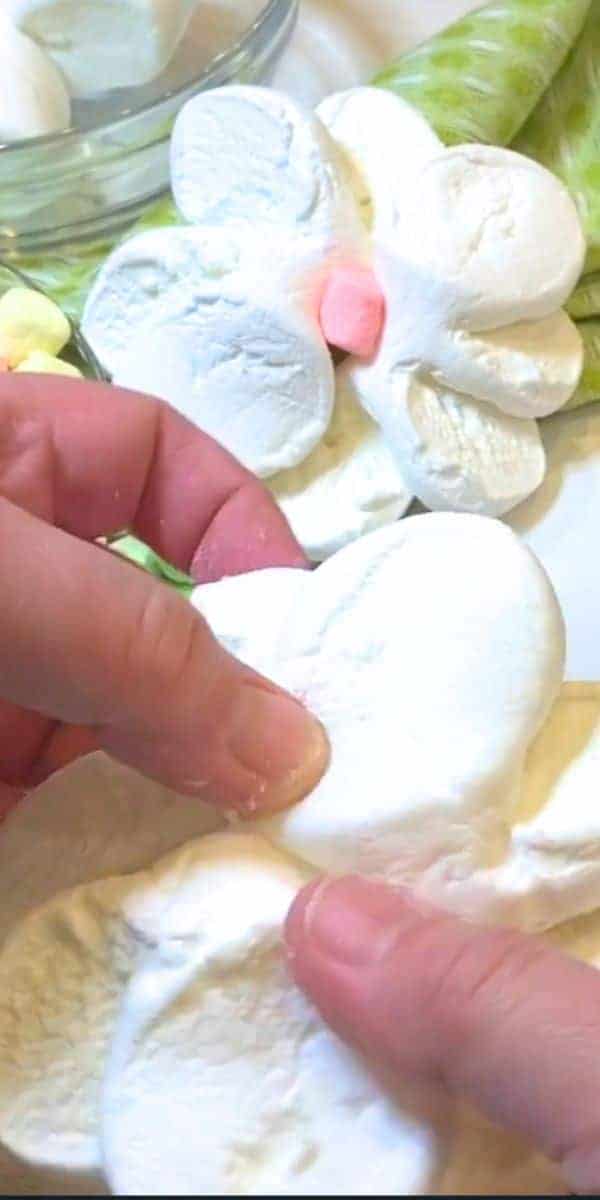
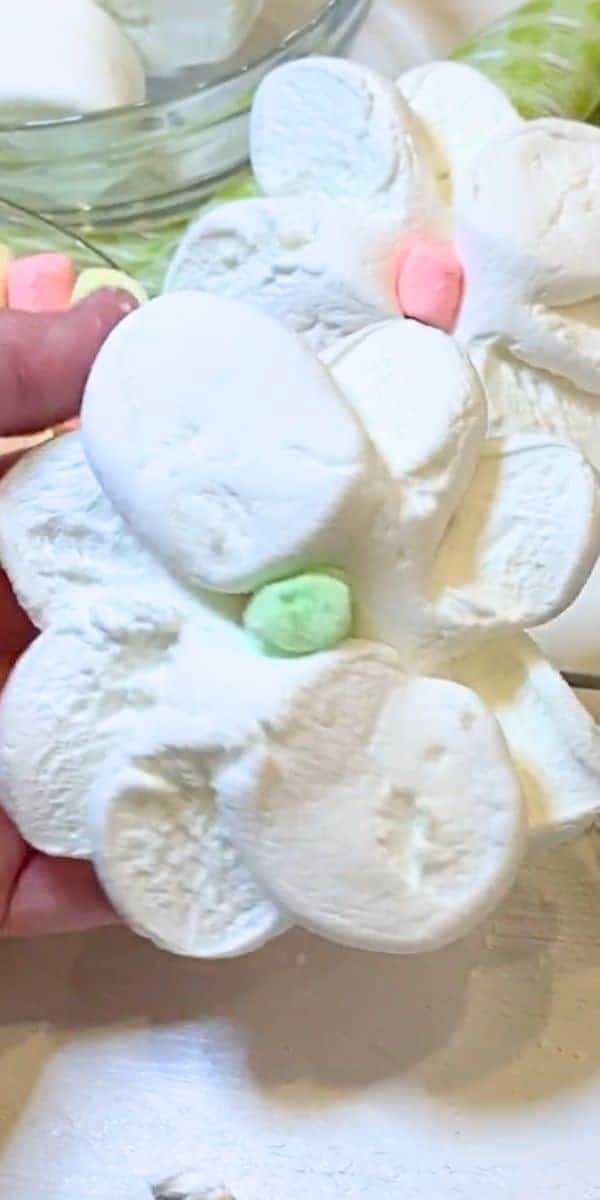
Put flower side 1 on top of flower side 2 to form a flower shape. You will have to play around with it to get the sticky edges together.
Don’t forget: you can use a bit of white icing if you’re having trouble sticking them together.
Step 5: Make The Center Of The Flower
The last step is to add the center of the flower.
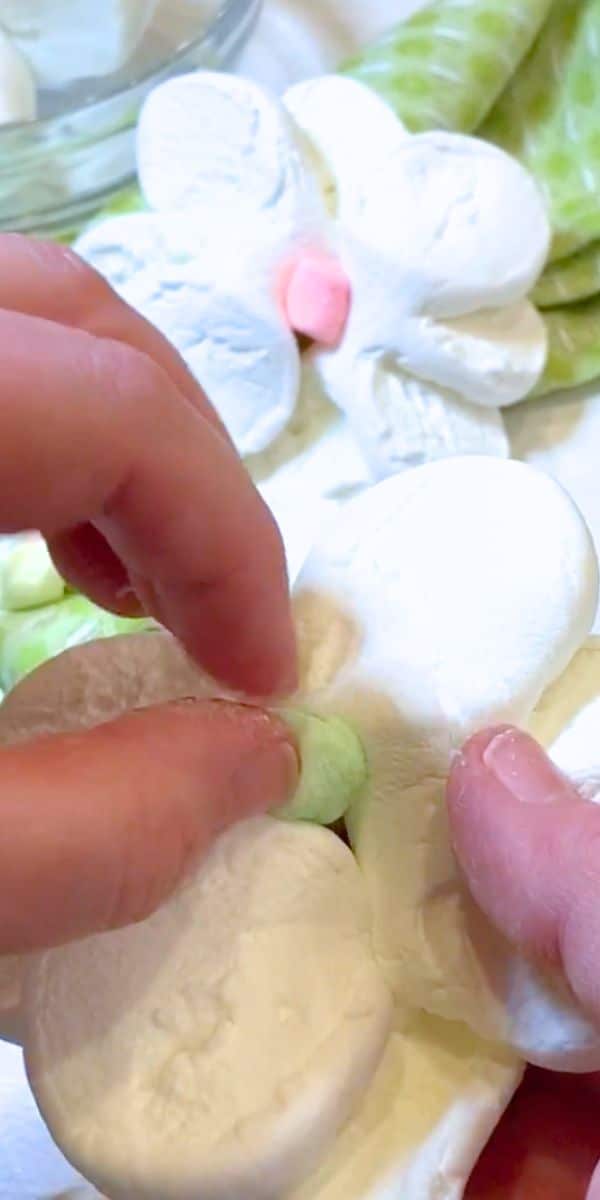
Take a small colored marshmallow and place it into the center of your formed flower. (There will naturally be small hole or area where you formed the two together.)
Push down lightly to stick the marshmallow center in place. If it doesn’t want to stick in place, use a little white icing to get it to stick.
Use your flower marshmallows on cupcakes, cakes, cookies, or in drinks like hot cocoa. You also put these on a stick (like a skewer or lollipop stick) for a fun Mother’s Day gift (these are great Mother’s Day crafts for kids!) or a flower marshmallow sucker!
RECIPE TIP: When making these marshmallow flowers, it took us a couple of tries before getting the hang of cutting and sticking the marshmallows together to form a flower. Allow for some practice marshmallows when you get the supplies!
GREAT WITH THIS RECIPE: Learn How To Make A Spring Cake From Rice Krispies!
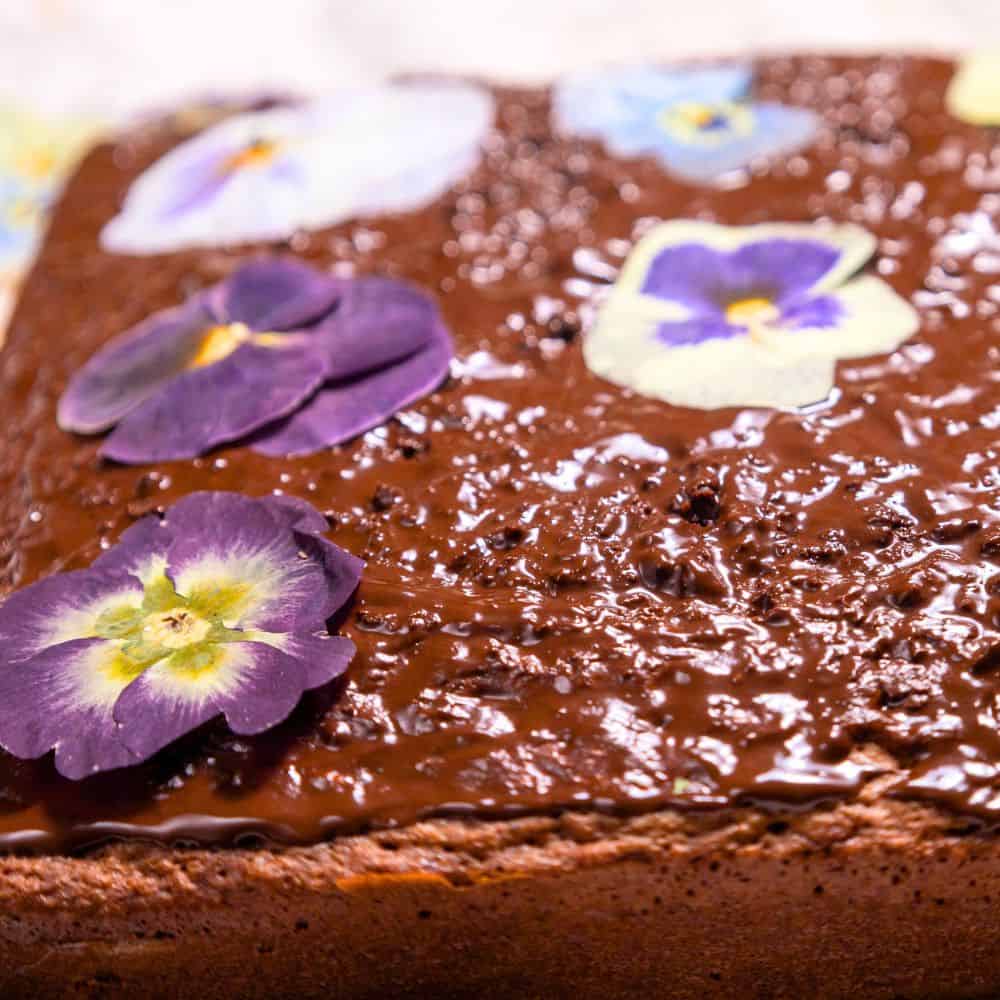
ALSO TRY MORE FLOWER RECIPES: Easy Brownies With Real Edible Flowers
I hope you have as much fun making these DIY marshmallow flowers as we did!

well, all you’re doing is telling how to cut it you didn’t tell us how long to bake it and what temperature
“Gor” – are you ok? It seems like you’re having some issues today, especially based on the rude and vile fake email address you left (that I edited out so it’s not shown on this family site).
The information for this post and provided for free was never marketed as how to make marshmallows. It’s only ever been about creating a flower out of marshmallows. It’s a pretty fun and relaxing. Try it. Maybe it will help.
Please note: our s’mores recipe also does not indicate how to make homemade marshmallows nor does the rice krispies recipe include how to make homemade marshmallows. I just didn’t want you to be disappointed again.