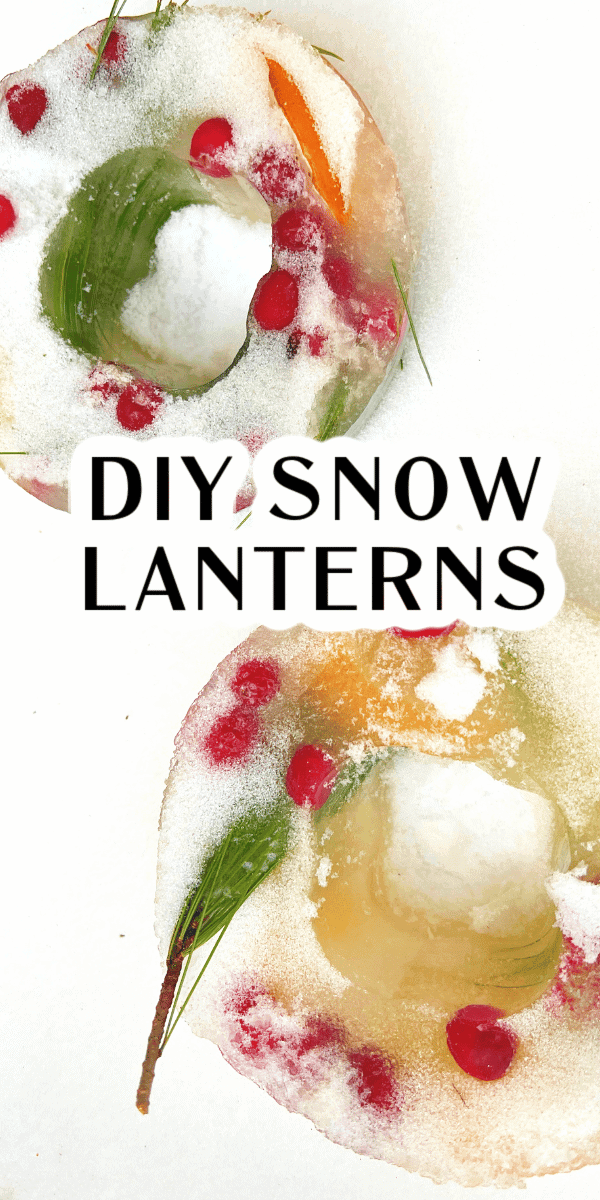
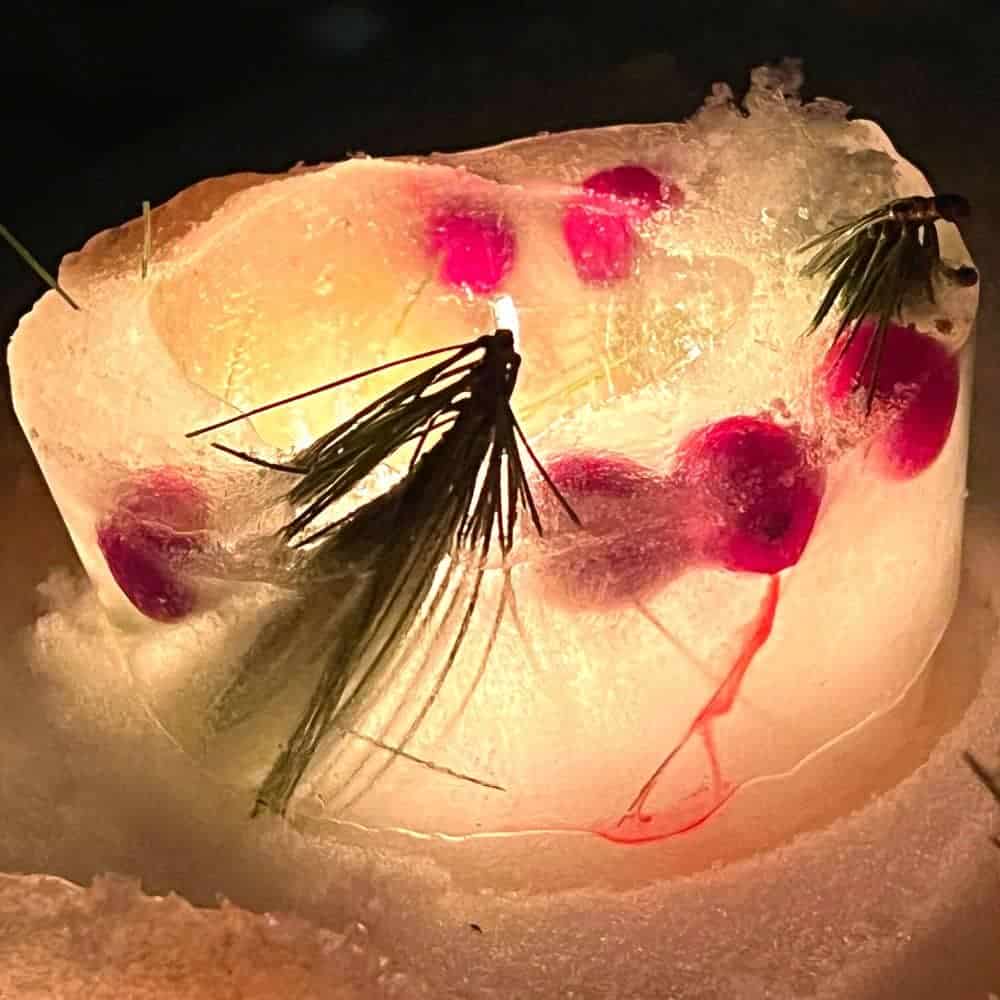
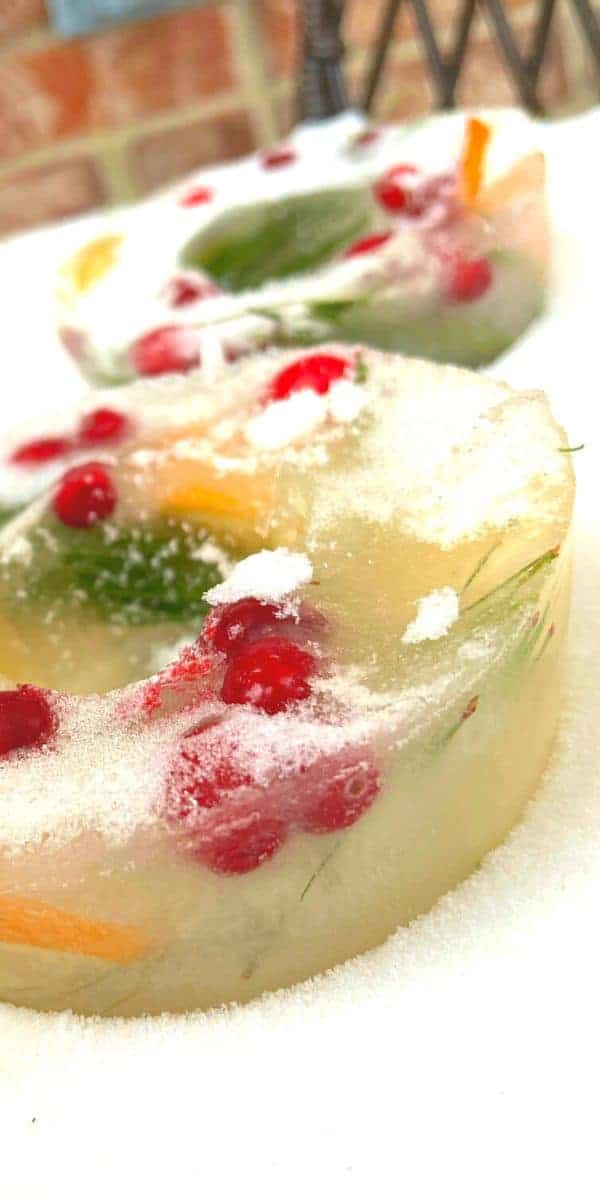
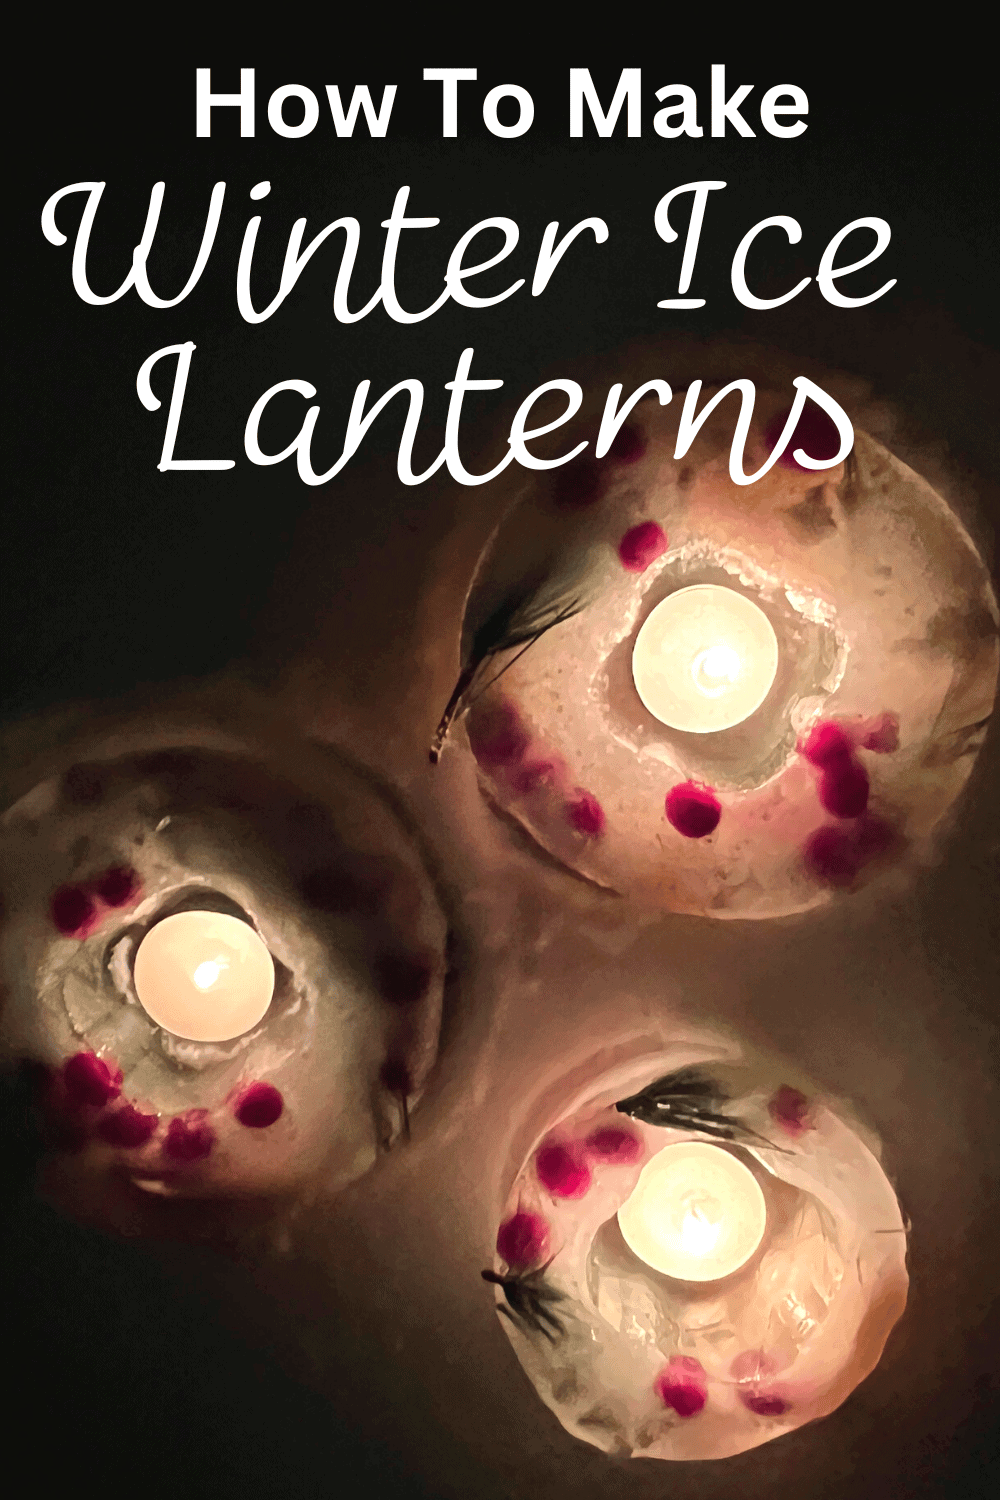
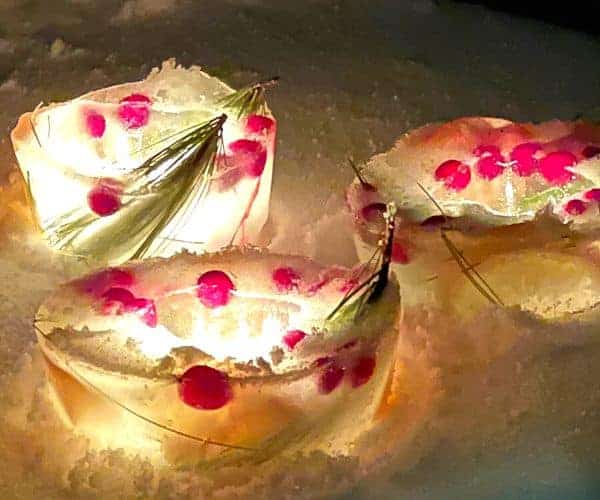
These ice lantern ideas (aka: ice luminaries, ice candles, or Scandinavian ice lantern) are fun snow day activities or even for a fun winter birthday, outdoor winter bonfire party, New Year’s Eve party, or winter solstice decorations! (See our own homemade ice lanterns images!)
Easy Ice Lantern Ideas For Kids
These beautiful ice lanterns — sometimes called Christmas ice lanterns because people use them for holiday decorations — are definitely one of our favorite winter kids activities or things to do when it snows for kids or outdoor activities for cold weather. This would be fun to go with a fire and ice STEM lesson / for winter STEM activities or even a lanterns from around the world lesson, too!
How to make an ice lantern?
How do you make luminaries out of ice:
- Orange slices
- Lemon slices
- Cranberries
- Pine branches
- Rosemary (optional)
- Round containers (like a bowl)
- Small plastic cups
- Duct tape or packing tape
- Candles (like small tea light candles)
- Water
See the full directions for how to make ice lanterns below. KEEP SCROLLING for printable ice lanterns DIY directions.
If you’ve never heard of lanterns of ice, you may be wondering what is an ice lantern candle holder?
What are ice lanterns?
Lanterns from ice are DIY luminaries made from freezing decorative items (like cranberries, pine branches, orange slices, etc.) into ice and then sitting a candle in it. The candle illuminates the ice and makes a beautiful DIY lantern perfect for outdoor winter decorations or winter solstice or holiday table decor set in a tray of ice.
What do you put in ice lanterns?
The fun part about these easy ice lanterns is that you can put anything in them! It’s fun to go on a winter nature hike and collect things for your ice luminary before doing this winter craft.
What to put inside a lantern:
- Cranberries
- Fresh orange slices
- Fresh lemon slices
- Flower petals (for beautiful botanical ice lanterns!)
- Pine branches / pine needles
- Small branches / twigs
- Evergreen sprigs
- Rosemary sprigs
- Berries / winterberries
- Small pinecones / bits of pine
- Leaves
You can put any natural materials you want inside your lantern of ice! Just be sure to put the decorations in before freezing the lantern!
We really like using fresh pine and fresh citrus because once the ice started to heat up it made the candle lanterns really fragrant! If you can, make them as citrus and pine ice lanterns!
Do ice lanterns melt?
Ice lanterns will melt based on factors like how long you burn a candle in them, how thick the walls are of your ice lantern (we made a thin wall ice lantern which started to melt quickly), and the temperature outside. To prolong your ice lanterns, you can use battery tea light candles, but they won’t provide that beautiful ice lantern glow that real candles do.
The great thing about using natural materials in your ice lantern craft is that once they melt the birds and animals can have the berries and citrus left outside!
How long do ice lanterns last?
Depending on the size and thickness of your ice lantern luminary, it can last anywhere between an hour up to 8 hours for the larger bucket ice lanterns! We made one smaller lantern from ice with thinner walls, and it started melted immediately and probably would’ve lasted about 30 minutes burning a hot candle in it.
How long do ice candles take to freeze?
Ice candle lanterns will freeze overnight in outside temperatures 32 degrees F or below (0 degrees C). Depending on the temperature and size and thickness of your ice lanterns, you may find that they freeze faster (within in a few hours in cold weather) or may take around 24 hours to fully freeze and set.
How do you unmold ice lanterns?
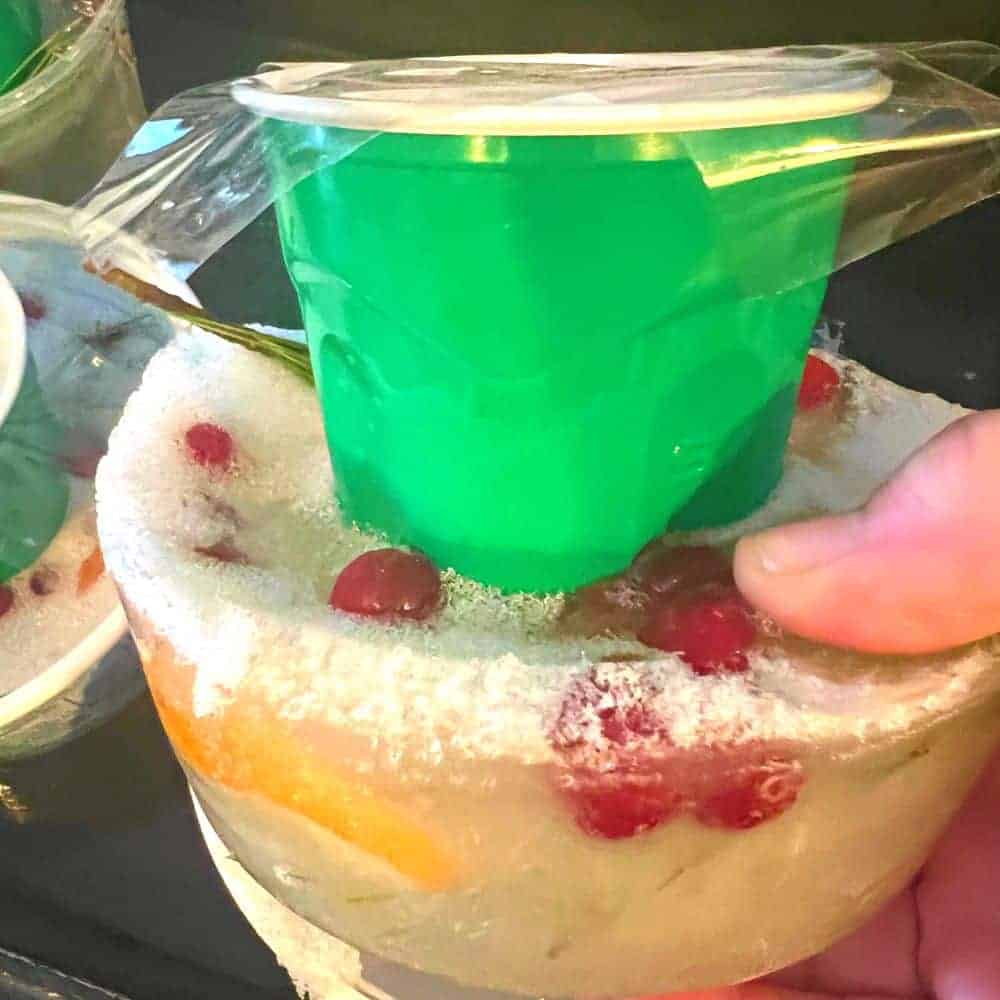
Unmolding ice lanterns can be tricky. The easiest way is to place your ice lantern bowl, container, or bucket into a shallow pan of warm water (not hot water!) for a few seconds to a minute (depending on the size of your container). You can also run warm water over the container to loosen it from the mold. Then, turn the mold over and carefully slide the ice candle out.
Be careful though! If you have small ice lantern containers, even just warm water can easily melt them before you get a chance to remove them from the mold!
(That’s what happened to us and we had to refreeze our small one!)
AFTER THE ICE LUMINARIES DIY, ALSO TRY:
HOW TO MAKE SNOWBALL SWEDISH LANTERNS
Let’s get to the directions for how do you make an ice lantern!
How Do You Make Ice Lanterns?
Making ice lanterns was one of our favorite snowy day things we’ve done! It will definitely become a family winter tradition for us now.
It would be an awesome Christmas Eve tradition to start this year and put by your front door or on the front porch for a Santa light source.
You can use these for inside lanterns, too! They also make beautiful additions to a holiday party table! Just sit them in a pan with surrounding ice to prolong the melting time for indoor ice lanterns.
You can also make ice lanterns balloons (more like ice globe lanterns with a shell of ice) out of a water balloon, but we haven’t made those yet. It’s on our winter activity list though, so I’ll keep you posted on those DIY projects!
We used empty whipped cream containers and small plastic cups for our lantern molds. Some people use tin cans and cups or even buckets and a 2 liter plastic bottle if you want large ice lanterns. What you need is any larger container with a smaller container that will fit inside.
(Some people say to use rocks to hold down the container in the center of the bucket / bowl, but we found that tape worked really well.)
We made one small ice lantern (from takeout soup containers) and found those ice walls to be too thin because it melted quickly.
IMPORTANT CRAFT PRO TIP: In the pictures, it probably looks like we used regular sized Solo cups. But, they are the small plastic cups like this. Using the small cups made the ice lantern walls thicker so they didn’t melt quickly (and the hole was the perfect size for tealight candles as candle holders / ice votive!).
We just place our ice lanterns outside on a cold night, but you can place them in the freezer if you don’t have cold temperatures where you live or you’re having a stretch of warmer weather.
ABOUT FREEZING TIME: Ice lantern freezing time may vary from the times for freezing listed here. It will depend on size and type of containers you are using and your temperatures and weather.
Also, I put the difficulty as medium, but only because it takes time for the to freeze. It is really just a few simple steps to make water ice lanterns.
Here are the printable directions for how do you make frozen luminaries…
DIY Ice Lantern Ideas
Equipment
- Duct tape or packing tape
Ingredients
- Medium to large bowl
- Small 6 ounce plastic cup
- Decorative items pine needles, leaves, cranberries, orange slices, lemon slices, grapefruit slices, pine branches, rosemary, etc.*
- Water
Instructions
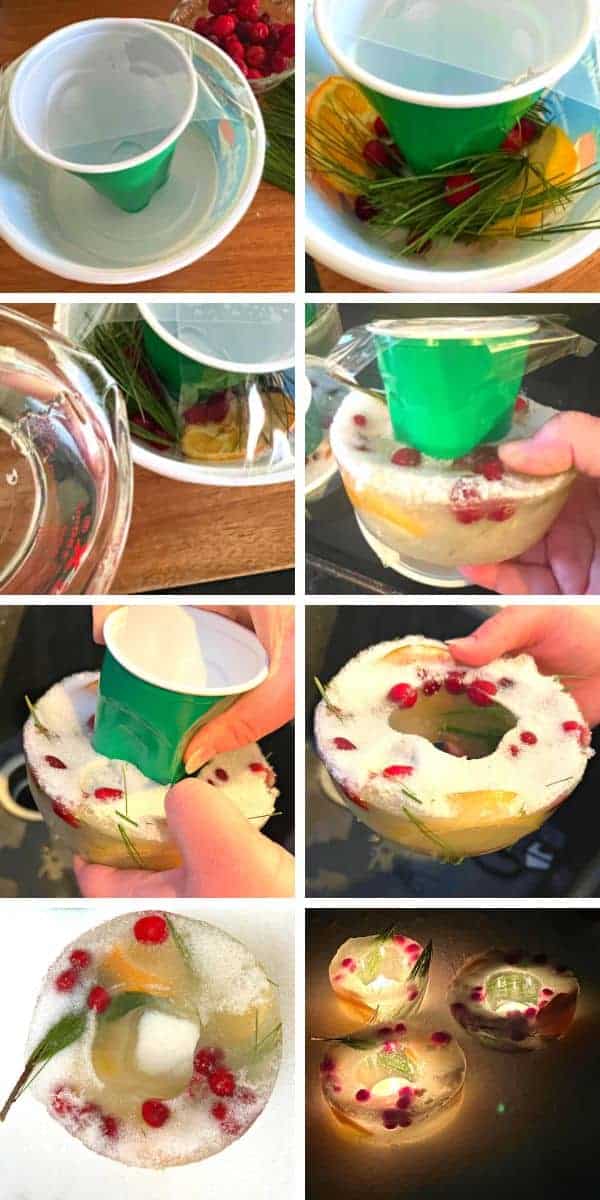
- Place the small plastic cup in the middle of your bowl. Tape across the top of the cup onto the side of the bowl so that the cup doesn't move (but leave room to pour water into the bowl and place your decorations in the bowl!).
- Arrange decorative items (berries, branches, oranges slices, etc.) in the bowl (around the cup). Remember, the bowl wall area is where you will be able to best see the berries (etc) when you un-mold the lantern. Pack items into the space around the cup. (It's OK if some of the items stick above the bowl. Our pine branches were above the bowl and I thought it made the ice lantern really beautiful.)
- Carefully pour water in the bowl over the decorative items. DON'T FILL THE WATER ALL THE WAY TO THE TOP BECAUSE WATER EXPANDS WHEN FROZEN INTO ICE.
- Carefully place bowl outside (if temperatures are freezing or below) or in the freezer. Allow to freeze solid. (Depending on the size of your lantern and how you're freezing, this could be anywhere from a few hours up to 12-24 hours.)
- TO UN MOLD ICE LANTERNS
- Run a pan of lukewarm water.
- Gently place frozen ice lantern bowl into pan for around 10 seconds.
- Remove bowl from water. Gently remove cup from middle of ice and then turn over to remove lantern from bowl. If the ice lantern doesn't unmold easily, repeat the steps in #3 (this step) until it slides out.
- Place outside in snow. Add tea light candle to hole in middle, light, and enjoy in the evening!
Notes
- Cranberries
- Fresh orange slices
- Fresh lemon slices
- Pine branches
- Pine needles
If you’re wondering how to make ice lanterns with buckets, it’s the same process! Just use a bucket and then a smaller bucket or other container inside. (Large container with small container inside.)
Childrens Books About Winter Activities
Pair up winter nature books and snow children’s books with making ice luminaries. These are lovely winter kids’ books to go along with making ice lanterns with kids / the lantern activity!
Best Winter Books For Kids
- The Lights That Dance In The Night
- Little Pine
- Winter Sleep: A Hibernation Story
- The Tea Party In The Woods
- Little Red Sleigh
- Ice Boy
- Red and Lulu
READ THIS NEXT: Snow Day Activity Ideas for Winter Fun

