Mitten Monster Halloween crafts are easy no-sew Halloween activities for kids of all ages, which makes them great for October preschool craft ideas to fun teen crafts for Halloween parties! Add these fun fall kids activities to your schedule this autumn!
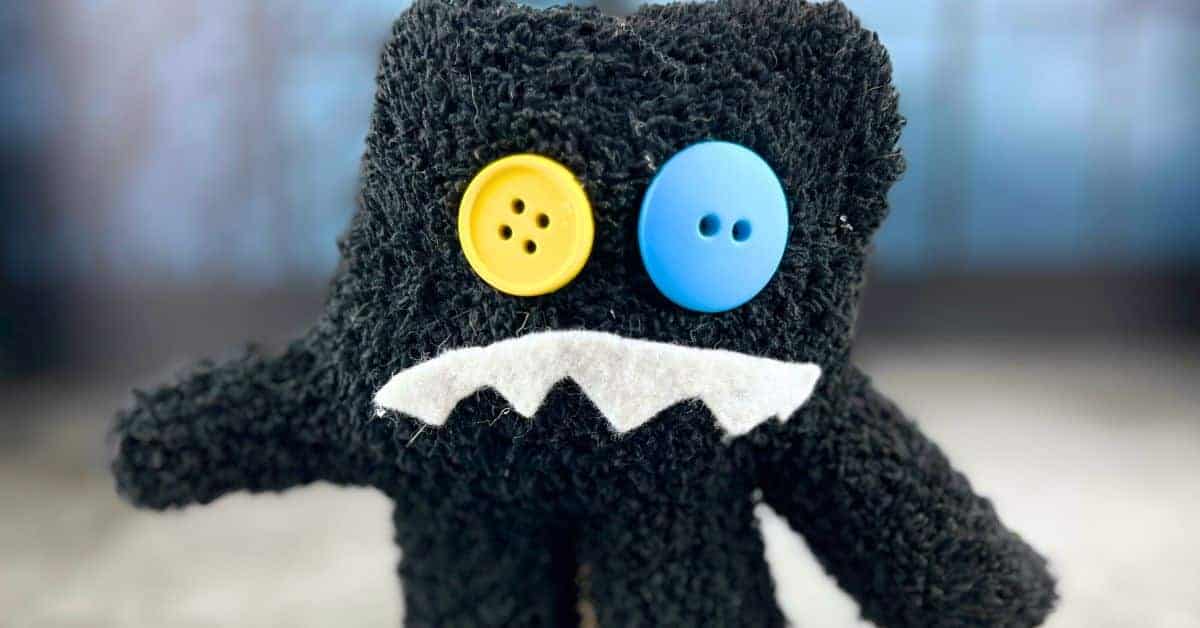
Friendly Monster Halloween Crafts For Kids
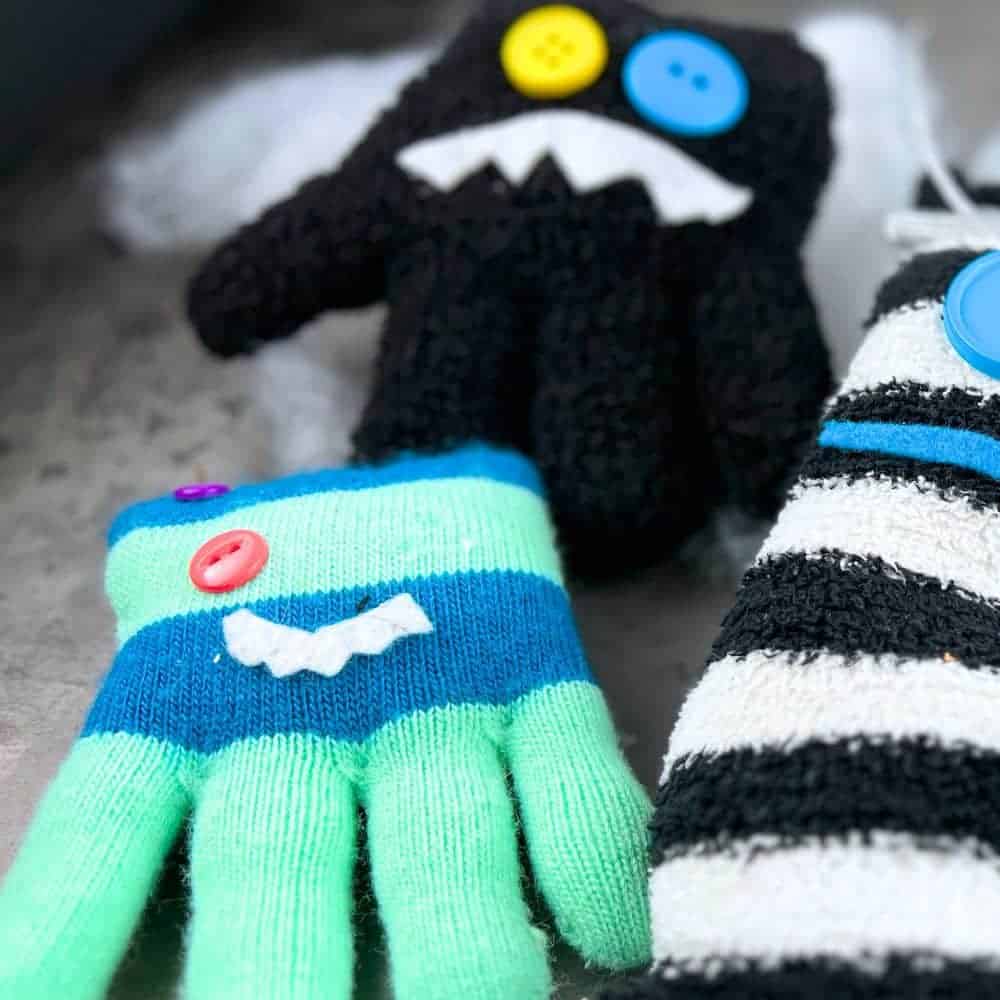
I love this glove monster craft because the monsters are not scary (they’re cute monster crafts!) and you can give them lots of personal personality with fun accessories, which makes them fun for toddler crafts or preschool crafts, too.
Also, it’s an upcycled glove project and a great way to use all those random kids’ gloves and children’s mittens when you can’t find the mate — you know, all those single gloves floating around!
Save them after the winter season and the cold weather ends for fun fall crafts like this.
(These are even easy enough to do as group classroom crafts or for a Halloween party craft table.)
Making No-Sew DIY Monster Crafts for Kids
- Cloth Gloves (we used black and patterned and they were both cute)
- Buttons
- Felt pieces (you can even use scrap felt you have from other craft projects)
- Ribbon and/or Yarn
- Stuffing / Craft Foam
- Magic Adhesive (see below)
FULL CRAFT INSTRUCTIONS FOR YOUR LITTLE MONSTERS BELOW
Don’t miss our craft and read recommendations for fun monster children’s books at the bottom.
CRAFT TIP: If you don’t have gloves you want to use, check out thrift stores, dollar stores, or even big box stores. You can usually get these kind of gloves for kids for a dollar or two (and sometimes less).
How To Make DIY No-Sew Friendly Halloween Monster Crafts
This monsters craft (my daughter says it’s a monsta craft) really is such an easy no-sew DIY project option for all ages.
DEFINITELY add it to your arts and crafts for kids Halloween or monster theme party ideas for October theme ideas.
PREP TIME: 5 minutes
ACTIVE TIME: 30 minutes
TOTAL TIME: 35 minutes
DIFFICULTY: Easy
CRAFT MATERIALS
- Fuzzy gloves (use mitten gloves with fingers for your craft mittens) or fleece mittens – we used black for our main monster, but you can use any color or pattern – all those mittens and gloves you can’t find mates to work really well for this!
- Brightly colored buttons of different sizes and colors (you can get inexpensive bulk buttons here)
- Felt (colors of choice)
- Ribbons, yarn, twine, or other items to decorate your dolls
- Craft Stuffing Filling
- Hot glue* or Fabric Adhesive like this
CRAFTS INSTRUCTIONS
1. Building Your Friendly Monster: Stuff the glove.
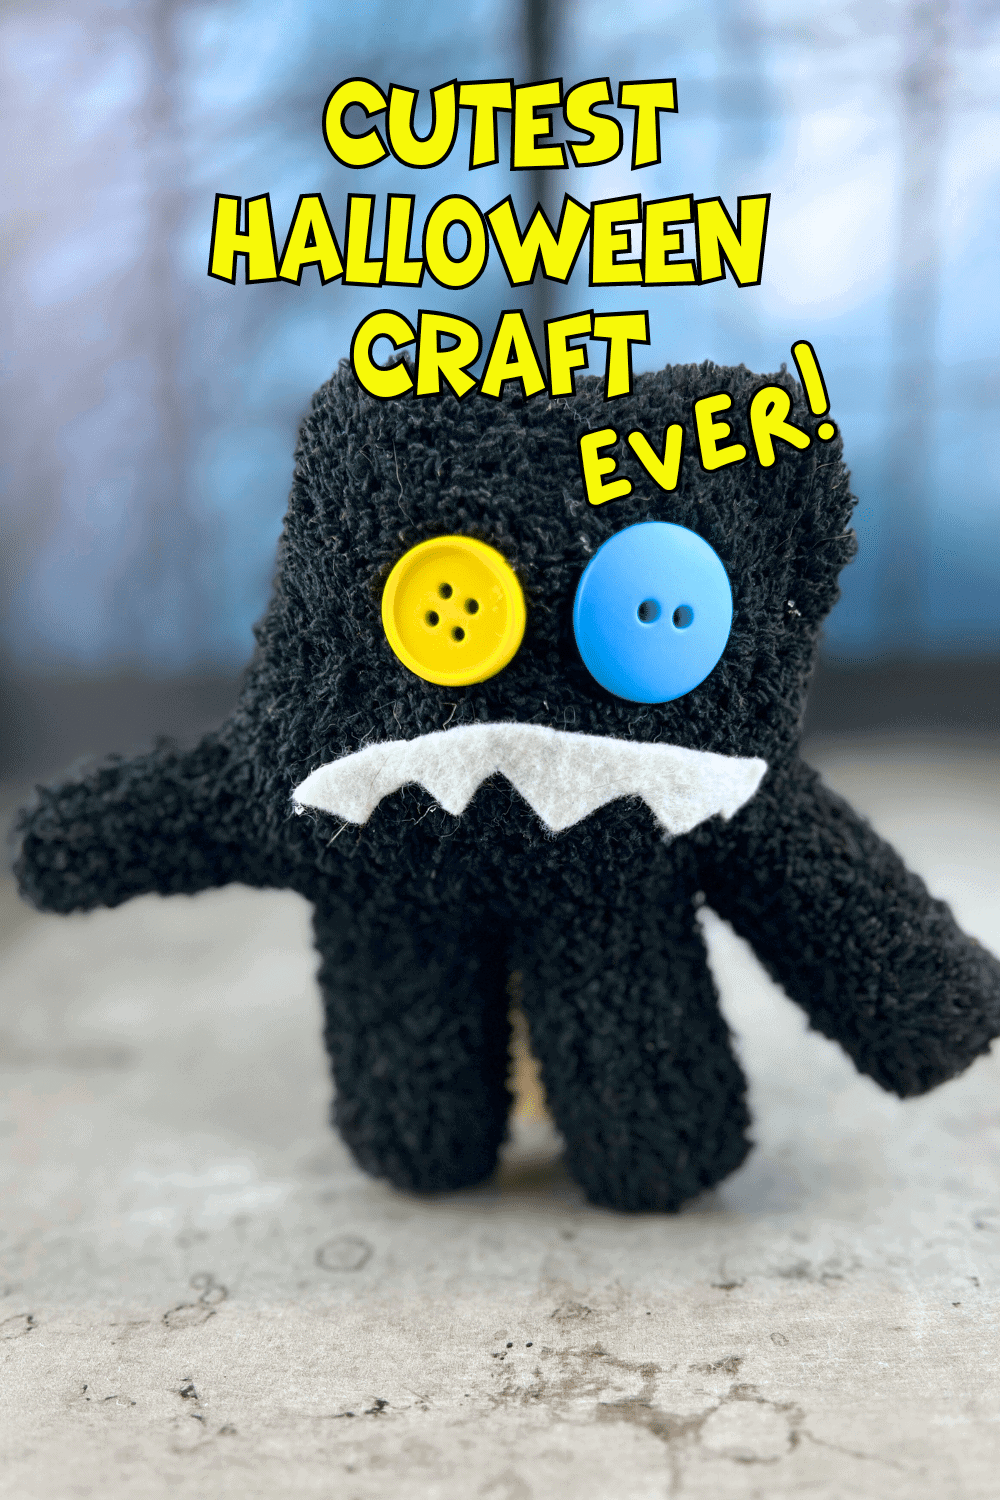
NOTE BEFORE STUFFING: If you want your Mitten Monster to only have four limbs (like in the picture), cut off on of the finger holes (or thumb) and fabric glue the small opening before stuffing. Of course, you can also leave your Mitten Monster with five limbs. It is a Monsta, after all!
Open the glove and stuff with the craft filling.
Be sure to push the filling all the way into each finger area so that it’s full.
Continue filling the glove until it’s full, leaving a small edge at the glove opening so that it can be glued shut.
You want each glove to be completely full of filling — basically as much as you can fit in them.
The filling will break down as they are played with.
2. “Sew” the opening of the monster mitten.
Fold the opening of the glove (the edge) inward a little and, using fabric glue, glue the opening shut.
*IMPORTANT CRAFT NOTE: If you use a hot glue gun, it may make the edge of the fabric hard. I really recommend using some kind of fabric adhesive like this. Then, you don’t have to worry about younger kids’ safety and burning themselves. Be sure to use adult supervision if you’re hot gluing. I wouldn’t use hot glue if you’re doing monster crafts for preschool or toddlers.
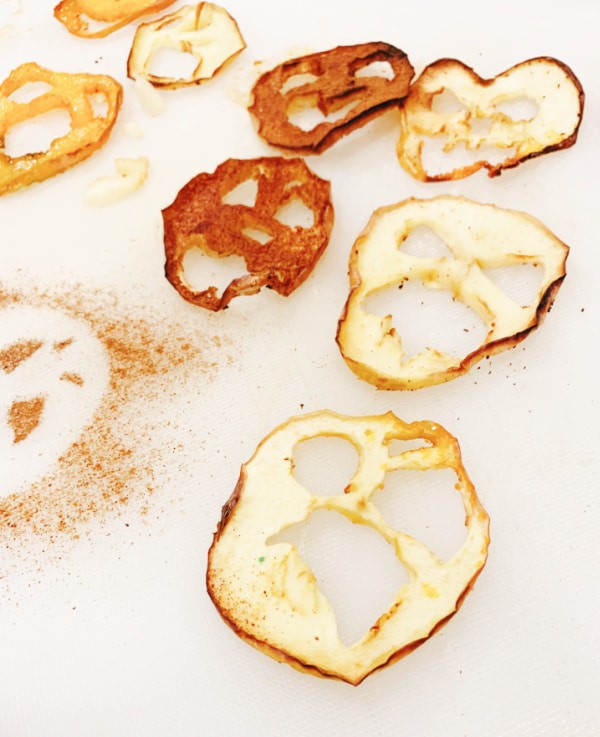
GREAT TO PAIR WITH THE GLOVE MONSTER FALL CRAFT: HALLOWEEN APPLE MONSTER FACES YOU CAN EAT!
3. Add monster eyes.
First, before you glue the eyes you need to flip your gloves the right way — meaning, you want to have your monster’s head at the top!
The fingers will be pointing down (because they are the monster doll’s arms and legs).
Choose which buttons to add for eyes.
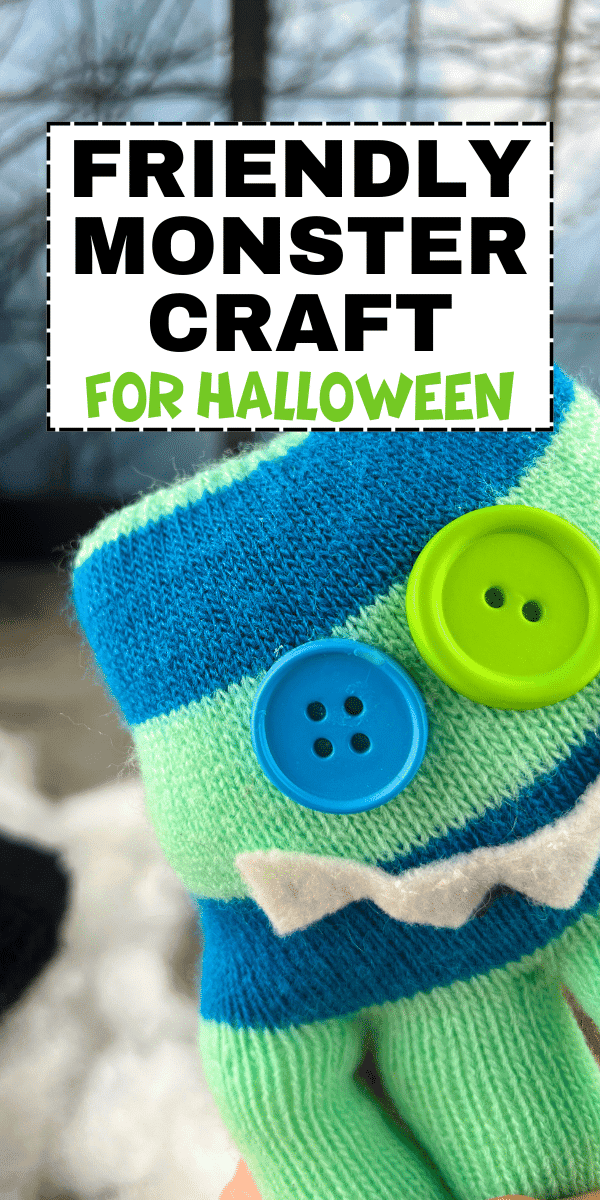
If you are using two eyes, I suggest choosing buttons of different sizes. It really gives them a funny monster look for a more friendly monster craft.
Glue the eyes into place wherever you want them on your doll!
Just remember to leave room for a mouth if you want your little monster to have one.
4. Make the monster mouth.
Cut a mouth out of the felt pieces for felt monsters’ mouths. (You can also use yarn.)
We made some of our mouths into smile shapes and then turned them upside down for a more monster face (like crazy monster teeth) for the others.
We just free-handed our mouths by cutting them into different shapes. We made friendly monster mittens with smiles and then left some as straight mouths (and they looked cute, too!).
If you’re working with younger kids (this makes a great toddler craft, with assistance!), you may want to cut out a bunch of mouths ahead of time and let them choose.
5. Add decorative items (optional).
Finish out your monster dolls by adding bows, bowties, felt to look like stitches or scars, or anything else you think is fun.
NEXT: Have fun playing with your mitten monsters!
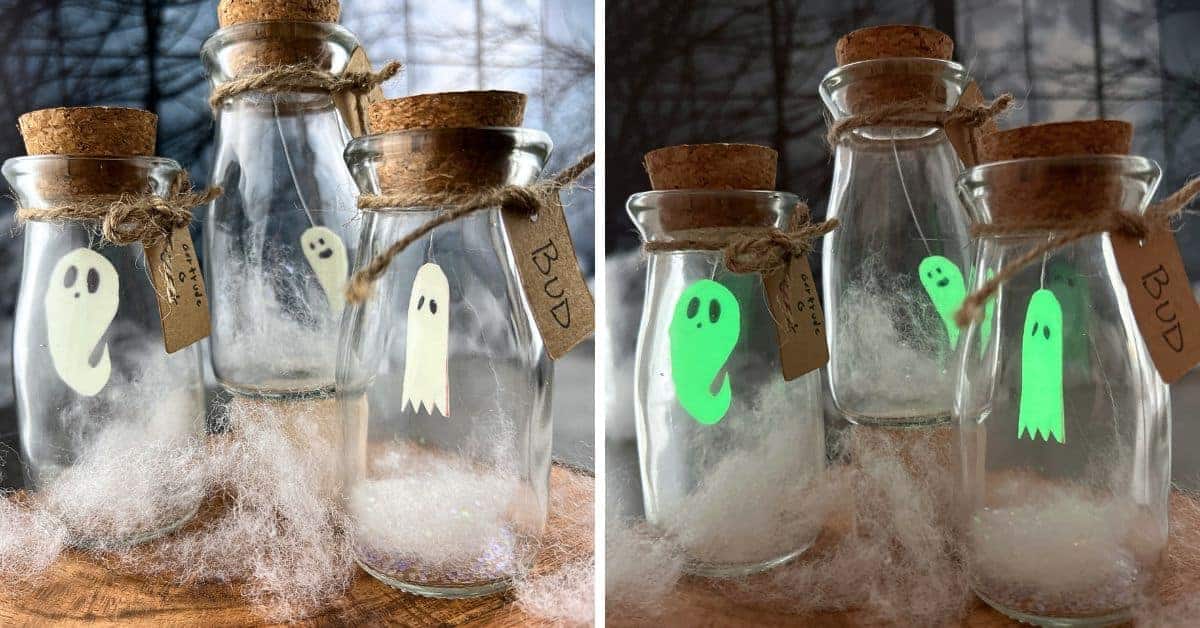
ALSO TRY THIS FUN HALLOWEEN CRAFT: MAKE GLOWING GHOSTS IN A JAR!
Craft & Read: Great Monster Books For This Halloween Kids Activity
Friendly Monster Halloween Books For Kids To Read In October:
Happy Halloween and Happy Fall!
I hope you have fun making these monster Halloween crafts for kids!

How cute!!! What did you do with the fifth finger?
Hi Ashley,
We tucked it and fabric glued the opening. (You can also cut it off and then fabric glue it.) Thanks for pointing this out. I’ll add it to the post notes.