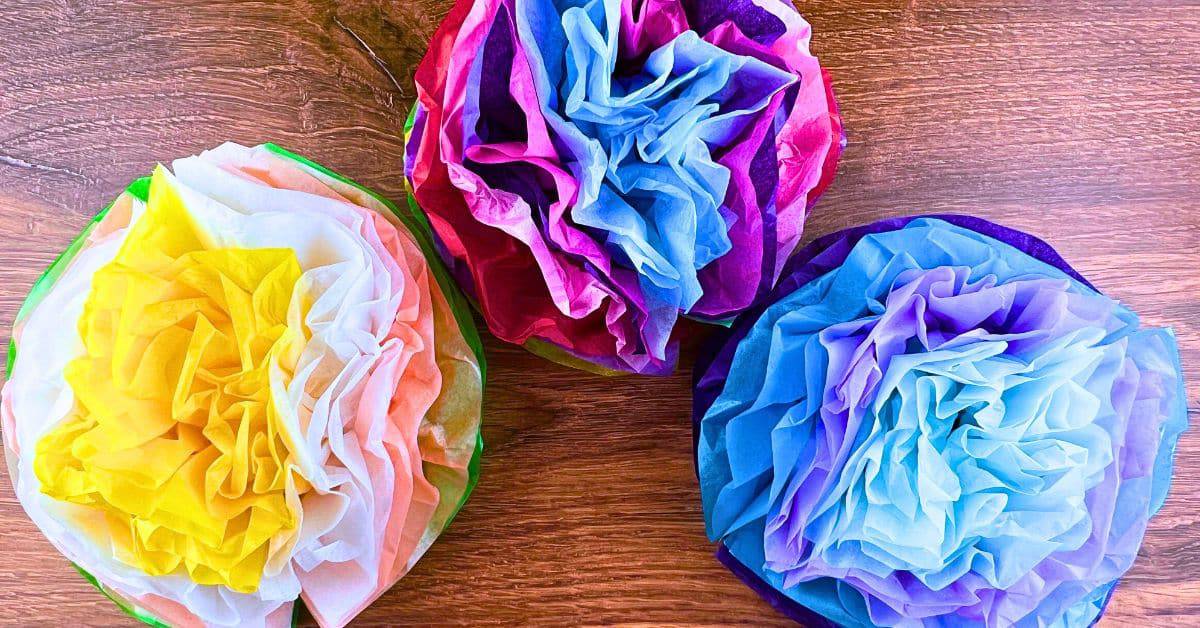
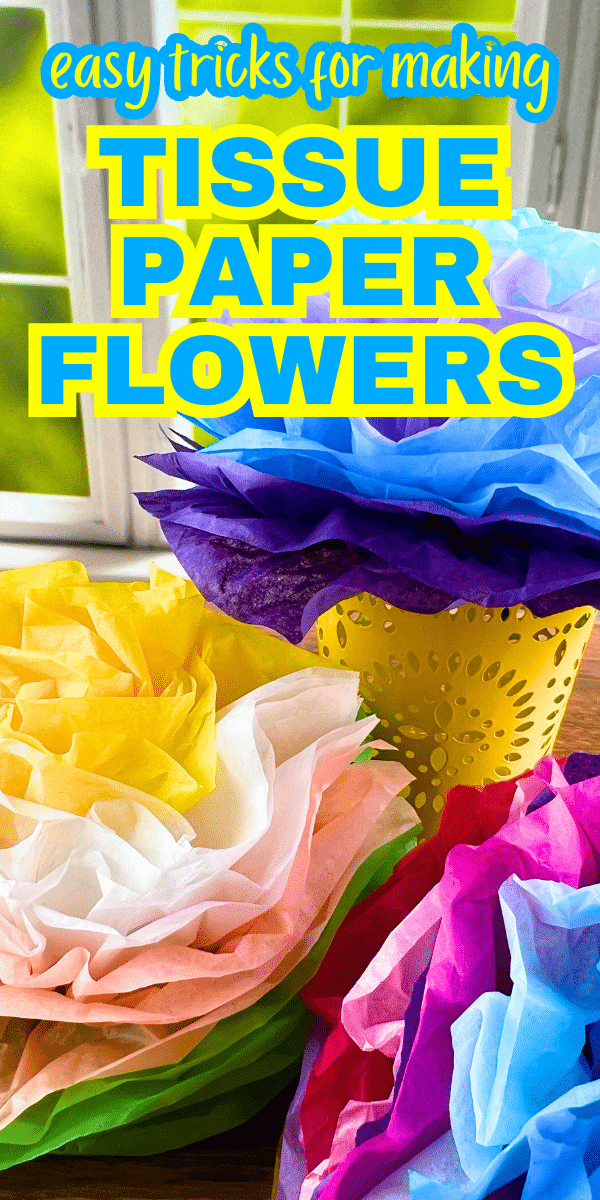
Colorful tissue paper flowers, sometimes called Mexican paper flowers or paper pom poms, are great Spring flower ideas, crafts for Dia de los Muertos (Day of the Dead flowers), Cinco de Mayo kids activities, or flower craft ideas with paper any time of year! They also make fun party decorations when hung with a ribbon (beautiful for baby showers or bridal showers!).
Making Tissue Paper Flowers With Kids
Making these beautiful flowers was one of my favorite crafts as a child! (My friend and I used to make these all the time!) I love that you can make this easy kids craft with just a few cheap supplies you probably already have around the house. These are even cute for Mother’s Day tissue paper flower craft for preschool and up!
How To Make Flowers Out Of Paper Tissue
- Gather different colors of tissue paper.
- Decide how large you want your tissue paper flower. If you want gigantic tissue paper flowers, leave the full sheets of tissue paper. If you want smaller flowers, cut your tissue paper into smaller squares or rectangles.
- Layer sheets of tissue paper on top of each other (colors of your choice!). Stack them so that the paper edges are even.
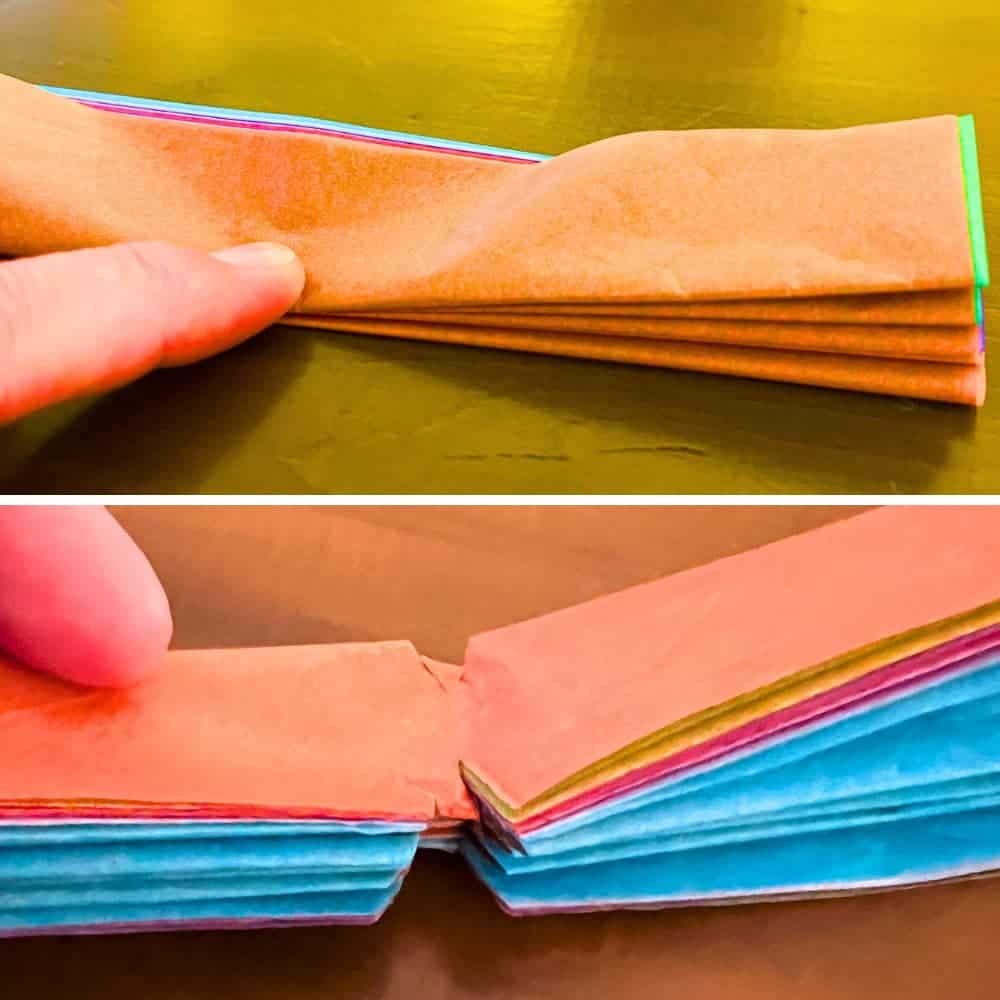
- Fold the stacked tissue paper in an accordion style or like you’re making a paper fan.
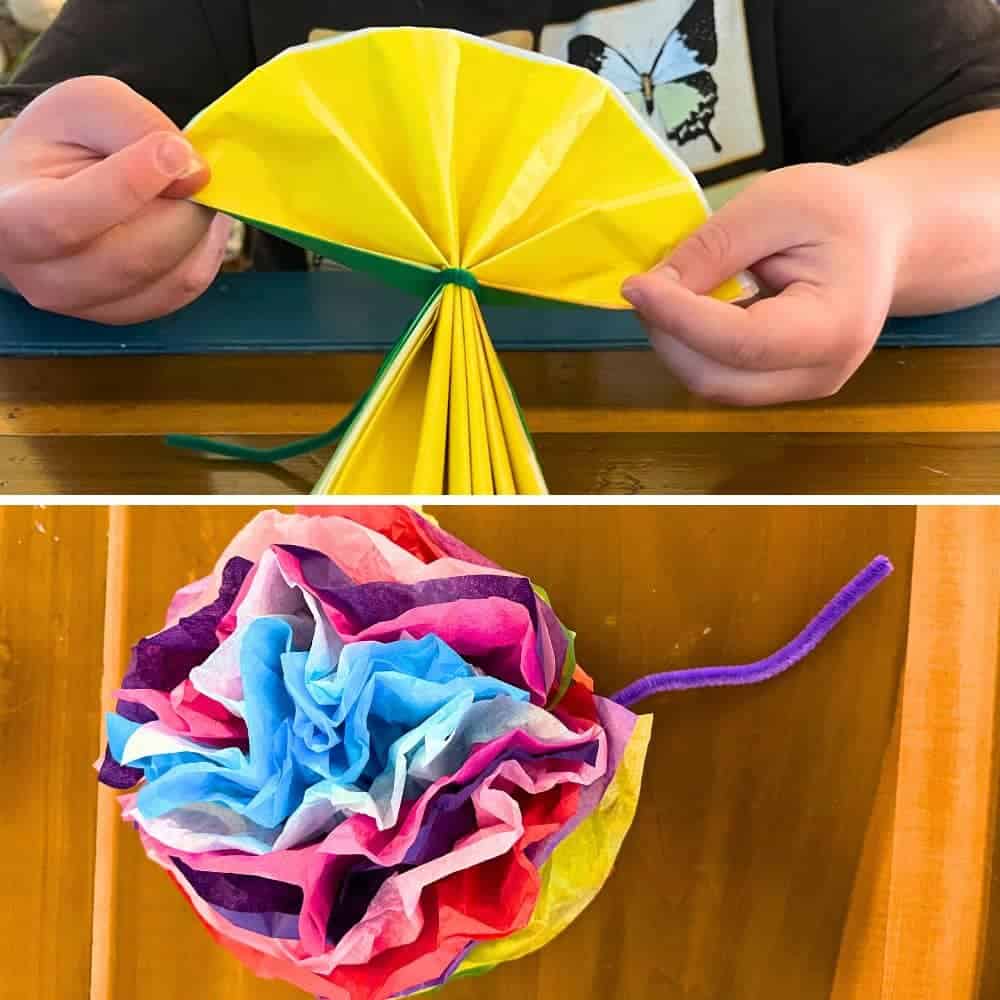
- Twist a pipe cleaner around the middle. (You can also use floral wire.) Leave a length of the pipe cleaner at the bottom if you want your paper flower to have a stem.
- Trim the ends (if you want specific shaped paper flower “leaves”) and separate the layers.
- Play around with the layers until you get the exact shape and look you want for your colorful paper flowers.
Keep scrolling for the step-by-step how to make paper tissue flowers easy tutorial pictures or if you want more information for this kids’ craft. Don’t miss our flower children’s book recommendations to go with these flowers with paper for a craft and read activity idea. We also have another flower paper flower activity at the bottom of the post.
How many pieces of tissue paper to make a flower?
We used a stack of 12 sheets of small tissue paper rectangles for our different tissue paper flowers. (We cut large sheets of tissue paper in half and then also quarters.) How many sheets of tissue paper to make a flower will depend on the size of your flower. The more pieces of tissue paper you use, the bulkier and bigger the paper flower.
CRAFT TIP: If you’re doing this as a toddler craft or preschool activity, use fewer pieces of tissue paper. The process of separating the tissue paper takes fine motor skills. Some younger kids may find this more difficult and need assistance with the craft.
How To Make Paper Tissue Flowers Step-By-Step (Easy Craft For Kids!)
Making flowers from tissue paper is such a simple craft for all ages (even for adult crafts) and they work for any holiday or theme! Here’s the step-by-step tutorial for these beautiful paper flowers…
Tissue Paper Flower Craft Supplies
Materials You’ll Need:
- Tissue paper sheets in your desired colors
- Scissors
- Pipe cleaners (plus extras for longer flower stems)
Paper Flower With Tissue Paper Craft Steps
Step 1: Gather Your Materials
Collect all the materials you’ll need for the project.
Choose tissue paper in the colors you want for your flowers. (They can be a mix of colors, all the same color, or a special flower theme color to match a birthday party or other themed party.)
Any color tissue paper for flowers will do!
Step 2: Cut the Tissue Paper
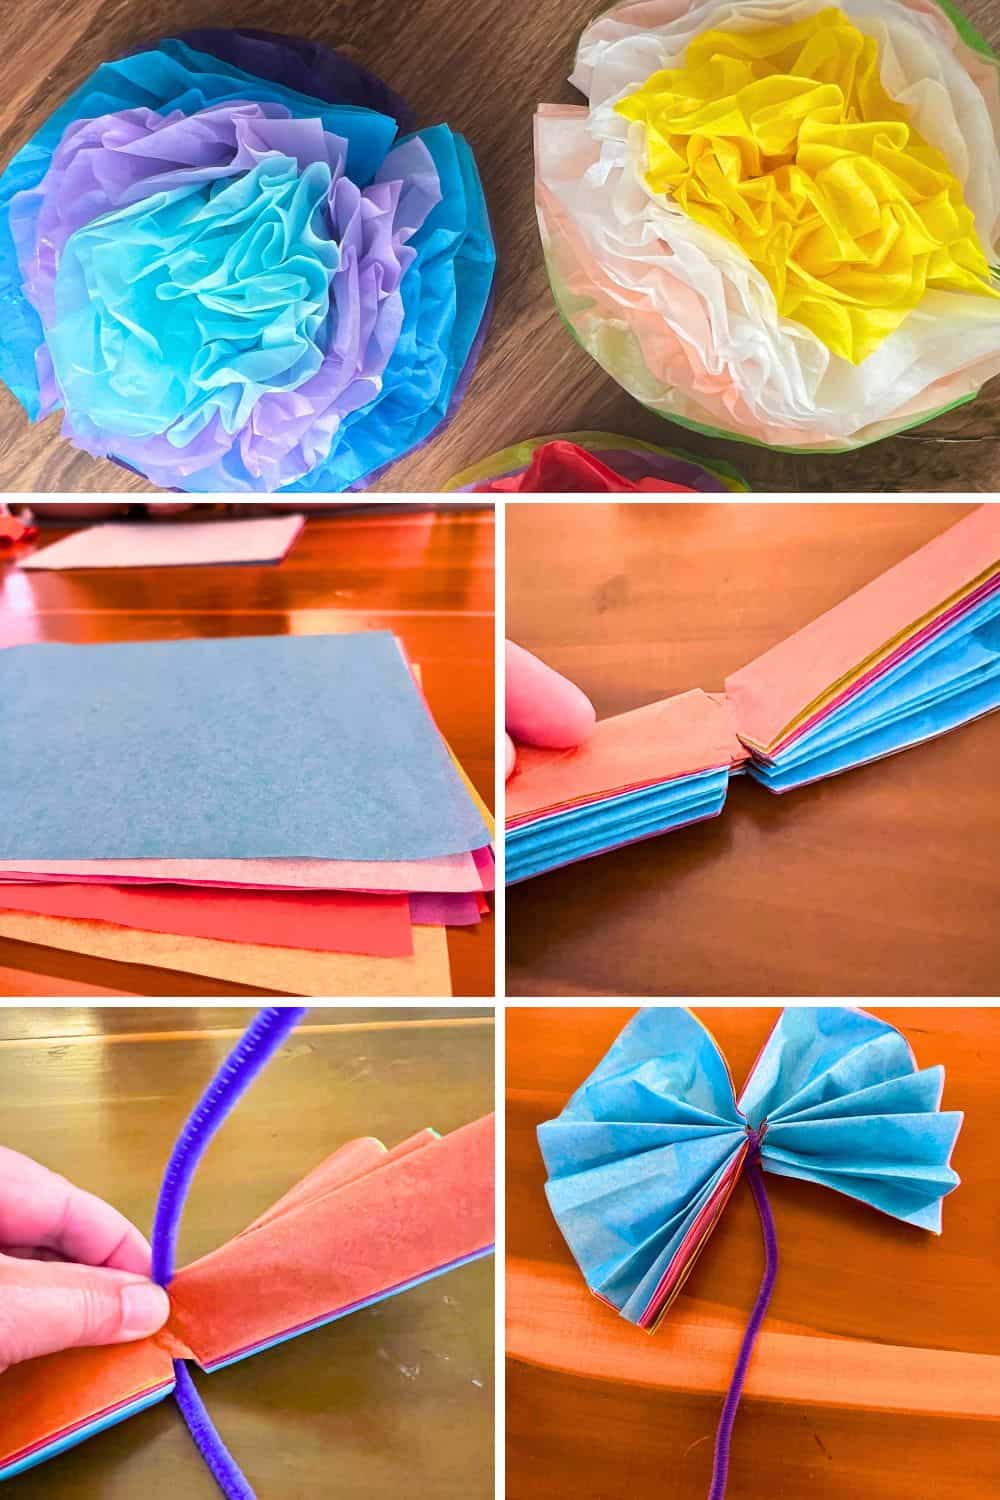
Lay out several sheets of tissue paper (typically 6-12 sheets) and cut them into squares or rectangles.
The size will depend on how large you want your flowers to be.
A common size is about 6×6 inches (15×15 cm).
We used 12 rectangle sheets for our paper flowers, but you can use as many as you want. (The more you use, the bigger and bulkier your flower will be.)
We recommend at least six tissue paper sheets.
CRAFT TIP: You can easily make this a big tissue paper flowers DIY craft or small paper flowers just by adjusting the size of the tissue paper you use and the amount of layers of tissue paper. The bigger size and more layers mean big paper flowers if you’re looking to make those gigantic flowers made of tissue paper like at theme parks or fairs.
Step 3: Stack the Tissue Paper
Before you begin the activity, stack the cut tissue paper sheets on top of each other, aligning the edges so they’re even all the way around.
CRAFT HINT: The sheet on the bottom will be the outside of the flowers with tissue paper.
Step 4: Make Accordion Folds
Fold the stacked tissue paper in an accordion or fan-like pattern.
Start by folding it about 1 inch (2.5 cm) and then folding it back in the opposite direction. Continue folding until the entire stack is folded.
Step 5: Secure the Center
Hold the accordion folded paper. Using a pair of scissors, make small notches in the middle where you are going to attach the pipe cleaner.
(This will make it easier to wrap the paper cleaner without ripping the tissue paper.)
Using a pipe cleaner and wrap it tightly around the folded tissue paper at the center point.
Twist the pipe cleaner to secure it in place.
Step 6: Trim the Ends (Optional)
Trim the ends of the folded tissue paper into your desired petal shape. This can be a fun part because you can really make your own tissue paper flowers unique.
Rounded ends will create a more traditional flower shape, while pointed ends can give a different look (like a paper daisy).
We left ours and didn’t trim the edges because we liked the way they looked.
Step 7: Separate the Layers
Carefully start separating the individual tissue paper layers by pulling them away from the center.
Gently pull each layer upwards and towards the center of the flower.
I think it’s easier to alternate sides and shape your flower as you go.
CRAFT TIP: The tissue paper rips easily! Remind kids to be very gentle when pulling the paper layers apart. Also, your may have to help little hands with this part.
Do this for both sides until all layers have been separated.
Step 8: Fluff and Shape the Flower
Once you’ve separated all the layers, fluff and shape the tissue paper by gently pulling and arranging the layers to create a full, rounded flower.
You can also trim the edges to shape your flower more.
Step 9: Attach a Stem (Optional)
If you want to create stemmed flowers (chenille stem), you can attach a piece of floral wire or a pipe cleaner to the base of the flower by wrapping it around the wire or pipe cleaner you used to secure the center.
If you want to make this a tissue paper flower pot craft where you put the paper flowers in pots (like for a Mother’s Day craft), you may need to add extra pipecleaners to make the stem longer.
To do this, just twist pipe cleaners on the end of the pipe cleaner you used to wrap the flower center to make the stems longer to make a bouquet or go in a pot for a gift.
Best Flower Books For Kids
I love that this is a flower craft you can do all year! If you want to do a fall flower craft, use fall tissue paper colors like reds, browns, and oranges. For a spring flower activity, use whites, pinks, greens, and yellows. Here are our favorite flowers books for a kids craft and read activity.
Great Children’s Books About Flowers
- Mrs. Peanuckle’s Flower Alphabet
- How to Speak Flower: A Kid’s Guide to Buds, Blooms, and Blossoms
- The Boy Who Grew Flowers
- The Best Flower Ever!
More Flowers Of Paper Crafts For Kids
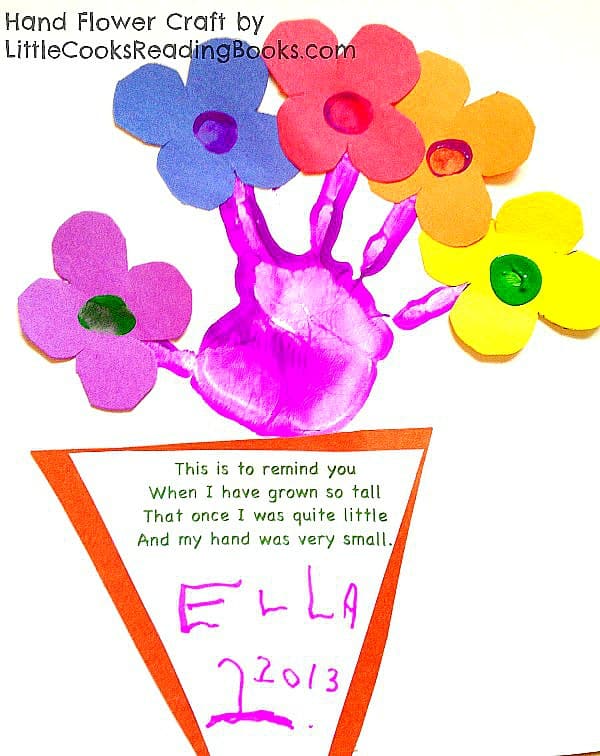
Hand Paper Flower Craft Idea
This flower hand craft is another fun flower-themed activity for kids! It also makes a sweet Mother’s Day craft idea for kids or grandparent’s day craft.
This paper and flower activity is one we still talk about!
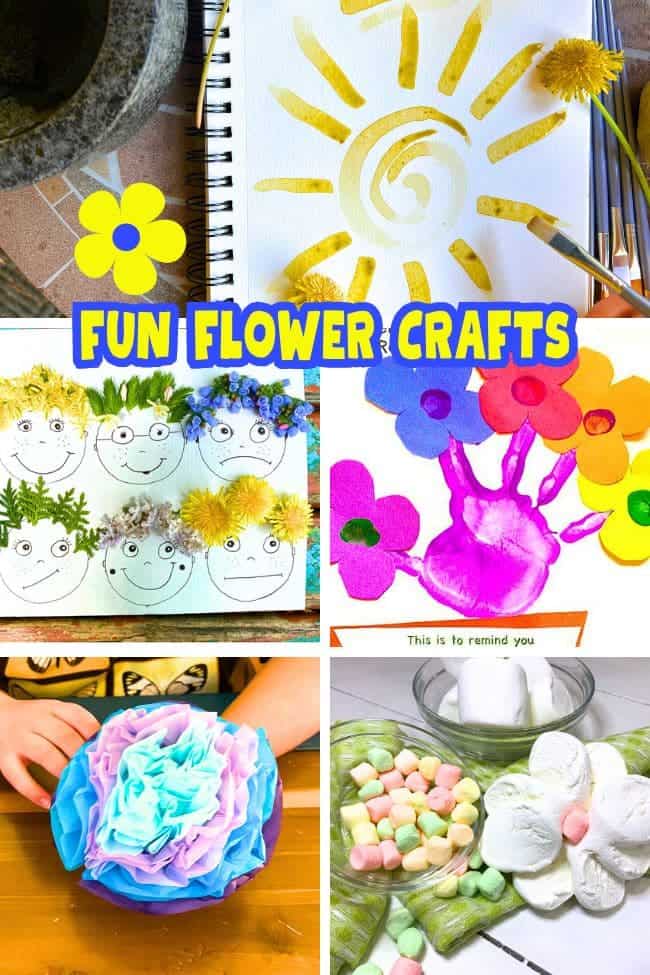
Also Check Out These Flower Project Ideas: Easy Flower Crafts For Kids Spring and Summer Activities

