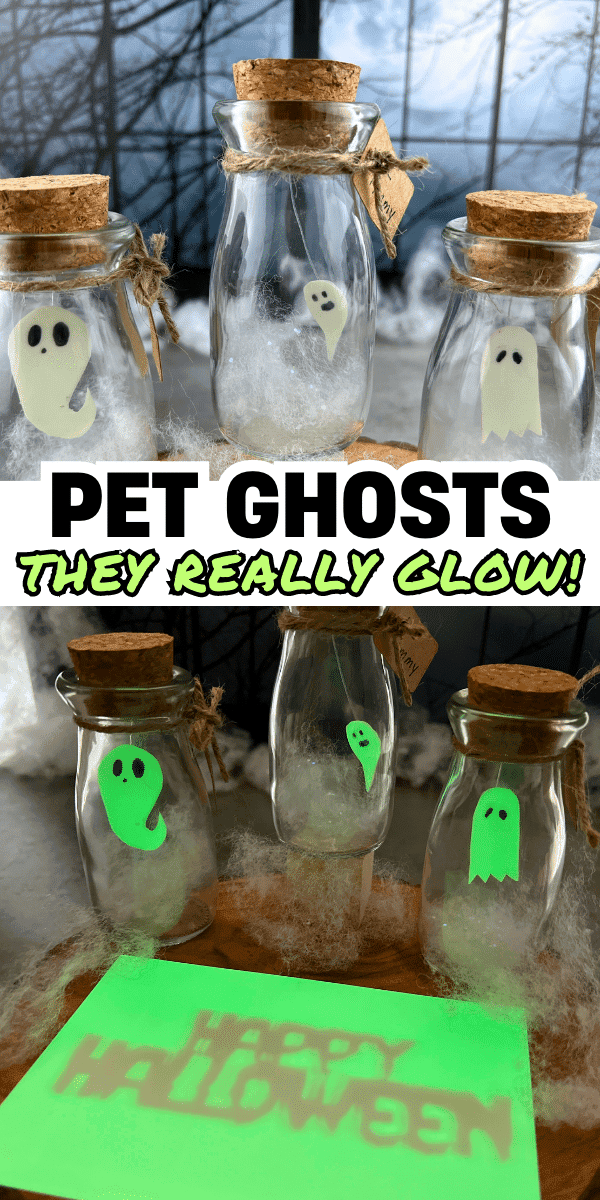
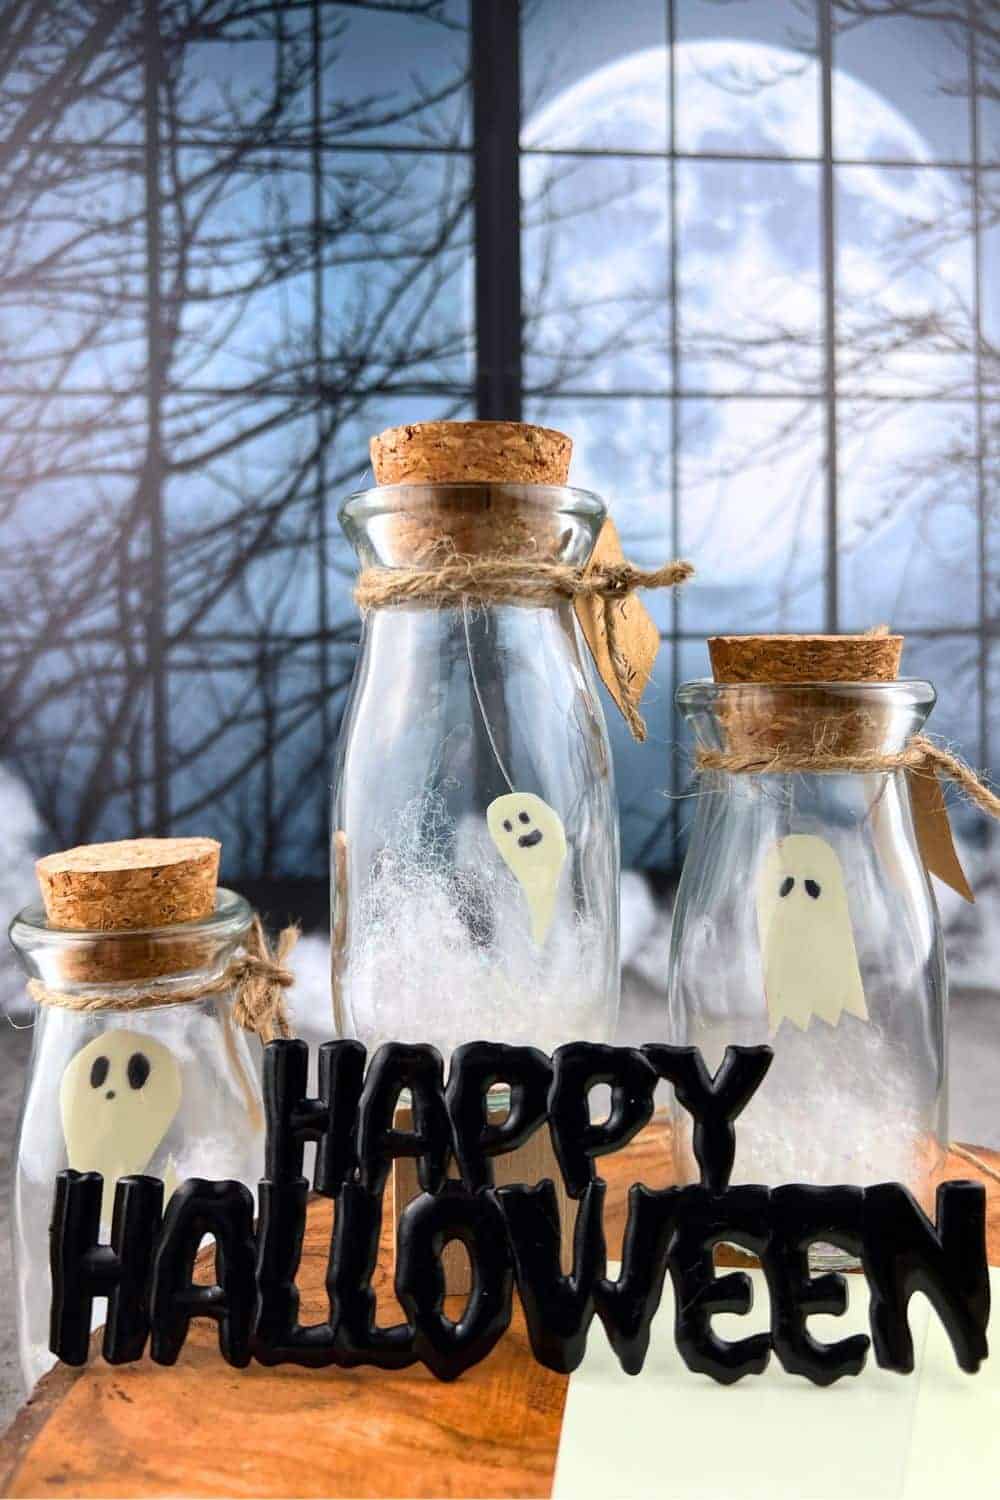
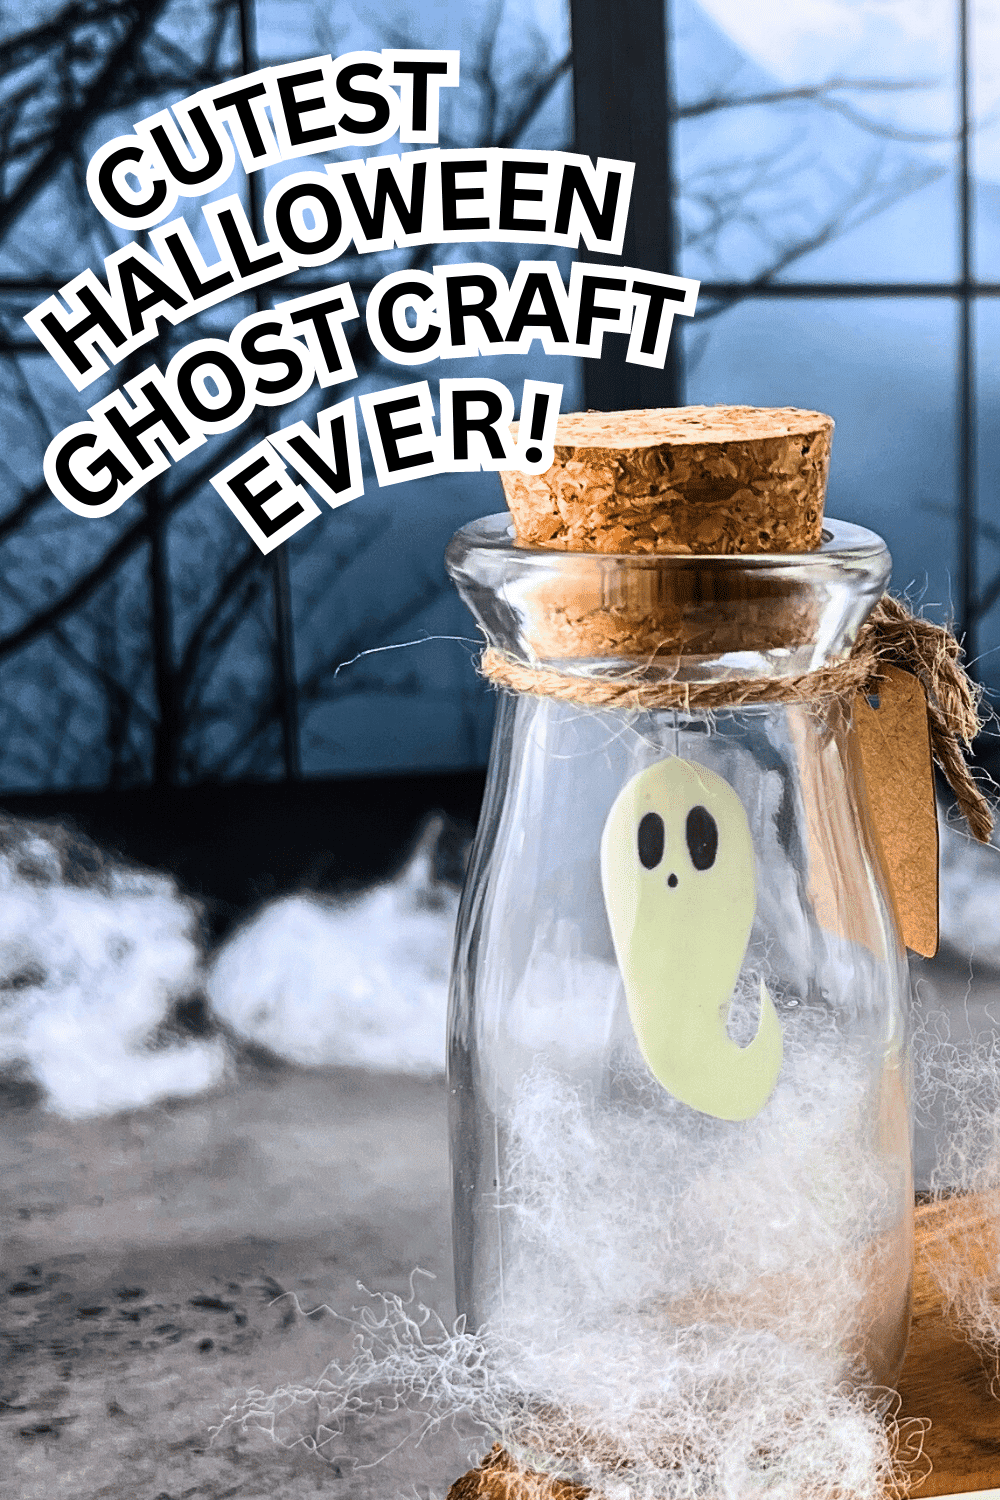
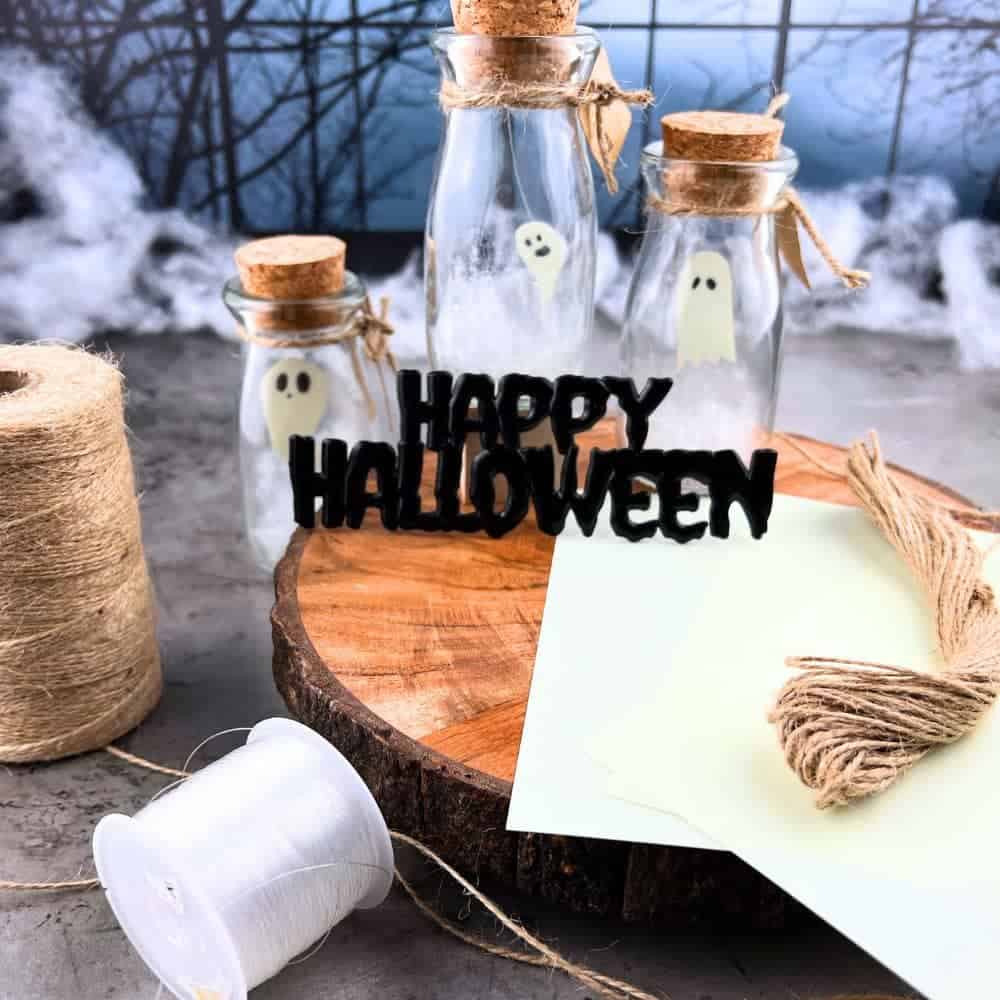
This pet ghost in a jar is not only a fun Halloween craft for kids, they also are also friendly glowing ghosts pets! Great to pair with ghost theme parties, group October kids activities, give out as trick-or-treating gifts instead of candy, to use as a fun children’s party favor, or to pair with children’s books on ghosts!
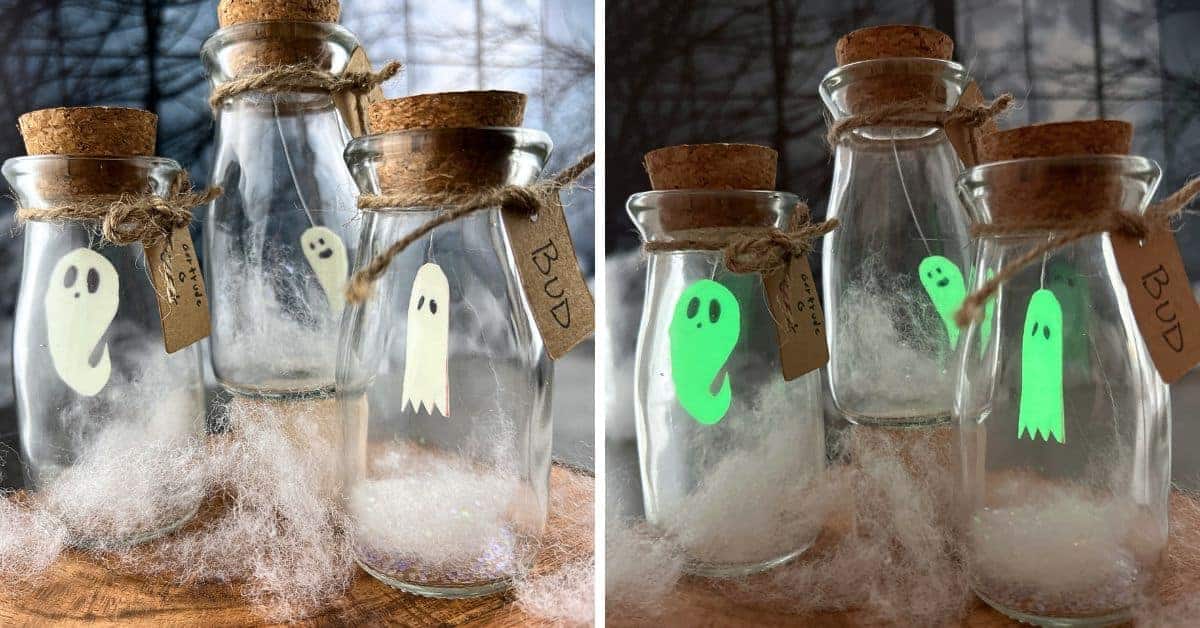
Best Pet Ghost In A Jar Because It Glows!
These adorable pet ghosts were a family favorite fall craft to make! These jar ghosts turned out so cute and you won’t be disappointed with this kids activity. (Honestly? This pet ghost craft is fun as an adult Halloween craft, too!)
How To Make A Miniature Ghost In A Bottle That Glows
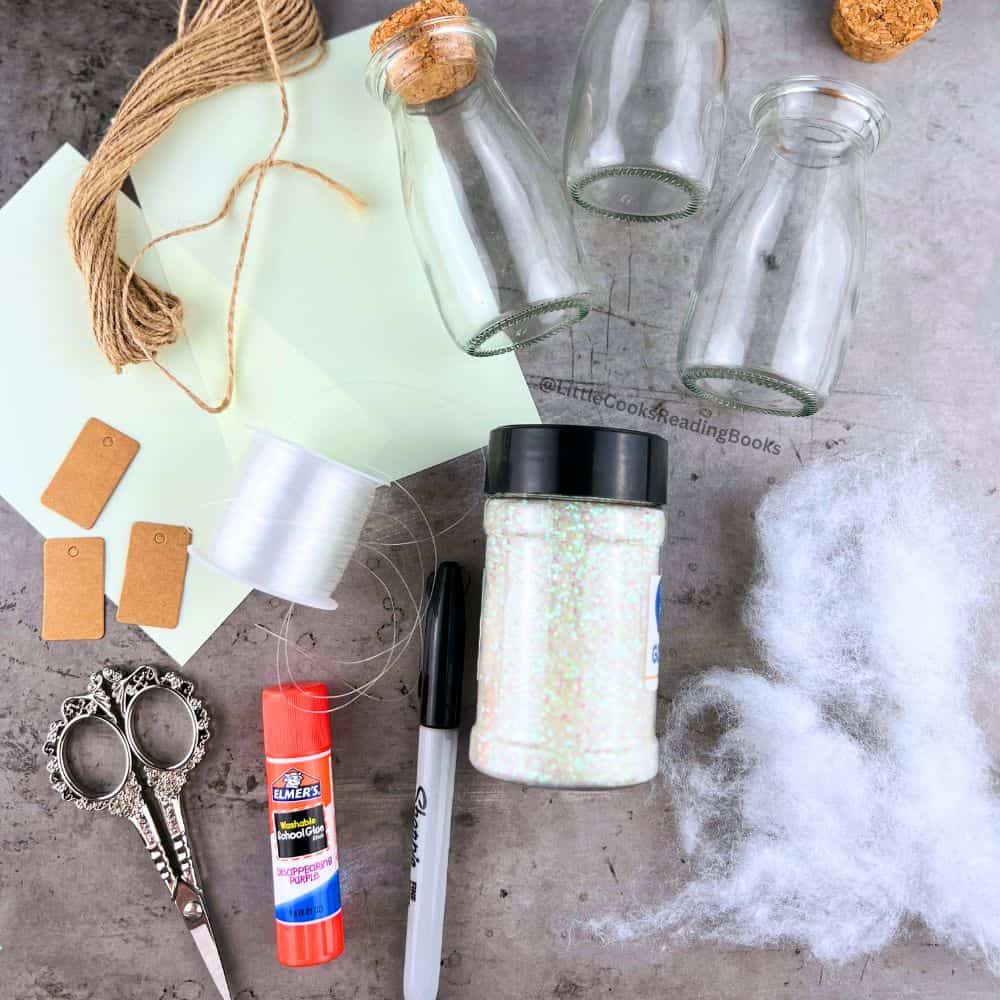
For your pet ghost in a jar DIY, you’ll need:
- Glow in the dark paper (see below)
- Small jar with cork or lid
- Fishing line
- Black marker (like a Sharpie)
- Craft stuffing or cotton balls
- White glitter (optional)
- Twine or ribbon (optional)
- Tags (optional)
- Hot glue gun
- Gluestick
- Scissors
Get the full step-by-step craft card directions for Halloween ghost pets below. KEEP SCROLLING for ghost in jar pictures, too. Super cute idea for the Halloween season! Also, we have children’s book recommends for my pet ghost reading and craft pairing!
Last year we made pet snowmen in a jar and loved how those easy crafts turned out, so this year we decided to try a my pet ghost in a jar!
These are great for Halloween decor or if you want to make a cute spirit ghost adoption activity. (You could even print off cute little adoption certificates for kids to fill out the ghost name and who is adopting it!) It could even be your new mini support ghost!
How To Make A Pet Ghost In A Jar
Pet Ghost In A Bottle Craft Materials
- Glow paper (for your cute DIY pet ghost)
- Small jar with cork (or lid) (these are the ones we used) – one for each person making the craft
- Fishing line
- Black Sharpie marker
- White craft filler or cotton balls (optional)
- White glitter (optional)
- Twine or ribbon (optional)
- Tags (optional)
- Hot glue (or glue dots to make it safer for little ones)
- Glue stick
- Scissors
Pet Ghost DIY Instructions
STEP 1. Create your jar ghost.
You don’t need a pet ghost printable for this craft!
One of the best things about this pet ghost jar activity was seeing how we each created our own pet ghosts and they looked completely different!
You can easily cut out small ghosts on the glowing paper.
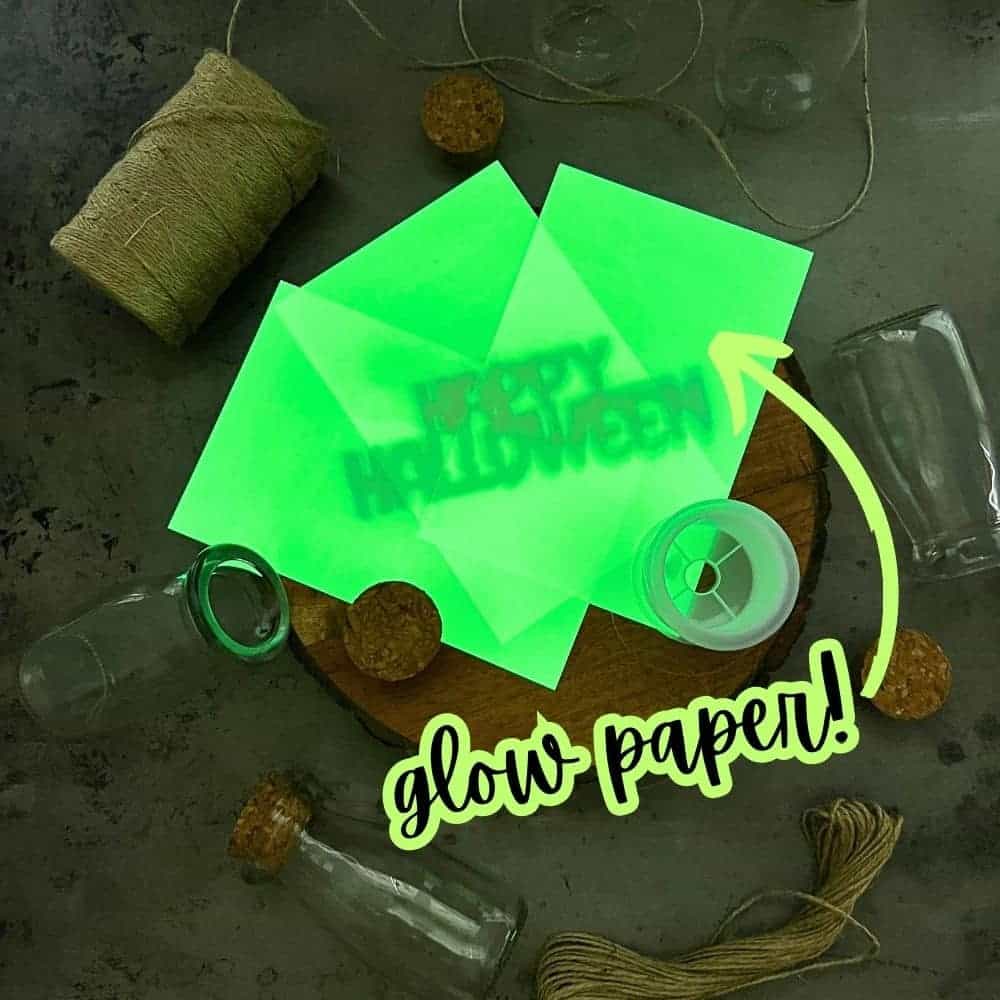
CRAFT TIP: This is the glow-in-dark paper we used and it was perfect paper for a glowing ghost!
You will need to measure our ghost to make sure it fits inside your jar (especially if you’re using small jars with small openings). We did this by first cutting strips of the glow paper and making sure the width fit inside the jar. Then, we knew if we cut a ghost from those paper strips, they would definitely fit in the jar.
STEP 2. Make your ghost glow on both sides.
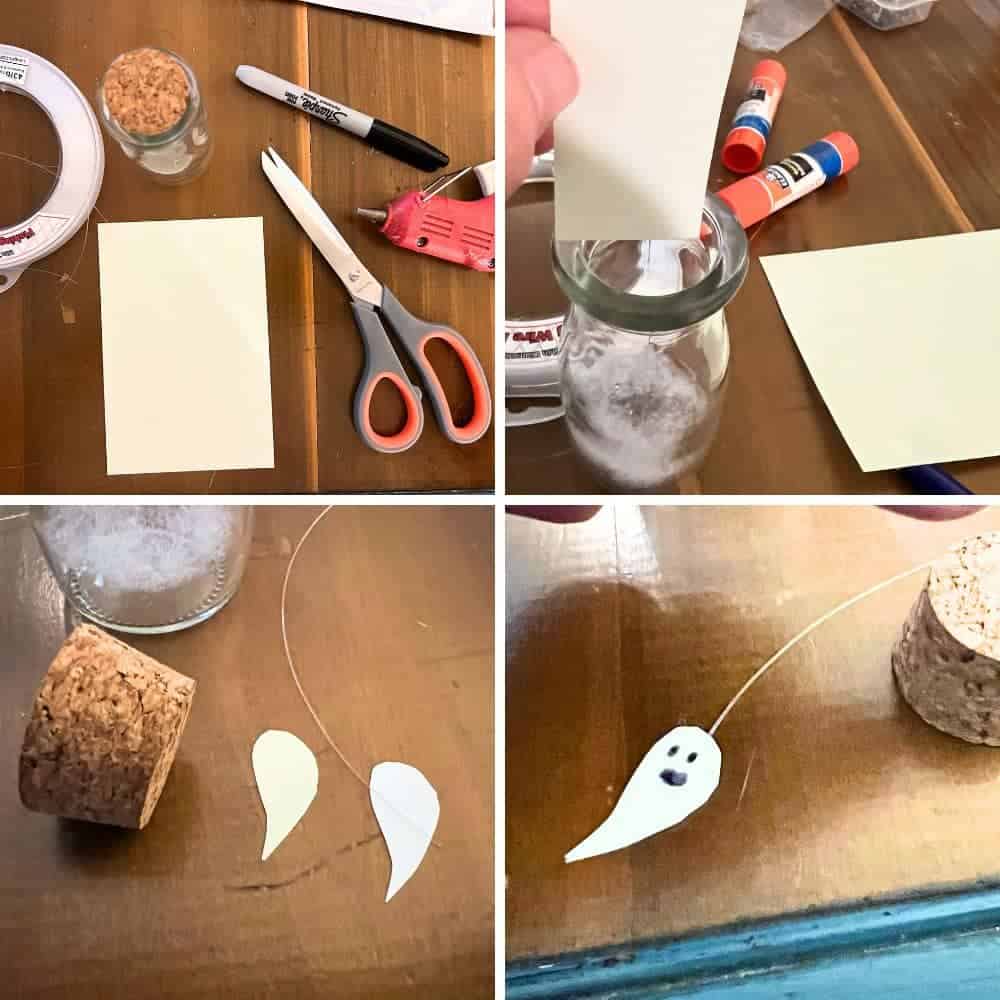
The paper that we bought only glowed on one side. This means to make our ghost glow on both sides (so it would glow no matter what angle you were looking in the jar), we had to cut a ghost shape.
Then, flip that over and cut another ghost shape (by either tracing the first one or just using it as a template to cut around).
Now you have two ghosts, but they should fit together to make one.
If you’re not using glow paper, or you have paper that glows on both sides, you only need to cut one mini ghost. For the purpose of these craft directions, I’m going to assume you have two sides of ghosts that will be glued together.
MAKING CRAFT KITS: If you are doing this as a group craft for preschoolers or younger kids, you can do Steps 1-3 ahead of time and just have them put their ghost jars together or make a little ghost kit with everything in it for each crafter.
AFTER THE TINY GLOW IN THE DARK GHOST IN A JAR, TRY ANOTHER EASY HALLOWEEN CRAFT FOR KIDS TO MAKE: NO-SEW MONSTERS!
STEP 3. Attach your fishing line to the ghost cutout.
The fishing line is what is going to make your ghost hang down from the lid and make it appear like it’s magically floating inside the bottle.
Cut a piece of fishing line as tall as your bottle. (It’s hard for me to give you exact measurements because you may be using a different bottle than we did.)
Hold the fishing line at top of the bottle and let it drop inside the bottle. Adjust the length of the fishing line to where you want your ghost to fly (you don’t want it to touch the bottom) and then allow a little more so that it can be glued to the lid of the jar. Cut the fishing line to the length you need.
Glue one end of the fishing line on the inside side of the ghost (the side that doesn’t glow). Then, using the glue stick, glue the other side of the ghost onto to back of the ghost (so you have 2 sides that glow).
Press the ghost between your thumb and forefinger for a few seconds to make sure the fishing line and the two sides of the ghost are glued together.
STEP 4. Make your ghost face!
Using a fine tip permanent marker, draw on your ghost face.
You can do eyes, nose, and mouth (like it’s saying BOO!), just eyes and mouth, or anything you want. (You could even use tiny googly eyes!)
Make sure the marker dries before you touch it!
STEP 5. Make your mini ghost fly!
By this step, you should have a glowing ghost (glowing on both sides!) with a face and a fishing line coming out of it.
Now’s the time time to get your ghost flying!
ADULTS ONLY FOR SAFETY: Using a hot glue gun, on the inside of the jar lid (or the cork, in our case), glue the free end of the fishing line to the middle of the lid. (You can also use glue dots like this for a safer option if you’re making a preschool craft.) You want it so that when you put the lid or cork on the jar, the ghost hangs freely in the jar without touching the bottom.
Set aside to dry.
STEP 6. (OPTIONAL) Add spooky fog to the bottom of the bottle.
For our ghost project, we added wisps of craft filling to the bottom of the bottle just to give it a cute spooky feel. Pull apart craft stuffing like this (or use part of a cotton ball) and place in the bottom of the bottle.
You will only need a small amount to go in the bottom of the jar.
Be sure to pull it apart so it looks more like smoke or fog on the bottom than snow.
Optional: We also added a little white glitter on top of our “fog” in the jar.
You can also leave the jar’s bottle empty or put only glitter or even add Halloween ribbon under your ghost forms.
This really is craft that you can play around with and make it unique and your own.
CRAFT TIP: You can use any jar you have for this ghosts in a jar craft project. You can even make them ghost mason jars! We wanted smaller bottles or more mini bottles (for a cute little ghost in a bottle), so we ordered some of those.
STEP 7. Put your ghost in a jar!
Place the lid or cork (with the fishing line ghost attached) on the jar.
You may need to adjust the how the ghost is hanging, especially if you’re using the filler or cotton ball in the bottom. (I just pushed my filler around with the eraser end of a pillow until I got it where I wanted it.
If you are giving these out as Halloween tricks or party favors, glue the lids or corks on with a small dab of hot glue. (Just because they’re called a pet ghost doesn’t mean you can pet the ghost!)
I think these would be super cute for Halloween ghost in a jar party favors for kids to take home after a trick-or-treat party at home or a classroom Halloween party!
STEP 8. Name your mini ghosts in jars.
The names for pet ghost can be anything you want!
We wrote our pet names for ghost on small tags (that came with the bottles). Then we tied twine around the tops of the jars and tied the pet ghost name tags onto the twine. (This is optional. You don’t really need a ghost pet tag if you don’t have the materials.)
If you’re doing this with older kids, you can even have them write a my pet ghost story to go along with this fall activity.
STEP 9. Get your ghosts to glow!
No need to use a tea light! Your mini spirit ghosts glow on their own!
To get your bottle ghosts to glow, place them (in the bottle) near a light source for a few minutes. Then, turn off the lights and enjoy your bottle buddies!
The paper that we used charges fast and retains a glow for a long time. So, it’s definitely worth it to get this kind!
Fun Children’s Ghost Books
For this craft and read, there are so many fun ghost books and cute kids’ ghost books pair with the craft activity. Pick a few to go along with your pet ghost project! We hope you have so much fun with this craft and read!
Recommendations For Kids’ Books About Ghosts
- The Pink Ghosts
- Five Little Ghosts
- How To Make Friends With A Ghost
- Sir Simon: Super Scarer
- Gustov, The Shy Ghost
- Ghost Afraid Of The Dark (with glow cover!)
- Roald Dahl’s Book of Ghost Stories (for older kids / adults)
MORE FUN WITH GHOSTS: MAKE HALLOWEEN GHOST MONSTER MILK!
After you’ve made this fun craft with kids, tag us!

