Learning how to make wax leaves (aka: leaf waxing or glycerin leaves) is a fun fall activity for kids! We have easy DIY preserving waxed leaves tips and tricks and best methods for working with autumn leaves for nature garland, fall crafts for kids, leaf decorations and pressed leaves ideas.
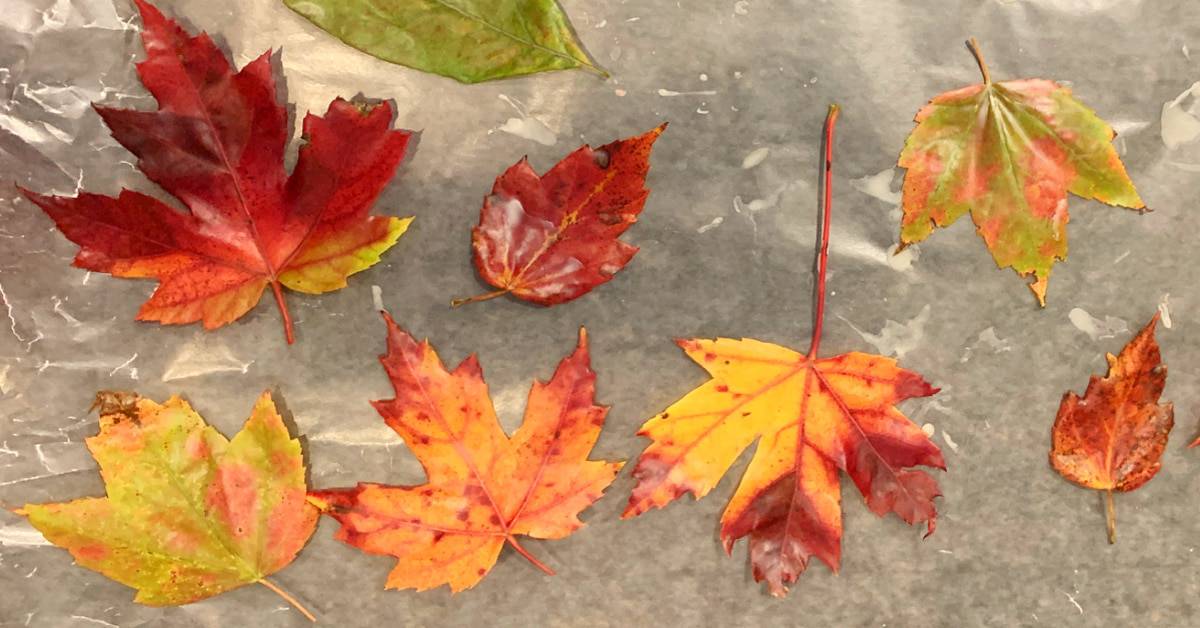
How To Make Wax Leaves
Learning how to press & preserve leaves and how to wax leaves is a fun fall project. Preserving leaves in wax is a great way to preserve fall leaves for crafts / preserving leaves for art or even how to preserve leaves for framing and decorating.
How do you preserve fall leaves color?
A great way to preserve fall leaves color is to dip leaves in wax. The wax adds a coating to the leaf that preserves them where they are. Pick the leaves while they are fresh at the height of their color for the most vibrant wax dipped fall leaves.
DIY wax leaves is a simple process! Let’s learn about preserving leaves in beeswax! (Yes! The same beeswax for candles!)
How To Preserve Leaves With Wax Paper and Beeswax (Preserving Leaves With Beeswax)
- Collect fresh, colorful and vibrant autumn leaves of different sizes and types. (Dried leaves won’t work as well because they’re too brittle.)
- If leaves aren’t flat, press leaves under a heavy book until flat. (This is how to press leaves without wax paper.)
- Slowly melt wax in a pot or double boiler.
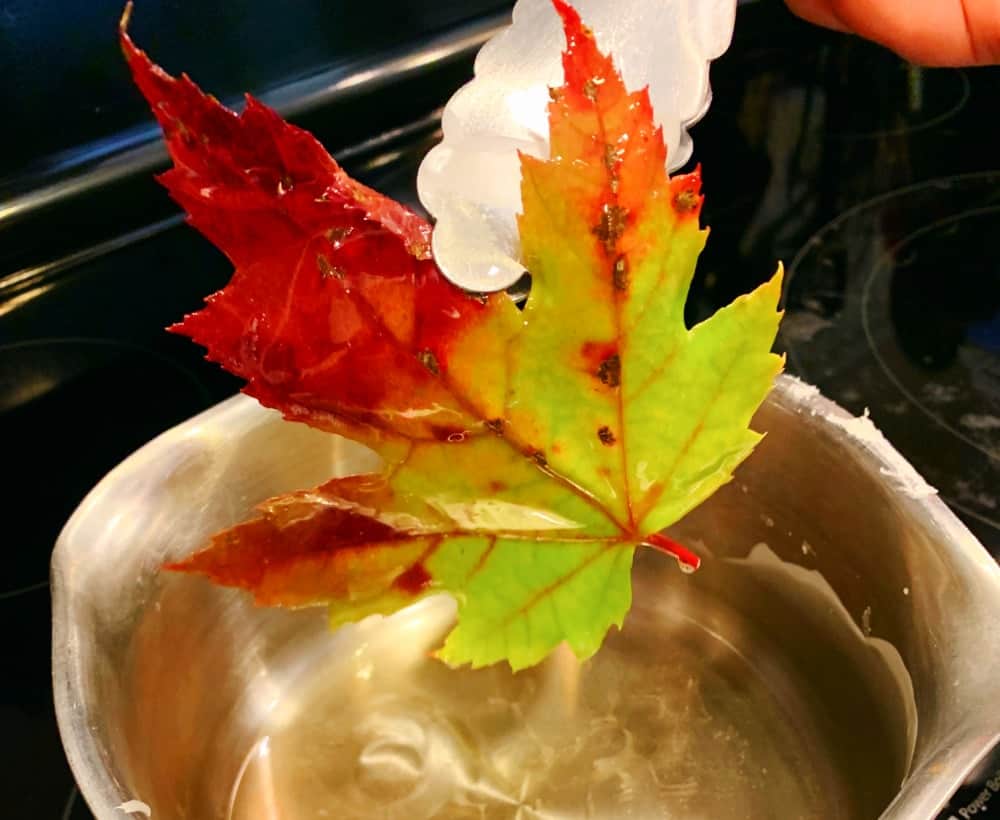
- Using tongs, dip leaves in wax one at a time, covering front and back. (Careful when dipping leaves in wax! It’s hot!)
- Tap tongs on side of pot to remove excess wax from leaf.
- Carefully place on prepared waxed paper or hang to dry. (No need to iron your leaves with this method!)
- No need to press leaves! Easily smooth down any corners that are curling and this method of drying leaves will create flat leaves.
- Use preserved leaves in fall crafts / wax paper leaves craft, nature garland, or autumn wreaths / autumn decorations for an easy fall craft project.
(SEE FULL HOW TO WAX LEAVES DIRECTIONS BELOW! Keep scrolling for how to preserve pressed leaves and more directions on how do you make wax paper leaves. Also, don’t miss the free printable wax leaf craft!)
Can you wax leaves?
YES! Waxing leaves will not only preserve their fall color, but the waxing process will also allow you to keep them for fall crafts, Thanksgiving decorations, or even how to wax leaves for preserving. It’s one of the best methods to make preserved fall leaves and get decorative fall leaves for projects!
How do you coat leaves with wax?
How do you preserve fall leaves with beeswax? To coat leaves with wax, slowly melt beeswax in a small pot or double boiler. (Do not boil!) Then, for wax dipping leaves, carefully dip each leaf into the melted wax. Make sure that it’s coated on both sides and the leaf stem. Place coated leaves on wax paper in a single layer to dry completely.
If you’re wondering How do you dry leaves for kids? or how to preserve autumn leaves, this is a fun way and great craft for fall foliage!
(My daughter loved this project when learning how to preserve maple leaves last year and we’ll even practice how to preserve a leaf again next year!)
Some people have asked me about laminating leaves, which is another method of preserving leaf.
However, I prefer waxing leaves to laminating because you can still touch the leaves and it makes them super vibrant.
If you’re looking for how to preserve leaves color, definitely use bees wax! This is the best way to preserve leaves, in my opinion and you can get beeswax for preserving leaves at different drug stores, health food stores, and craft stores.
And, no need for ironing leaves in wax paper or leaf pressing with wax paper with this method!
If you’re wondering how to preserve leaves without losing color, the beeswax method is perfect for that!
WAXED LEAVES CRAFT
NEED A FUN FALL CRAFT FOR KIDS OR LOOKING FOR A DRIED LEAVES CRAFT?
ALSO CHECK OUT THIS PRESSED LEAF CRAFT FOR KIDS FOR PRESERVING LEAVES ON PAPER!
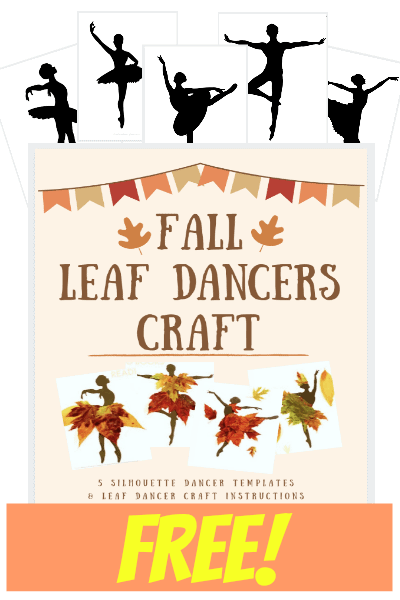
Wax Leaves Craft with Free Fall Leaves Printable
(One of our all time favorite dried autumn leaves projects! We used this for framing fall leaves / preserving leaves in a frame! Definitely add this to your waxing fall leaves projects!)
Fall leaf preservation isn’t hard, but there are different ways to make waxed leaves (like with part glycerin mixed with parts water in a glycerin bath — one of the most common ways).
However, we used bees wax for preserving leaves (check craft stores) to preserve our fall leaves and they made beautiful leaves with vibrant colors.
(I think this beeswax way is the simplest method, takes less time, and definitely is one of my favorite ways. Also, we didn’t Modge Podge leaves for this project. We only used beewax.)
There’s no need to learn any other popular method like how to preserve leaves with Mod Podge or how to preserve leaves with hairspray because this method makes such a colorful preserving leaf that lasts for a long time through all your craft projects and even nature decorations for holidays!
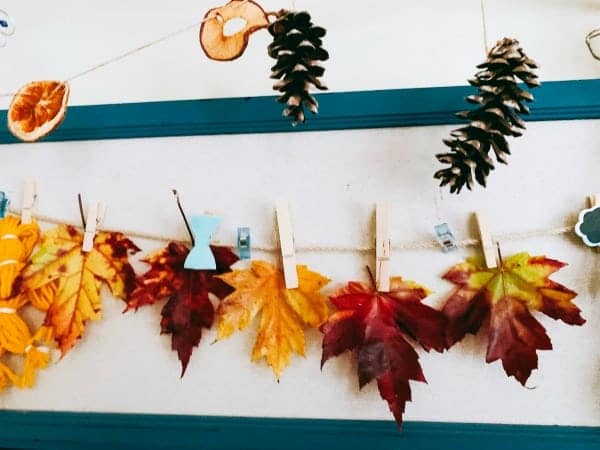
YOU’LL ALSO FUN ADDING YOUR DIPPED LEAVES TO NATURE GARLAND!
LEARN HOW TO MAKE NATURE GARLAND HERE
But, how long do waxed leaves last…
How long do wax dipped leaves last?
Fresh leaves dipped in wax will last for a very long time (months), but will start to get crispy and brittle after some time. Be sure to dip the leaves before they become completely dried out and cover the leaf completely with wax. Hang or lay flat to dry on sheets of wax paper. Then, use wax covered leaves in decorations or crafts.
OK!
Let’s get to how to press a leaf with wax in this simple method and answer how do you wax leaves craft for preserving leaves…
How To Preserve Autumn Leaves With Wax (Step-by-Step Wax Leaf Tutorial)
If you’re looking for how to preserve leaves in wax paper, how to preserve leaves with Mod Podge, or how to preserve leaves in glycerin, give this method a try. (I think it’s the easiest way for preserving leaves!)
This is the method we used for preserving leaves for decoration and crafts!
A few reminders and best advice when learning how to make wax dipped leaves with beautiful colors before we get to the instructions:
Be sure to use flat, fresh leaves (just fallen, especially if you’re getting them from local parks) with the top of the leaves (stems) still intact. (It’s easier to take them out of the hot wax this way.)
The drier leaves won’t work as well and definitely won’t last as long, do definitely use fresh leaf choices.
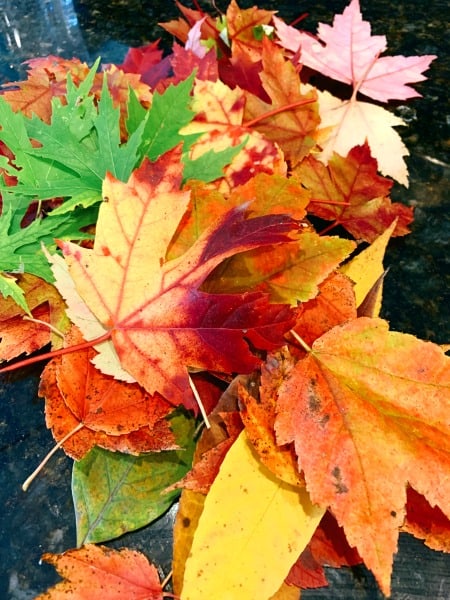
For best results, choose a variety of colors for the fall season — yellow leaves, red leaves, orange leaves, light browns, or your favorite fall leaves at peak foliage. Choose the color of the leaves that are still bright with beautiful autumn colors for this time of year.
If you need to flatten leaves, you can grab a leaf press like this or place the leaves under a stack of heavy books for a few days.
We made beeswax leaves, but you can use paraffin wax also.
IMPORTANT: Wax leaves preserving deals with (no surprise) hot wax. It’s important to do this craft under close adult supervision or, if you have younger kids, have an adult do the wax dipping.
If you’re worried about safety of heating wax on the stove with kids when preserving leaves with wax, you can also use one of these.
Where to buy beeswax?
You can buy beeswax online, or at any large craft store. You can also buy it anywhere they have candle making supplies. Using bees wax for leaves is one of the best method for preserving leaves!
Important Things Before We Get To the Craft Directions:
- A little beeswax goes a very long way. We used 1/2 cup of beeswax pellets and we covered around 60 leaves of varying sizes.
- For your first time, it might take a couple of attempts to learn how to cover the leaf with wax and get it to the wax paper to dry.
- Beeswax can leave a film of wax on your pots and utensils. You need to clean them out immediately while they are still hot (and the remaining wax is still melted). Wipe the pot and utensils out while hot with paper towels and then immediately scrub with hot, soapy water.
- You can hang your wax dipped leaves to dry (hang as individual leaves in a dry location), but we just placed ours on wax paper in a single layer on a baking tray and allowed them to try that way. (We didn’t need to use a leaf press or flatten them.) We hung some with our nature display and used some for crafts.
TIP: There is no specific best wax paper for preserving leaves. We just used regular waxed paper.
Here are the full instructions on dipping leaves in beeswax and how to preserve fallen leaves…
How To Make Wax Leaves
Equipment
- Small pot or double boiler
- Tongs
Ingredients
- 1/2 cup beeswax pellets
- 60 fresh leaves not dried out
- Wax paper
Instructions
- In a small pot or double boiler, melt beeswax pellets over low heat until completely melted. Do not allow to boil.
- Spread out wax paper on counter.
- Carefully drop a leaf in melted beeswax. Using tongs, grasp leaf from melted wax and hold up over pot so excess wax drips off.
- Place leaf on wax paper. Using tongs, immediately pick up leaf so that it doesn't stick to wax paper. Return to paper to dry completely.
- Repeat the process with each leaf, one by one. (Do not do more than one leaf at a time or else they will stick together.)
- Use wax leaves for decorations or crafts. The wax leaves will last for months after you have dipped them and they are dry.
Notes
Children’s Books For Preserve Autumn Leaves Project
I love this preserve autumn leaves project because there are so many great children’s books and learning opportunities that go along with why do fall leaves change color.
Check out these fall children’s books to go along with your wax fall leaves projects and leaves wax paper craft ideas:
Tree Full of Wonder: An educational, rhyming book about magic of trees for children
Why Do Leaves Change Color? (Let’s-Read-and-Find-Out Science 2)
You can even read some poems about fall leaves!
Let us know how your beeswax dipped leaves go!


