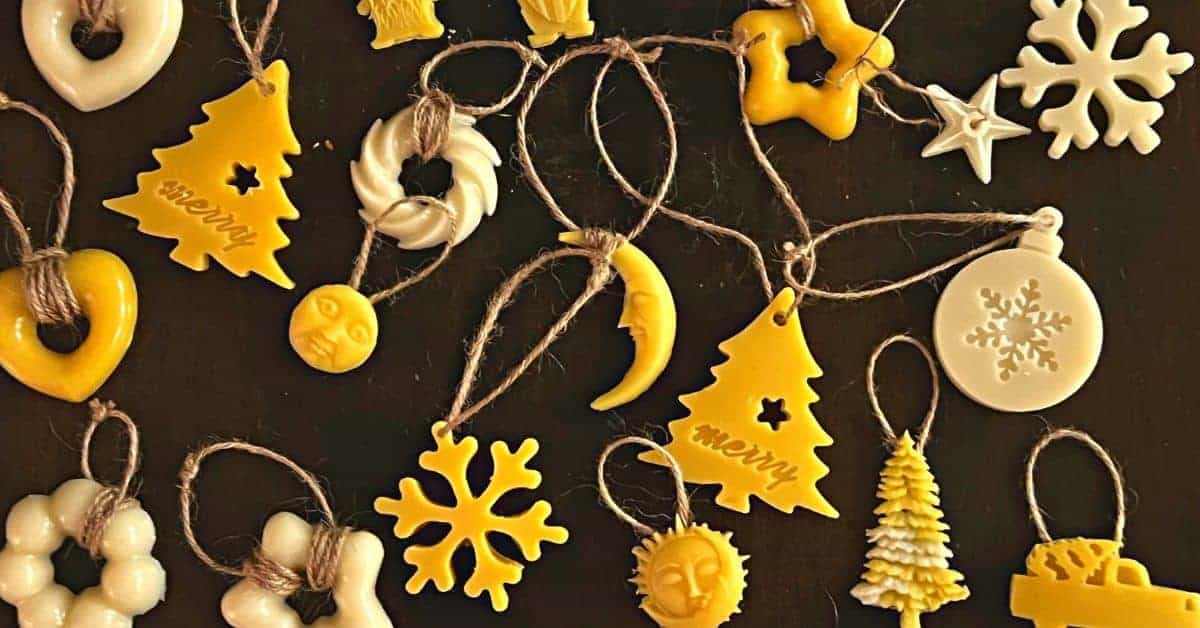
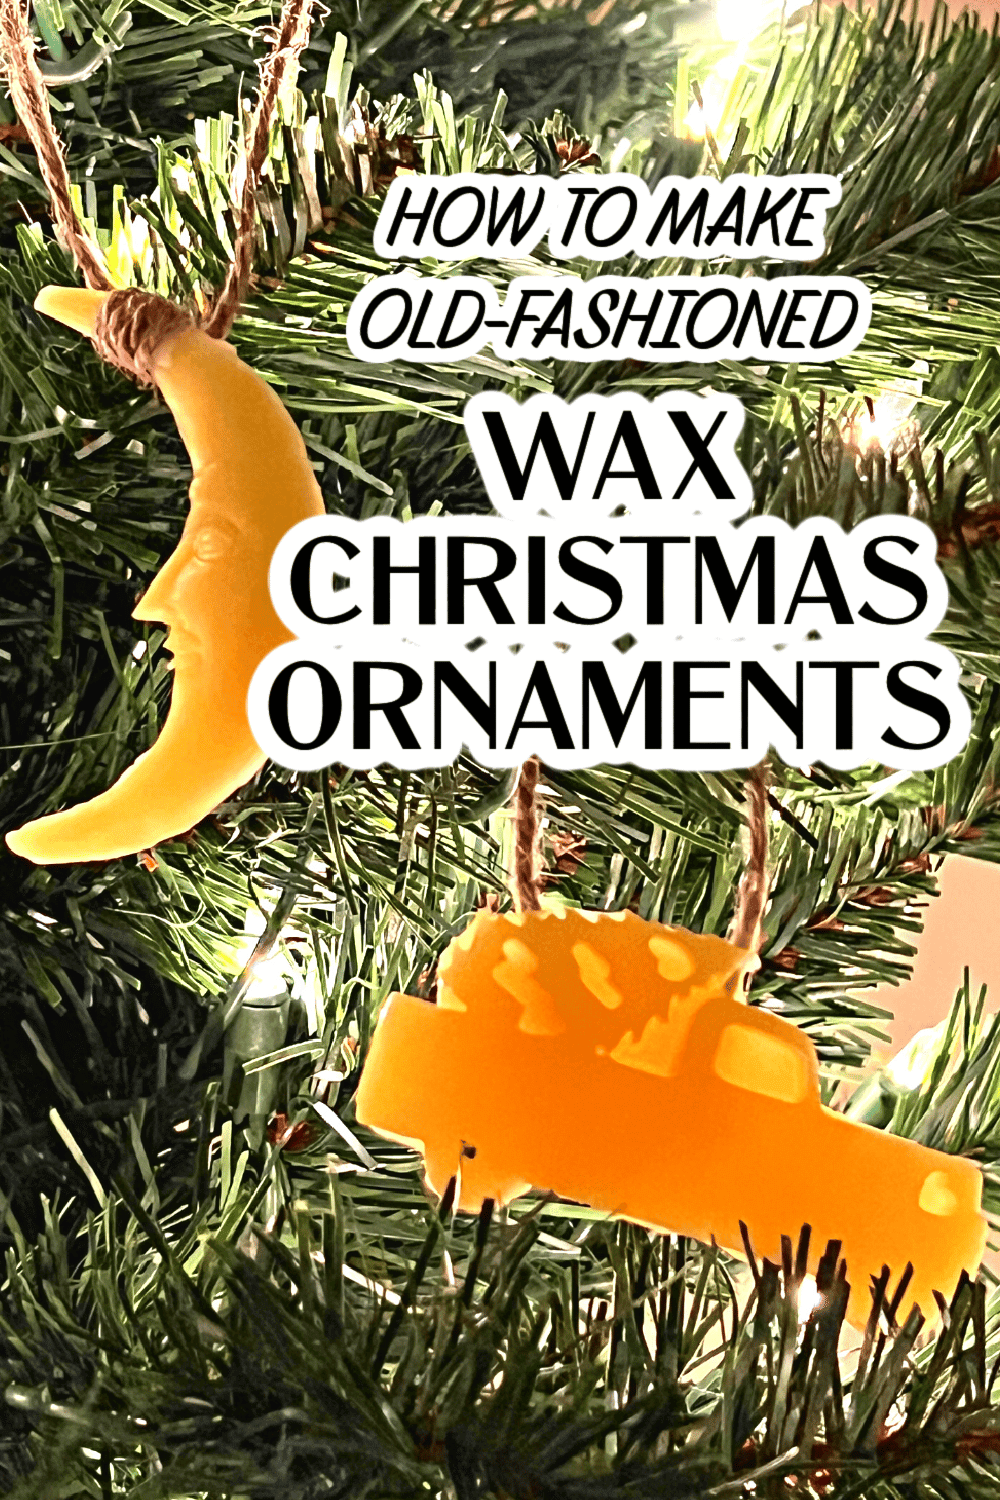
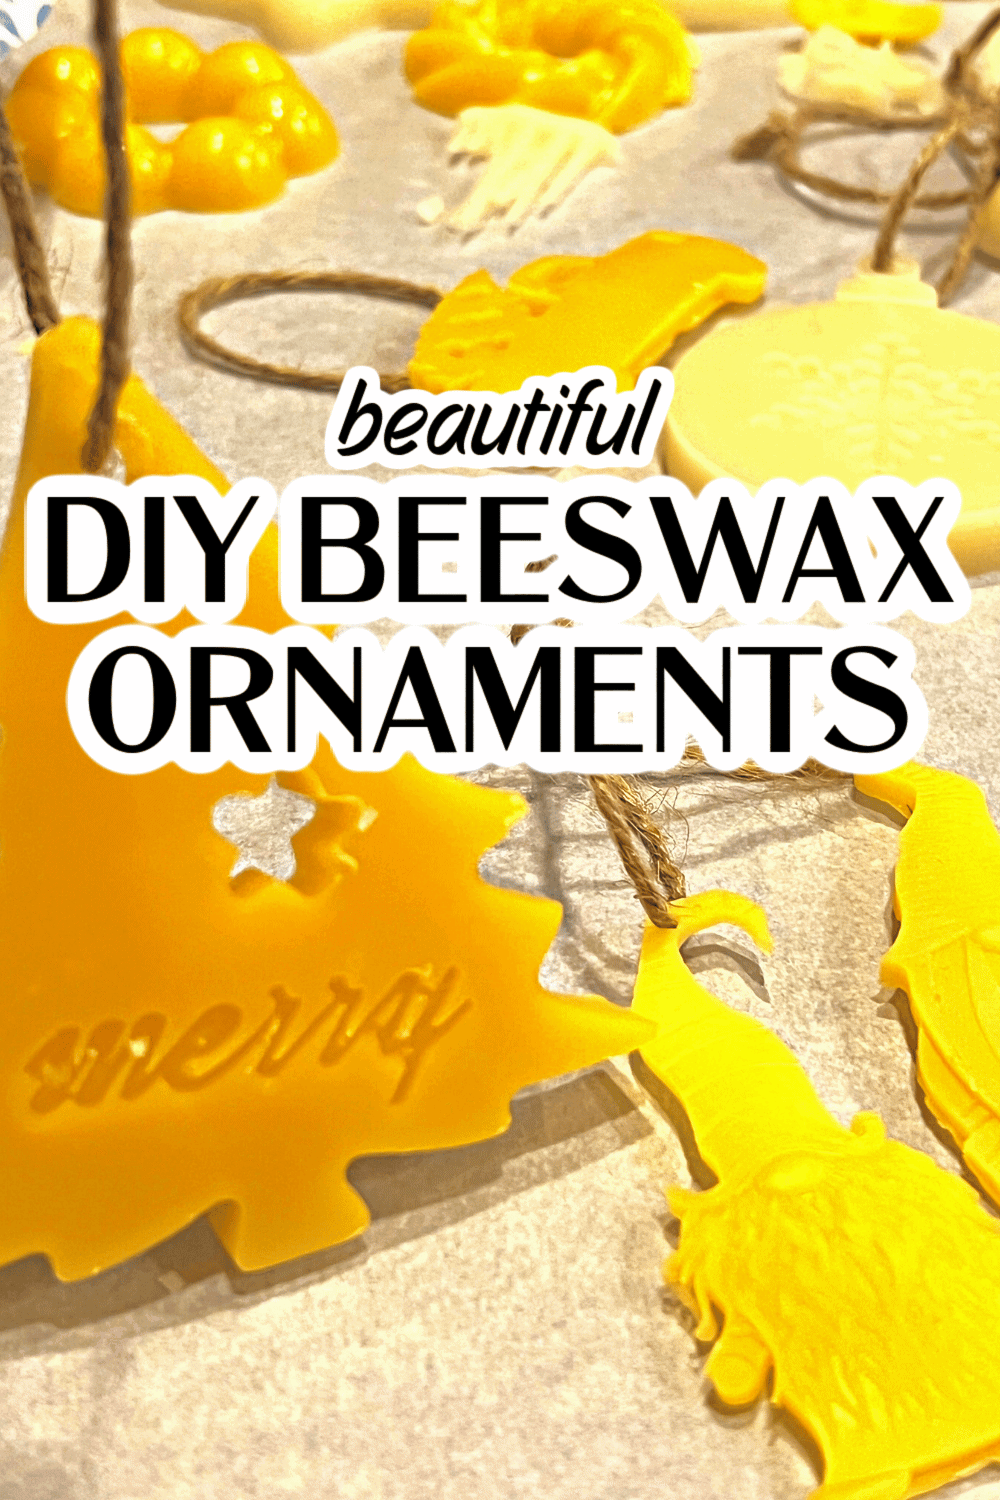
Wondering how to make beeswax ornaments? They’re easy to make kids activities for the holiday or solstice crafts, so add these to your fun DIY beeswax ideas. We’ll even talk about beeswax ornaments history to share with the kids while making ornaments. If you’re looking for old fashioned ornaments or you’re having an old fashioned Christmas, add these to your family activities or for ideas for homemade Christmas ornaments!
How To Make Beeswax Ornaments for Christmas
Did you know the same beeswax for candles you can use for making bees wax ornaments for Christmas? These eco-friendly ornaments are also great sustainable gifts for the holiday season! (Use these for versatile decorations or maybe you can even put your beeswax ornaments for sale!) If you’ve ever wondered how do I make my own beeswax ornaments, today is your day!
How do you make beeswax ornaments?
Beeswax Ornaments DIY Step By Step:
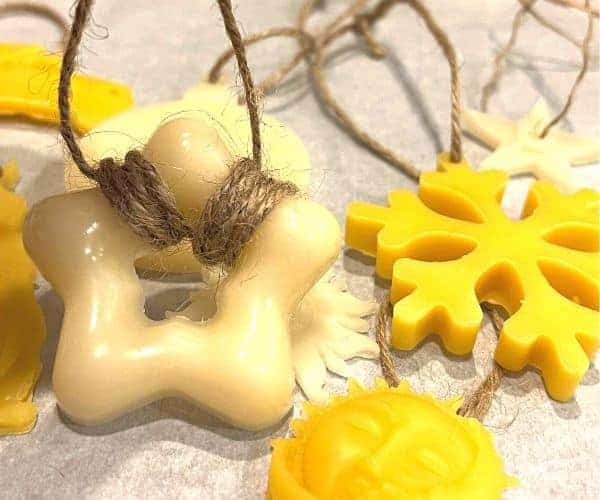
- Melt beeswax pellets (aka: beeswax pastilles) over low heat on stove until completely melted and you have hot wax. (TIP: Melting beeswax in the microwave is more difficult. I recommend doing it on the stove top.)
- Remove from heat and add in essential oil beeswax fragrance load and stir. (Optional, if you’re making scented beeswax ornaments.)
- Carefully pour into prepared beeswax ornament molds or silicone ornament molds or clay mold. (TIP: Some people say to spraying the mold with vegetable spray or wax release is necessary, but we used silicone molds and did not have any trouble removing them without spraying first.)
- Let set to harden.
- Tie red ribbon, jute twine, fishing line, or add ornament hangers to your beeswax mold Christmas ornaments.
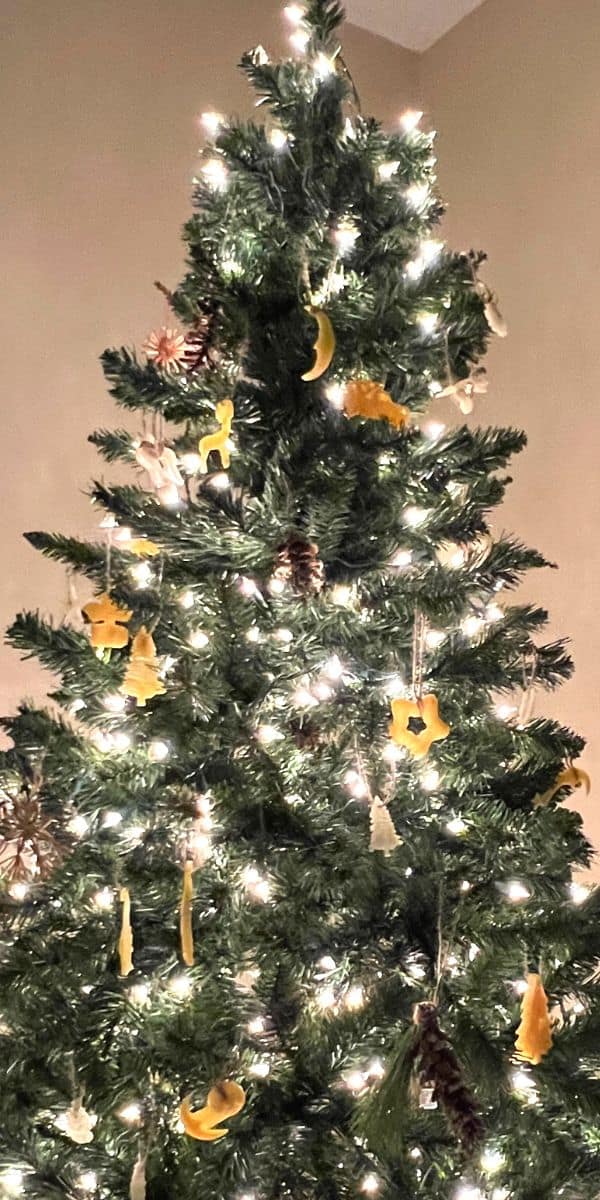
- Hang on the Christmas tree, gift beeswax Christmas ornaments to your friends or family, or use as winter solstice decorations / Yule decorations.
See the full beeswax ornaments recipe printable instructions card below. KEEP SCROLLING for the full DIY German Beeswax Ornaments tips and DIY beeswax ornaments supply list.
IMPORTANT: If this is your first time making beeswax ornaments (or working with bees wax), please read through all of these tips before getting the DIY ornaments directions!
How much beeswax do I need?
About 1 pound of beeswax can make around 6-8 medium size ornaments. The amount of beeswax you need will depends on the size of the ornament molds you are using and how many you plan to make. If you’re using smaller holiday ornament molds (or a mix of small and large sizes), you will probably get more ornaments.
If you’re unsure, start with 1 cup of beeswax pellets and melt those. That will give you a feel of how much beeswax you will need to finish the amount and size of Christmas molds you have.
About Beeswax Ornament Molds
When looking for molds for beeswax ornaments to make wax Christmas ornaments, size matters.
You can use traditional Brown Bag molds (Brown Bag cookie molds) or even silicone ornament molds (which is what we used) to make your beeswax Christmas tree ornaments.
The Christmas silicone molds were really easy to work with and released the ornaments easily because you could peel the mold away from the waxed ornaments.
If you use the old school Brown Bag molds, you may want to spray them with cooking spray or wax mold release.
(We did not use cooking spray or release mold spray and ours were fine!)
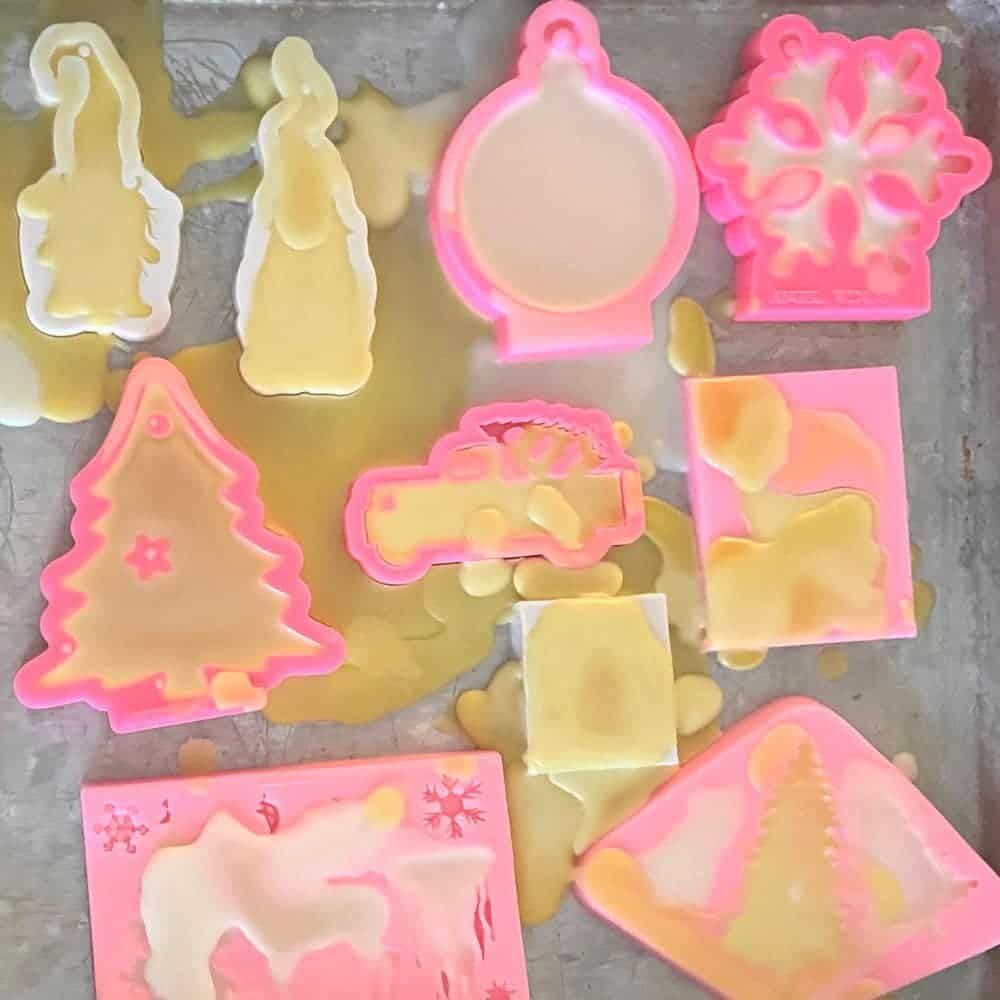
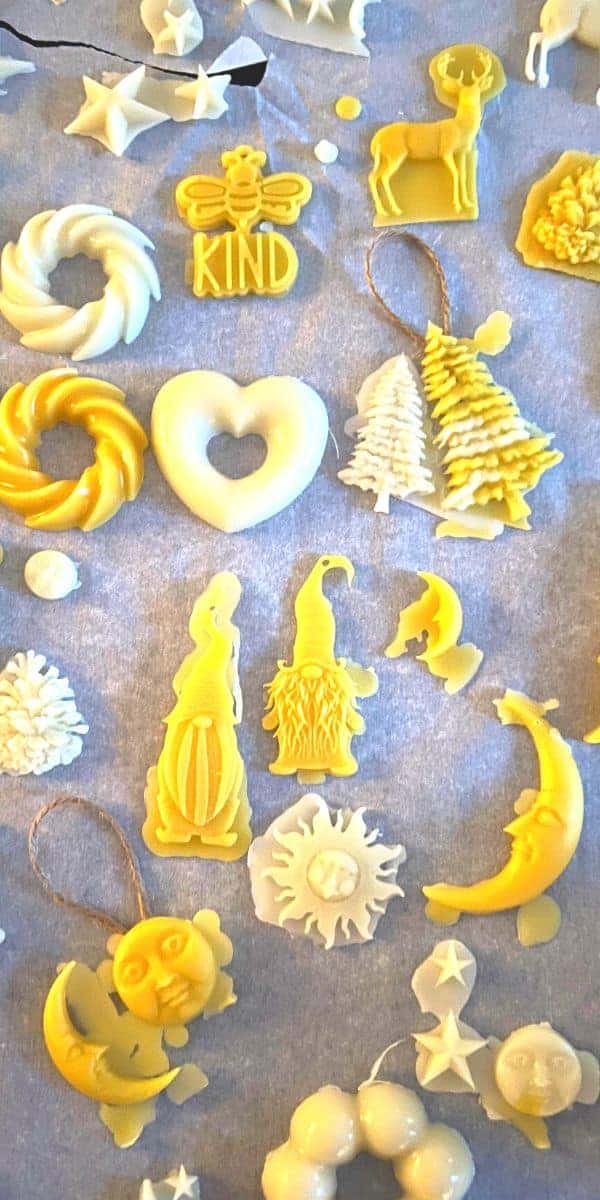
These are some of the silicone molds that we used for our beeswax ornaments craft…
Beeswax ornaments Christmas ideas (silicone Christmas ornament molds):
- Be Kind silicone mold
- Christmas tree silicone molds
- Christmas gnomes (these were thin, but turned out to be some of my favorite wax ornaments to make! Definitely make some DIY Christmas ornaments gnomes!)
- Christmas ornament silicone mold – this mold for silicone 3 set came with an ornament, a mold for a Christmas tree, and a silicone mold for snowflakes and we loved how these turned out!
- Old fashioned truck with Christmas tree ornament mold
- Pinecone silicone mold
ALSO, we used this silicone donut mold muti-pack (that we already had) and they made THE BEST holiday ornaments! We filled them about 1/4 way full. When the wax was completely set, the ornaments were SO SHINY (see pictures) that they didn’t even look like wax! They make such beautiful beeswax ornaments (and ended up being my daughter’s favorites!).
TIP: Stay away from the mini Christmas silicone molds. They are just too small for an ornament beeswax craft and not deep enough to create wax ornaments with holes in them without them breaking easily.
You can also look for antique chocolate molds or clay cookie molds for unique designs to cast beeswax ornaments.
Some molds have holes at the top of the ornament for the string or the hanger. For wax molds without holes, you will need to press the ribbon (or hanger) into the wax before it hardens (or the next step will be using a toothpick or skewer to make a hole in the wax).
YOU’LL ALSO ENJOY THESE OTHER HOLIDAY KIDS ACTIVITIES:
Easy Christmas Tree Star Paper Craft
How To Make An Orange Pomander
Winter Solstice Craft for Kids
Simple DIY Garland With Dried Fruit
How To Dry Oranges Slices For DIY Decorations
How To Make A Popcorn Garland With Cranberries
Let’s cover a little bit about white vs yellow beeswax…
Which beeswax is better white or yellow?
The color of beeswax may vary. A yellow beeswax generally indicates a natural beeswax from honey bees, while a white beeswax has gone through a filtration process. However, the natural color of beeswax can vary.
The color of beeswax depends on many factors:
- Age of the bees
- Flowers that bees gathered nectar from
- Where the bees are located
- Purity of the honey
- How long you heat the beeswax for crafts
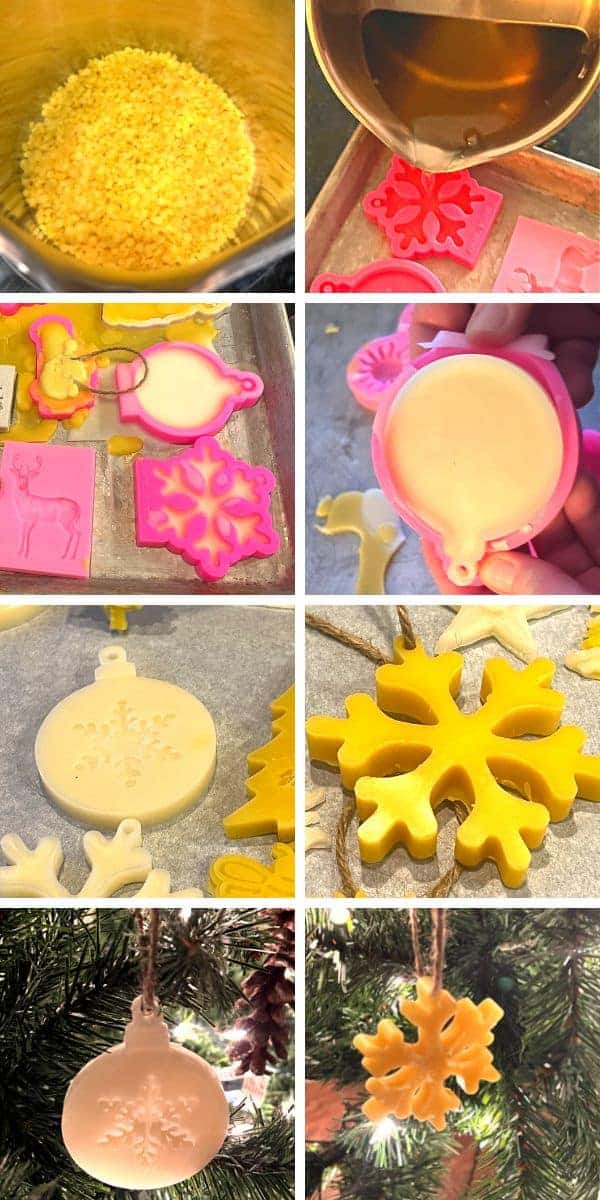
For our ornaments, we used both white bees wax and yellow bee wax. (It’s really just a preference and doesn’t matter which one you choose for your DIY ornament craft. It’s the same wax you use for beeswax candles.)
The yellow beeswax pellets will make yellow Christmas ornaments (or more of a gold ornament color).
The white beeswax pellets stay white once the wax hardens (or more like ivory). We found the white beeswax shiny after removing it from the Christmas ornaments molds.
Here is the white beeswax for ornaments we used.
Here is the yellow beeswax for ornaments we used.
How To Clean Beeswax
If you’ve never worked with beeswax, just know that it can be very messy and will stick to everything. Be sure to protect your countertops and floors in the area you are working (especially if you’re doing a beeswax ornament craft with kids!).
Also, beeswax is very difficult to clean out of pots or off of utensils.
My recommendation is to get a pouring pot and use that specifically for your wax crafts.
- If you’re using a double boiler with a pot on top, be sure to carefully wipe out the beeswax in the pot while it’s still warm with paper towel or a soft cloth. (If it cools, just heat the pot again and then wipe it out.)
- For a microwave bowl, heat the bowl in the microwave until the film of beeswax has melted and then wipe it out with paper towels.
- If beeswax is stuck to utensils, heat up water in the microwave. Once removed, place the utensils in the water. Once the beeswax has melted from the utensils, immediately wipe them with paper towels. CAREFUL: they’ll be hot!
- If beeswax is stuck to counters, heat the beeswax spots with a hair dryer and then wipe away with a paper towel.
How to Store Beeswax Ornaments
Store your homemade ornaments in a layers separated by wax paper or parchment paper in a box or container with lid. Once you’ve made pure beeswax ornaments, you want to take the time to store them correctly. Some poured wax ornaments can be thin, so you want to be sure to store them in a way that they won’t get cracked or broken.
Also, beeswax ornaments may react to heat and bend, so it’s best to store them where it doesn’t get too hot (and not in places like the garage attic!).
Take proper care to store your ornaments so you can use them next holiday season! (You don’t want a melting Christmas tree ornament when you open them next year!)
How To Melt Beeswax Safely: Important Information About Heating Beeswax
Important Craft Tips: PLEASE READ
What temperature does beeswax melt?
Beeswax has what’s called a low melting point. Beeswax melts at around 144 – 147 °F (62-64°C). The longer you heat beeswax and the higher the temperature gets, starting at around 185 °F (85 °C), the beeswax color will start to get darker. Use your melted bees wax as soon as it is completely melted.
What happens if you overheat beeswax?
If you leave beeswax heating, it will darken and discolor the beeswax. Most importantly, beeswax heated to a very hot temperature (400 °F) is flammable. Don’t leave your beeswax heating unattended on the stove top or in the microwave!
What’s the best way to melt beeswax?
The best way to melt beeswax is to use a double boiler with about 1/3 of the bottom pot filled with water and then the pan filled with unmelted beeswax on top. You can also use a pouring pot to heat in a pot of water.
Ways To Melt Bees Wax:
History Of Beeswax Ornaments
Beeswax has been used to make ornaments as an old world tradition for a very long time.
The origin of beeswax Christmas ornaments and tradition of beeswax ornaments is traced back to Germany.
Families in Germany would traditionally make the ornaments at home as a fun activity to do during the winter months.
They would use beeswax, which was readily available due to the abundance of beehives in the country.
Over time, these ornaments became popular around the world, and people started making them at home or purchasing them from specialty stores selling beeswax ornaments.
Despite the availability of other materials, such as plastic or glass, many people still prefer beeswax ornaments because of their natural beauty and warmth.
They can be hung on the Christmas tree, used as gifts, or added to wreaths and garlands to enhance the holiday decor.
These ornaments are still placed on Christmas trees, windowsills, and wreaths as part of the holiday decor or solstice decor today!
Today, there are many different styles and designs of beeswax ornaments, ranging from simple stars and snowflakes to more intricate designs that incorporate intricate patterns and colors with specialty molds.
The old-fashioned ornaments are an enduring symbol of the Christmas season, and we look forward to seeing them beautifully adorning our homes for many years to come as we add this for an annual family holiday tradition activity.
How Do You Make Beeswax Ornaments?
DIY Beeswax Ornaments Tutorial Step By Step
These poured wax ornaments are such fun Christmas crafts for kids or even a holiday family tradition activity.
You can even add these to your candle science activities or as a STEM science Christmas decorations activity!
You may have heard about blackened beeswax ornaments, but these aren’t black beeswax ornaments. These are just natural beeswax ornaments.
These beeswax decorations are some of my favorite homemade Christmas ornaments. We may even add this as a new family tradition this year and beyond! (It’s one of the most fun uses for beeswax and a fun way to spend quality time during the holiday season!)
Also, these are awesome DIY beeswax ornaments for gift-giving!
(And fun winter activities kids ideas!)
CRAFT TIP: We used small scissors like this to cut away any spillover. (We were a mess with spillover! DEFINITELY place your silicone mods in baking sheets to catch the extra wax!) Also, don’t throw away your spilled wax or the wax you trim away. Place it back in the bag because it can be melted again for your next beeswax craft projects!
IMPORTANT! Beeswax ornaments how to make them safely: Clearly melted beeswax is very hot and will burn if you get it on your skin. It’s important for adults to do the melted beeswax pouring. This beeswax pour pot will help! (You definitely need something with a pour spout.) This is an easy beeswax craft for the whole family, but adults (not little hands!) need to do the heating and pouring of real beeswax.
How To Make Beeswax Ornaments
Equipment
- Double boiler
- Metal ladle with pour spout (optional)
- Toothpicks or skewers (optional, to help make holes for ribbon)
- Small scissors (optional, but can help trim away any spillover)
- Baking sheet(s)
- Wax paper or parchment paper
Ingredients
- 1 pound yellow or white beeswax pellets
- Essential oils scent optional
- Holiday silicone molds of choice medium to large
- Ribbon twine, or ornament hangers
Instructions
- Put water in bottom of double boiler pan. Bring water to a boil and then reduce heat to low.
- Place beeswax pellets into top pot and place on top of doubler boiler with water. Slowly melt beeswax on low heat.
- Prepare silicone molds by placing them on a baking sheet (to protect counter from any over spill). Make sure the sheets are on a flat, even surface (or else the wax won't fill into all the details of your silicone molds).
- OPTIONAL: Once wax is melted, removed from heat and immediately add a few drops of essential oil scent. (Optional, we didn't use any scents.)
- Immediately and CAREFULLY pour beeswax into prepared molds (pouring directly from the pot or from a metal ladle with pour spout), being careful to minimize the spillover if possible. Beeswax sets quickly, so don't allow it to be off the heat too long before pouring it in the holiday mold ornaments.
- After a couple of minutes, and once you see the beeswax start to set and change colors, gently press your ribbon or ornament hanger into the top. **SEE NOTE BELOW**
- Allow ornaments to set for around 20 minutes. (It may take longer or shorter depending on the size and thickness of your molds.)
- Once set, gently remove the ornament from the molds and place on wax paper or parchment paper. Trim away any spillover with small scissors. Continue threading ornaments with ribbon or ornament hangers.
- Hang your handmade ornaments on the tree and enjoy!
Notes
READ THIS NEXT: How To Throw A Little House On The Prairie Christmas Party
Tag us in your pictures of DIY beeswax Christmas ornament crafts. We’d love to see your beautiful Christmas ornaments!


