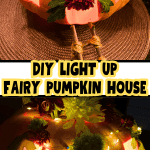
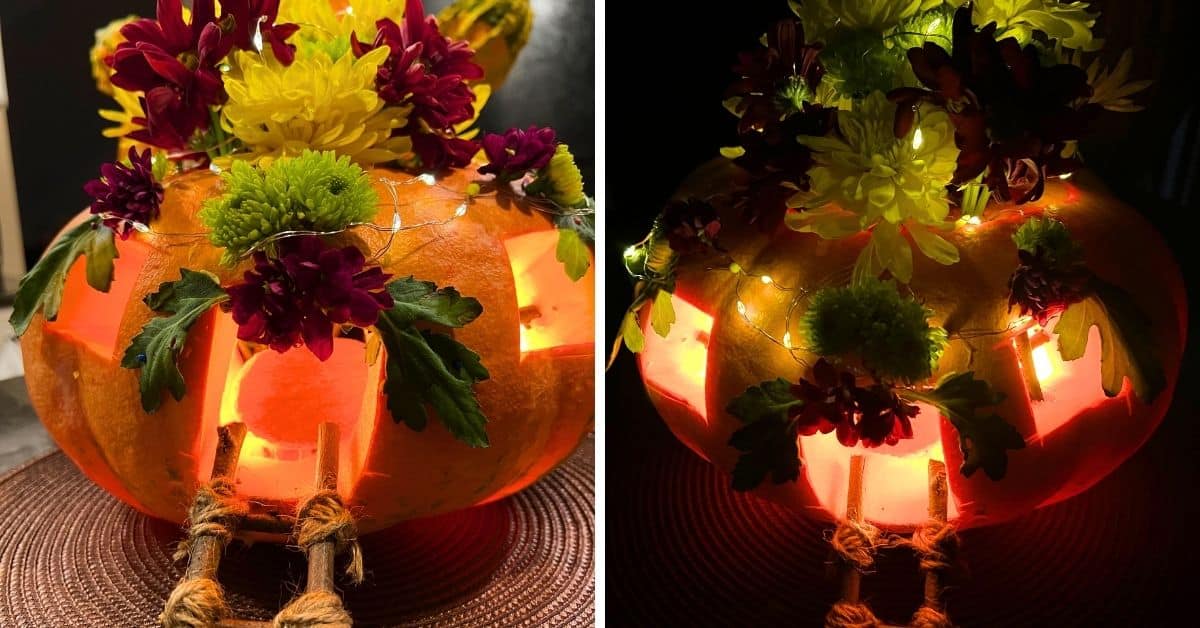
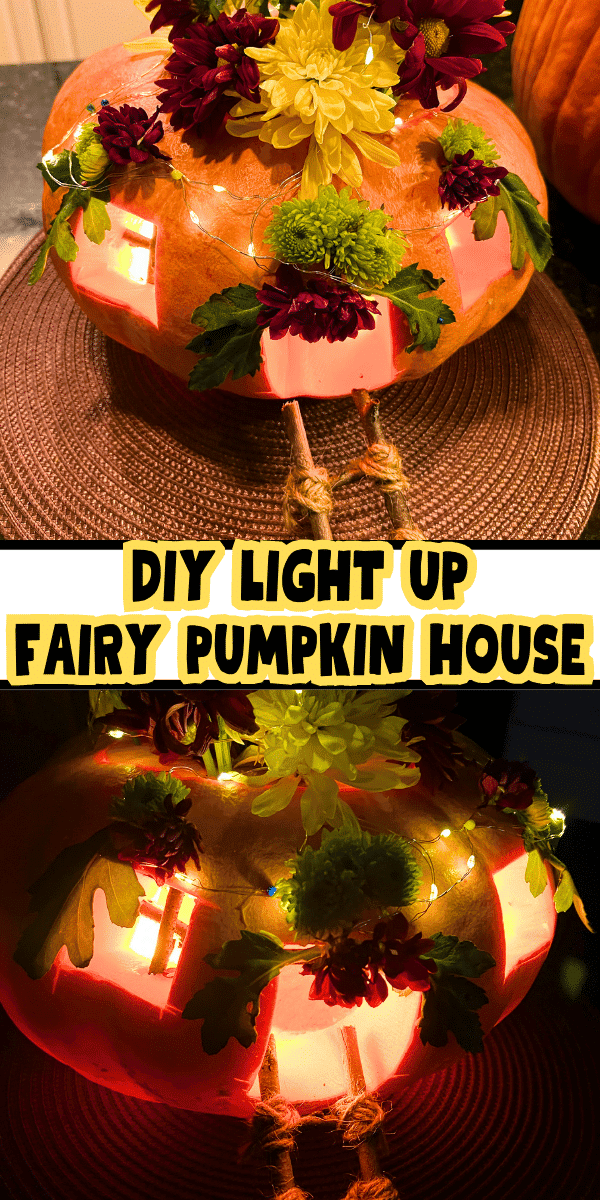
Want to learn how to make a pumpkin fairy house? If you need fun pumpkin carving ideas, pumpkin decorating ideas, fall kids activities, or fun fairy craft, definitely add this to your autumn activity calendar!
DIY Pumpkin Fairy House
Pumpkin houses are a fun kids activity fairy house idea and something different to do with Halloween pumpkins (especially if your kids love fairies). You can even make a pumpkin fairy garden for Halloween or fall crafts project or autumn nature craft.
Making A Fairy Pumpkin House
Halloween Fairy Pumpkin Materials:
- Hollow pumpkin (seeds and flesh of the pumpkin removed)
- Fresh flowers and leaves
- Twigs, sticks, or popsicle sticks
- Twine or yarn
- Pumpkin light
- Fairy lights
- Fairy accessories or play fairies (optional)
KEEP SCROLLING for the full pumpkin fairy house DIY instructions below and ideas for a handmade fairy house.
We wanted to make fairy house pumpkins for Halloween after my daughter and I were looking at some beautiful ones on Pinterest. We decided to take some of our favorite ideas and make a DIY similar house and our own pumpkin fairy house.
It was so magical and would be fun for a fairy Halloween garden made of these (or even a haunted Halloween fairy house pumpkin with a few decorating adjustments!).
Fairy House Pumpkin Ideas
Try these fun fairy pumpkin ideas:
Autumn Leaves and flowers: Decorate the surroundings with colorful leaves and flowers to create a natural and enchanting setting.
Sticks and twigs: Use small sticks to create fences, bridges, or ladders for the fairy house.
Pebbles and stones: Place pebbles and stones around the fairy house as stepping stones or a pathway.
Moss: Use moss to create a green, natural roof for the pumpkin fairy house or a cute pathway to your pumpkin fairy house jackolantern.
Acorns and pinecones: These can serve as tiny accessories, like flower pots or furniture, for the fairy house.
Fairy lights: Add a magical touch by placing tiny fairy lights inside and/or outside the pumpkin house to make it glow at night.
Pumpkin Light: Add a pumpkin light to the inside of your fairy garden pumpkin house to give it a warm and inviting glow from inside.
See our pumpkin house ideas and Halloween ideas below. You don’t need to buy a pumpkin fairy house kit. You can find things around your yard or on a nature walk to use for pumpkin fairy house ideas! Grown ups and kids will love this fall project!
Here’s how we make the pumpkin fairy houses (or do fairytale pumpkin carving)!
How To Make A Pumpkin Fairy House
Carving A Real Pumpkin Fairy House
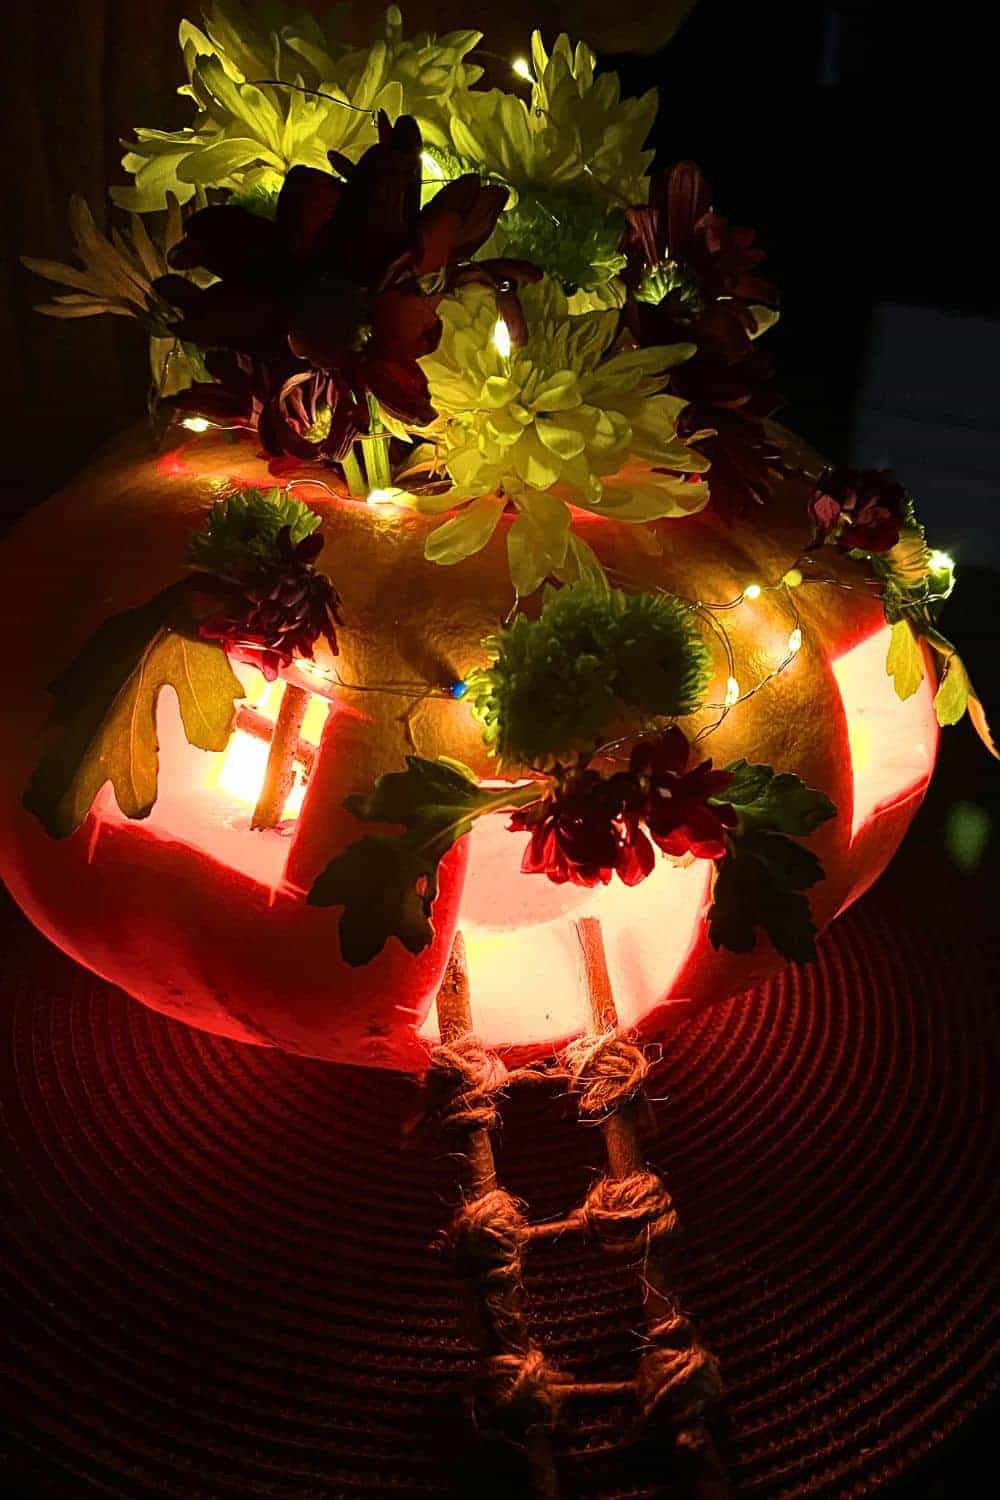
The pumpkin fairy house is one of my favorite Halloween crafts my daughter and I have worked on. It ended up beings such a beautiful pumpkin and there really was something magical about it!
These are just fairy houses ideas that we used. You can make fairy house using any materials you want!
Our fairies house used flowers and nature items from outside, but you can use any materials for your fairy garden pumpkins.
This is an easy pumpkin fairy house craft, but you will need adults to help with the pumpkin fairy house carving and putting the halloween pumpkin fairy house together.
MORE HALLOWEEN FUN IDEAS: Halloween Activities For The Family At Home (Fall Fun For All Ages)
Pumpkin Fairy House Materials
- Small to medium sized pumpkin (we used the shorter, flatter pumpkins and not the tall pumpkins – I call them the fairy tale pumpkins or the fairy godmother pumpkin)
- Fresh flowers and leaves (of choice)
- Sticks or twigs
- Jute twine
- Fairy lights (we used these)
- Pumpkin light (for the inside, like this)
- Small push pins (optional, but we used them to hold the fairy lights in place)
You’ll also needs scissors, pumpkin carving tools / carving knife or one of those kid’s small saw-type knife (kids pumpkin carving set), and a glue gun (see STEP 2 notes).
To Make a DIY Fairy Pumpkin House
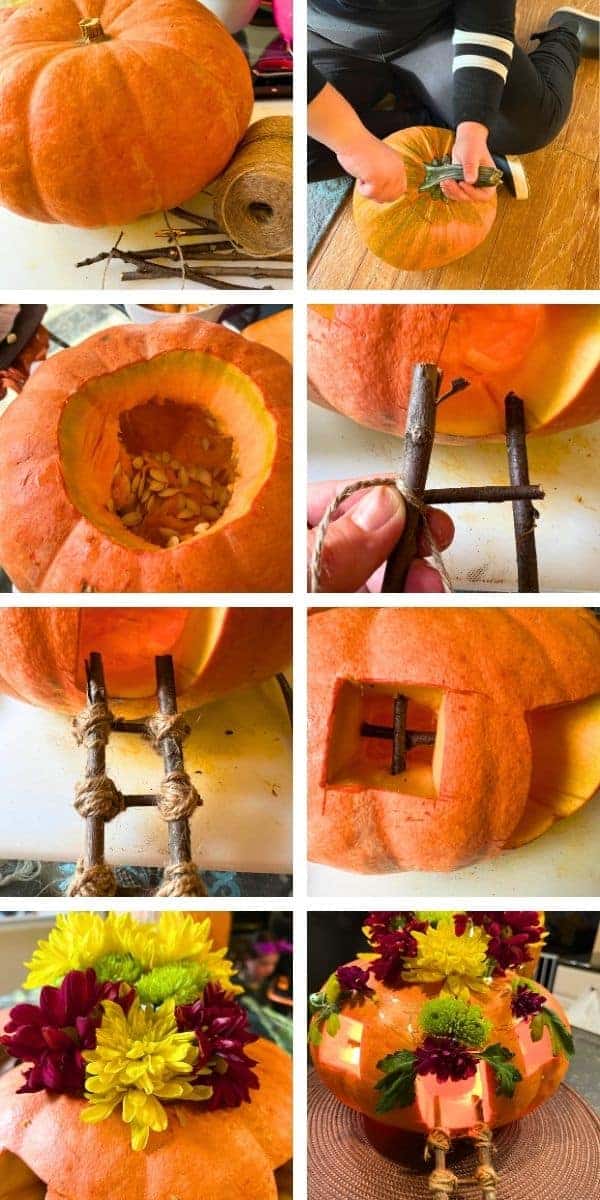
STEP 1: CLEAN AND CARVE YOUR PUMPKIN.
Before making your fairy homes, you’ll need to clean them out so the faeries can get in!
Using pumpkin carving tips, clean your pumpkin (as you normally would clean a Halloween jack-o-lantern pumpkin) by cutting a circle top (keep it!), removing the top, and cleaning out the pumpkin guts and pumpkin seeds.
CRAFT TIP: Be sure to save the pumpkin seeds for fun recipes like this!
STEP 2: CREATE THE FLOWER ROOF FOR THE FAIRY PUMPKIN.
We initially did this step last and I wished we had done it first because I did a lot of putting the flowers in and taking the top off and on to rearrange flowers and leaves.
So, it’s definitely easier to make the flower top first and then set it aside while you work on the rest of the pumpkin.
Also, we poked small holes in the pumpkin lid and then inserted the flowers into that, which was NOT a good idea.
(I had this great idea that we could put the flower stems in a cup of water inside the pumpkin to keep them alive longer, but that was a bust.)
The flower stems broke and petals kept falling off because of all the handling.
When I make a fairy pumpkin home again, I will definitely cut the stems from the flowers and hot glue them to the top of the lid of the pumpkin.
You can attach the flowers any way you want, but I really think a small dab of hot glue is the way to go. When we make another pumpkin house, I’ll update this post.
After you make your flower pumpkin roof, set it aside until you’ve finished the rest of the pumpkin decorating.
STEP 3: CARVE A DOOR AND WINDOWS.
Carefully carve a door into the front of your pumpkin.
Then, carve out as many windows as you want for your pumpkin. (We carved two by the fairy door.)
We made rectangles (because they’re easy), but if you’re good at pumpkin carvings, try a circular window!
MORE FAIRY ACTIVITIES:
HOW TO PLANT A CONTAINER FAIRY GARDEN
STEP 4: ADD INTERNAL LIGHTS.
Before you go any further, add a pumpkin light inside the pumpkin. We used a remote pumpkin light so that we didn’t need to mess around with the pumpkin a lot after it was decorated.
(We made it for the porch to go with our other Halloween pumpkins, but you could definitely make this a fairy house for kids to play with as fun kids activities for fall!)
You can also make a solar pumpkin fairy house that charges during the day in the sun using these lights.
STEP 5: MAKE THE STAIRS.
When we made our house for pumpkin fairies, we decided beforehand that we wanted to go with a nature theme (and not store-bought fairy accessories). However, you can use whatever you want!
We made our stairs and our window panes out of sticks and twigs we found in our backyard.
Making Fairy Steps
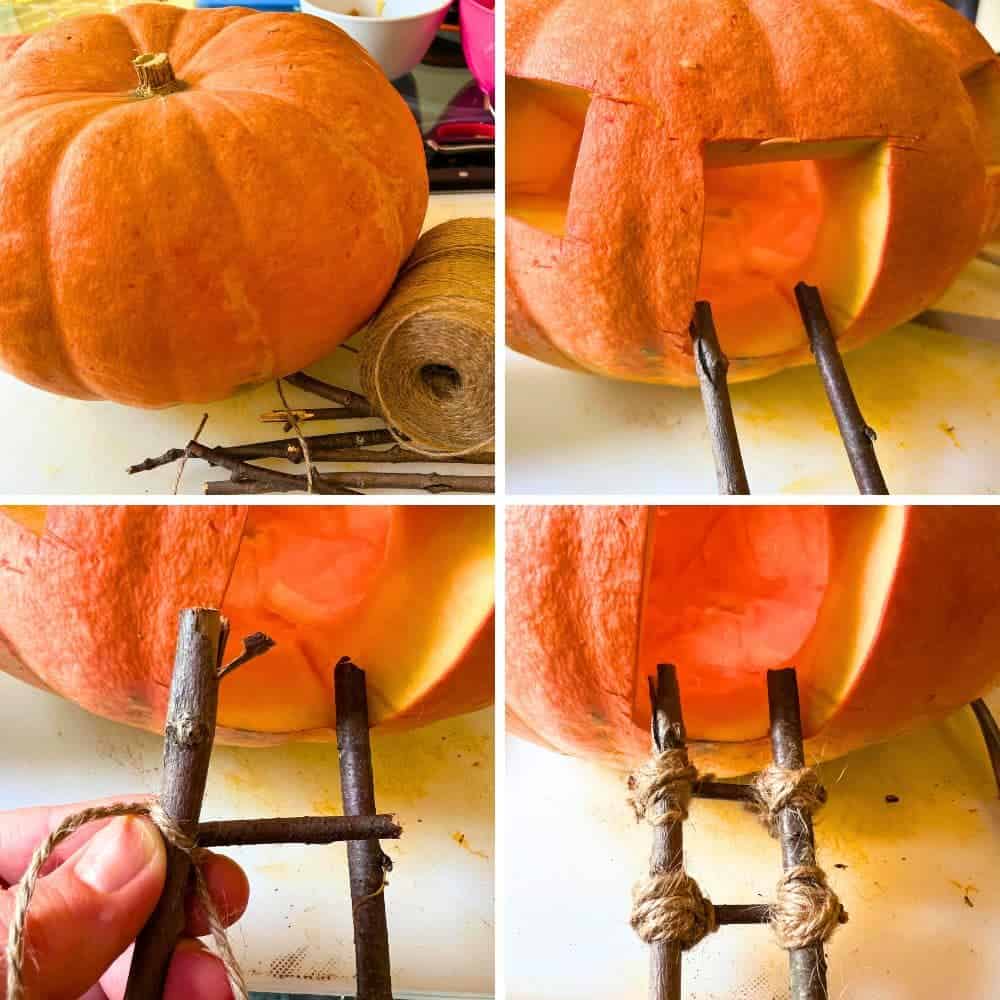
Before making your pumpkin door stairs, measure the length that you will need by placing a twig onto the door and resting it on the table. After we did that, we simply broke the sticks to the lengths we needed for our fairy ladder / stairs.
For the length for our pumpkin, we ended up using two long twigs and then three short twigs for the steps. (Your amount my vary.)
The hardest part was getting started with the first two sticks! After that, it will go quicker. So, you may have to help kids with this step.
Cut a length of twine that allows you to securely wrap sticks together. Place one small stick (step) perpendicular to the long stair side. Wrap with twine until secure and then tie off.
Continue this process with all steps and then add the other long stair side.
EASY CRAFT TIP: You can also glue your steps together and then add the twine for decorative purposes.
Making Pumpkin Window Panes
This is an optional step, but you can use two twigs to make window panes (like a cross).
We measure the size of sticks we need just by holding it up to the window. (Don’t cut them too short! You want them wide enough to touch the pumpkin)
Then, we pushed them inside the pumpkin windows and they stuck in the pumpkin. Easy!
STEP 6: DECORATE WITH EXTRA FLOWERS AND LEAVES.
Hot glue (or stick into the pumpkin) extra flowers and leaves over the door and windows for (or however else you want to decorate your pumpkin).
We used some leaves and made them look kind of like curtains on the outside and that was super cute.
You don’t have to worry about flower design or placement. You can just do what looks good or is fun for you!
You can also draw on the pumpkin, add fairy glitter, or add any other fairy accessories.
STEP 7: ADD FINISHING TOUCHES TO THE FAIRY HOUSE PUMPKIN.
We finished our fairy pumpkins by adding fairy lights on top of the flower lid. (It was really beautiful on Halloween night.)
We held the small fairy pumpkin lights in place with small push pins. That allowed us to place the outside lights exactly where we wanted them.
You can also add more fun things for the fairies like mini pinecone tables, glow pebbles, mini glowing mushrooms, or other fun fairy accessories for playing with a fairy pumpkin.
Then, enjoy your fairy pumpkin house! It’s a perfect addition to your Halloween fairy garden for the fall!
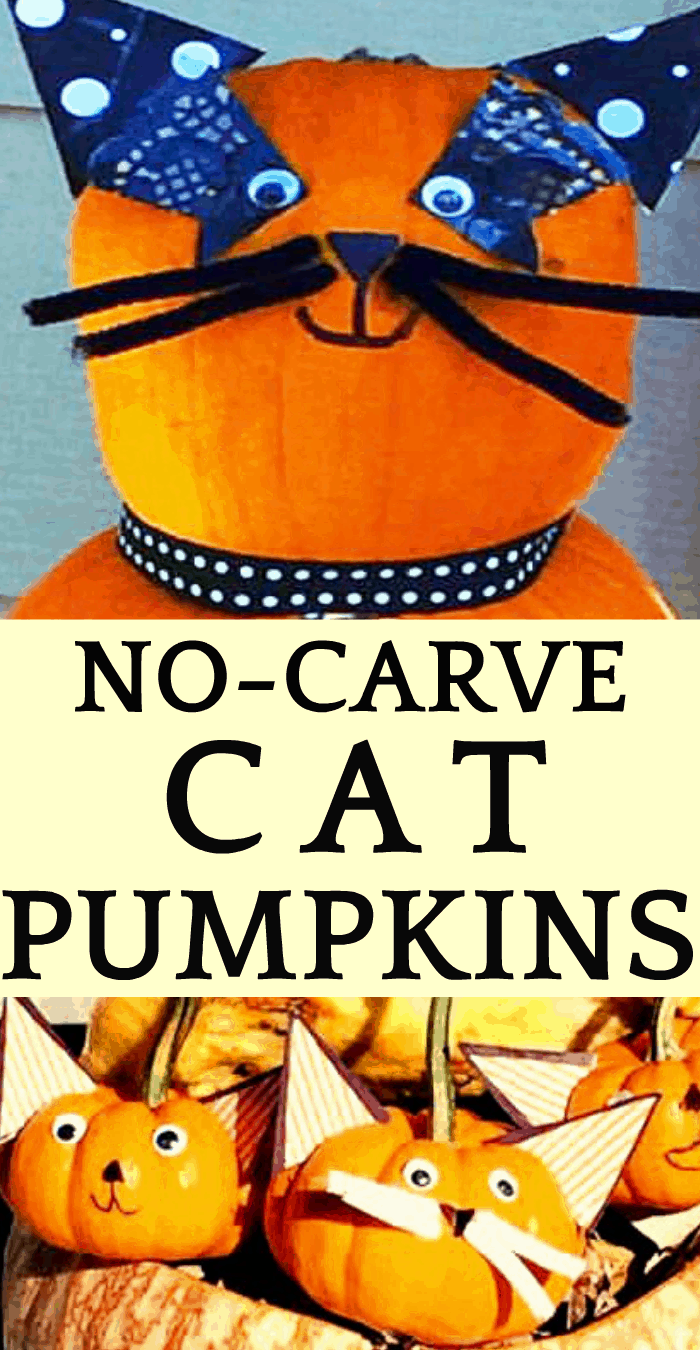
MORE HALLOWEEN PUMPKIN IDEAS: MAKE NO CARVE JACK O LANTERN CATS!
Happy Halloween and Happy Fall!

