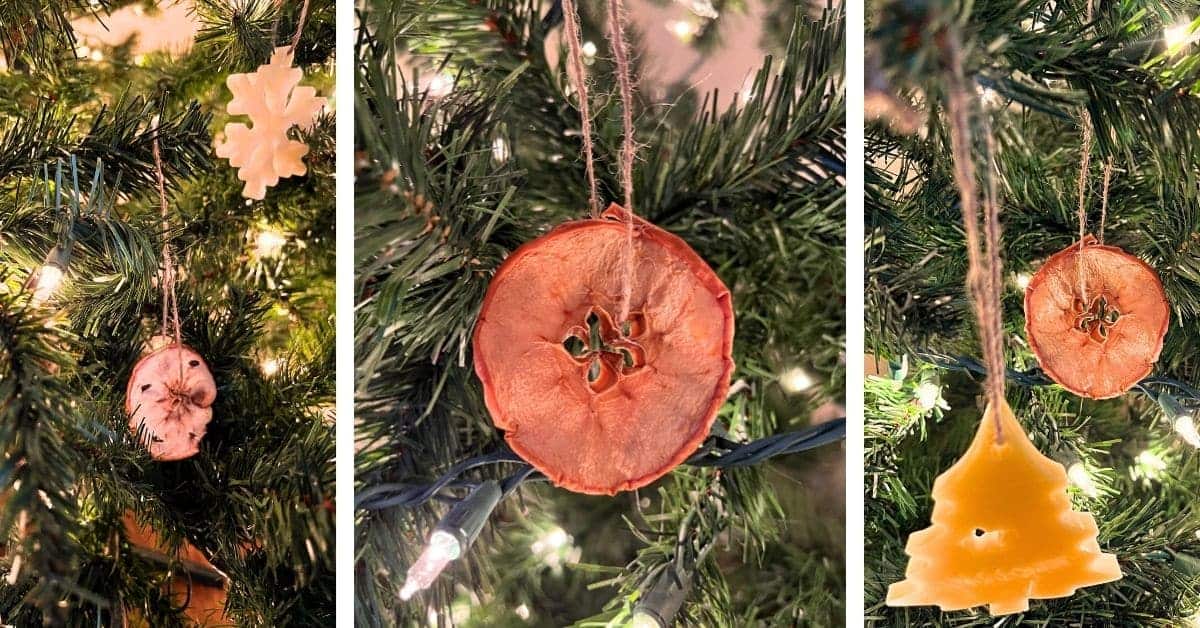
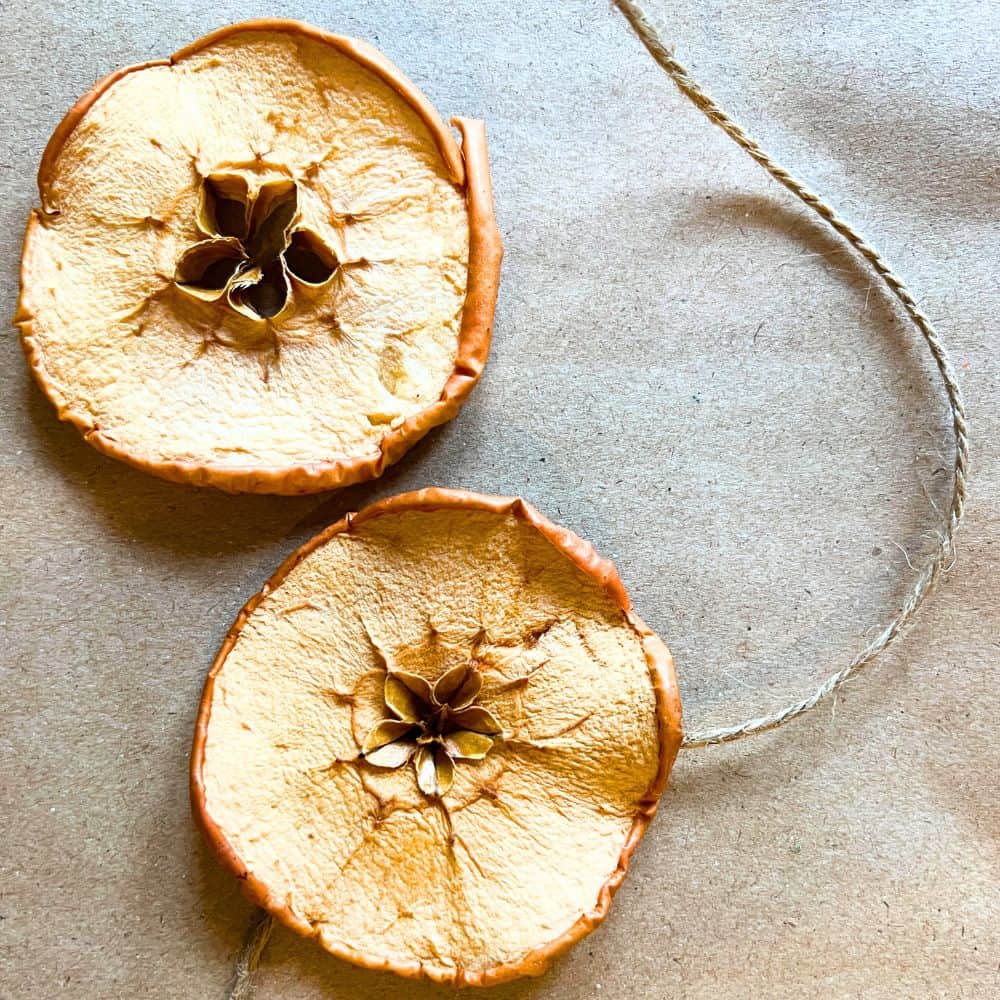
Dried apple ornaments are beautiful old-fashioned Christmas decorations (like fruit garland) and fun Christmas crafts, easy 25 days of Christmas kids activities for the holidays, things to do on Christmas Eve with family, or winter solstice craft projects. These little ornaments also make great gifts tied with a pretty ribbon!
DIY Dried Apple Ornaments Crafts
To Make DIY Dried Fruit Christmas Ornaments With Apples
Craft Materials For These Natural Ornaments:
- Apples (any apple variety)
- Cinnamon (optional, if you want scented ornaments)
- Twine, raffia bows, or yarn
How do you dry apples for ornaments?
You can easily dry apples for ornaments in the oven on low heat at 225 °F (170 °C). The trick to drying apples in the oven (or any fruit) is to go low and slow. Bake on low heat for 1 hour, then flip and continue on the other side.
CRAFT TIP: If you want to make fragrant dried apple ornaments with cinnamon, sprinkle the apple slices with cinnamon before baking. It will make the apples a little darker, though.
How long do dried apples last?
Dried apples for ornaments will last the entire holiday season as Christmas tree ornaments, dried apple decor, dried apple wreath, or on dried fruit garland. If you store dry apples in an airtight container, they will last about 6 months.
If you want to keep your apple ornaments, you can spray them with a craft spray like this to preserve them for next holiday seasons.
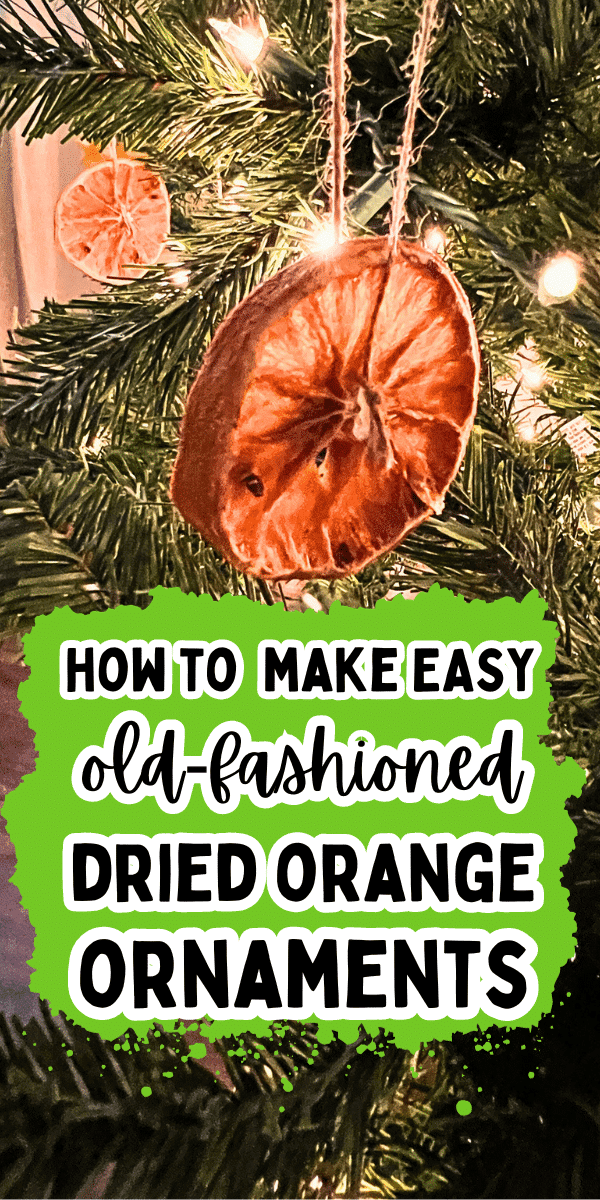
ALSO CHECK OUT: How To Dry Oranges for Dried Citrus Ornaments and Christmas Decorations
How To Make Dried Apple Ornaments Step-By-Step (With Pictures!)
Drying apples and making apple ornaments is an easy craft, but it does take time. Plan some fun kids activities during the downtime like reading Christmas books, watching holiday cartoons, or making other holiday crafts.
This is one of my favorite holiday craft project ideas for the season and helped us get into the holiday spirit. We also made beautiful garland with them in addition to the handmade ornaments! (It’s one of those holiday ideas that we still talk about!)
Definitely add this to your holiday craft ideas for kids or family time!
CRAFT TIP: While the apples are drying in the oven, we like to make other old-fashioned holiday ornament crafts like pinecone ornaments, orange pomanders, beeswax ornaments, paper stars, and popcorn garland.
Step 1: Prepare Apples
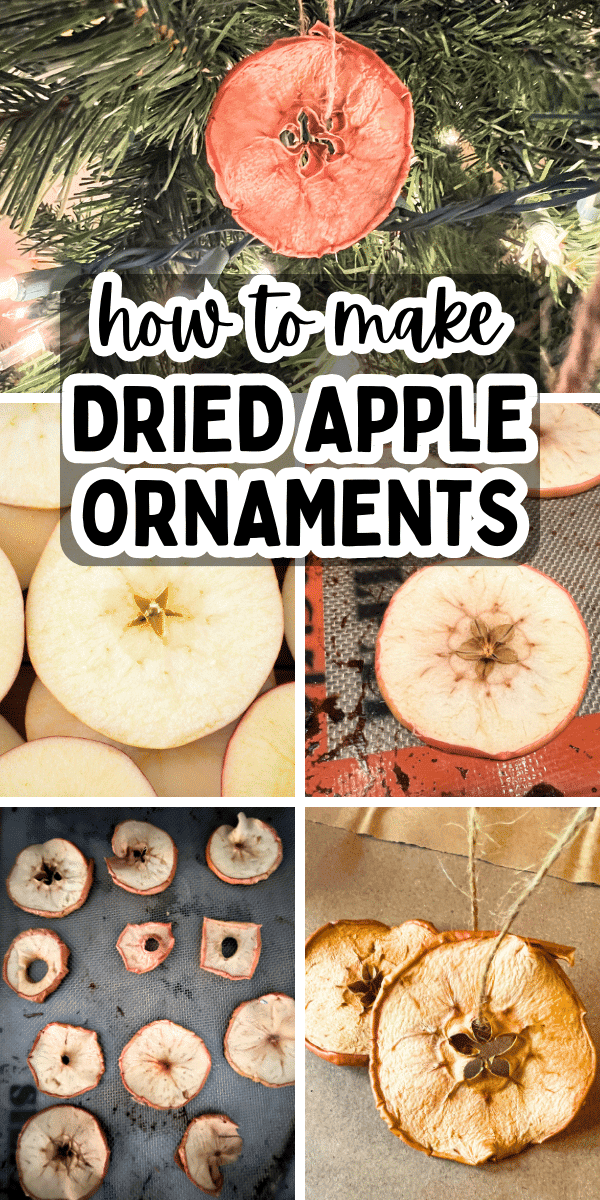
Cut round apple slices about 1/4-inch thick.
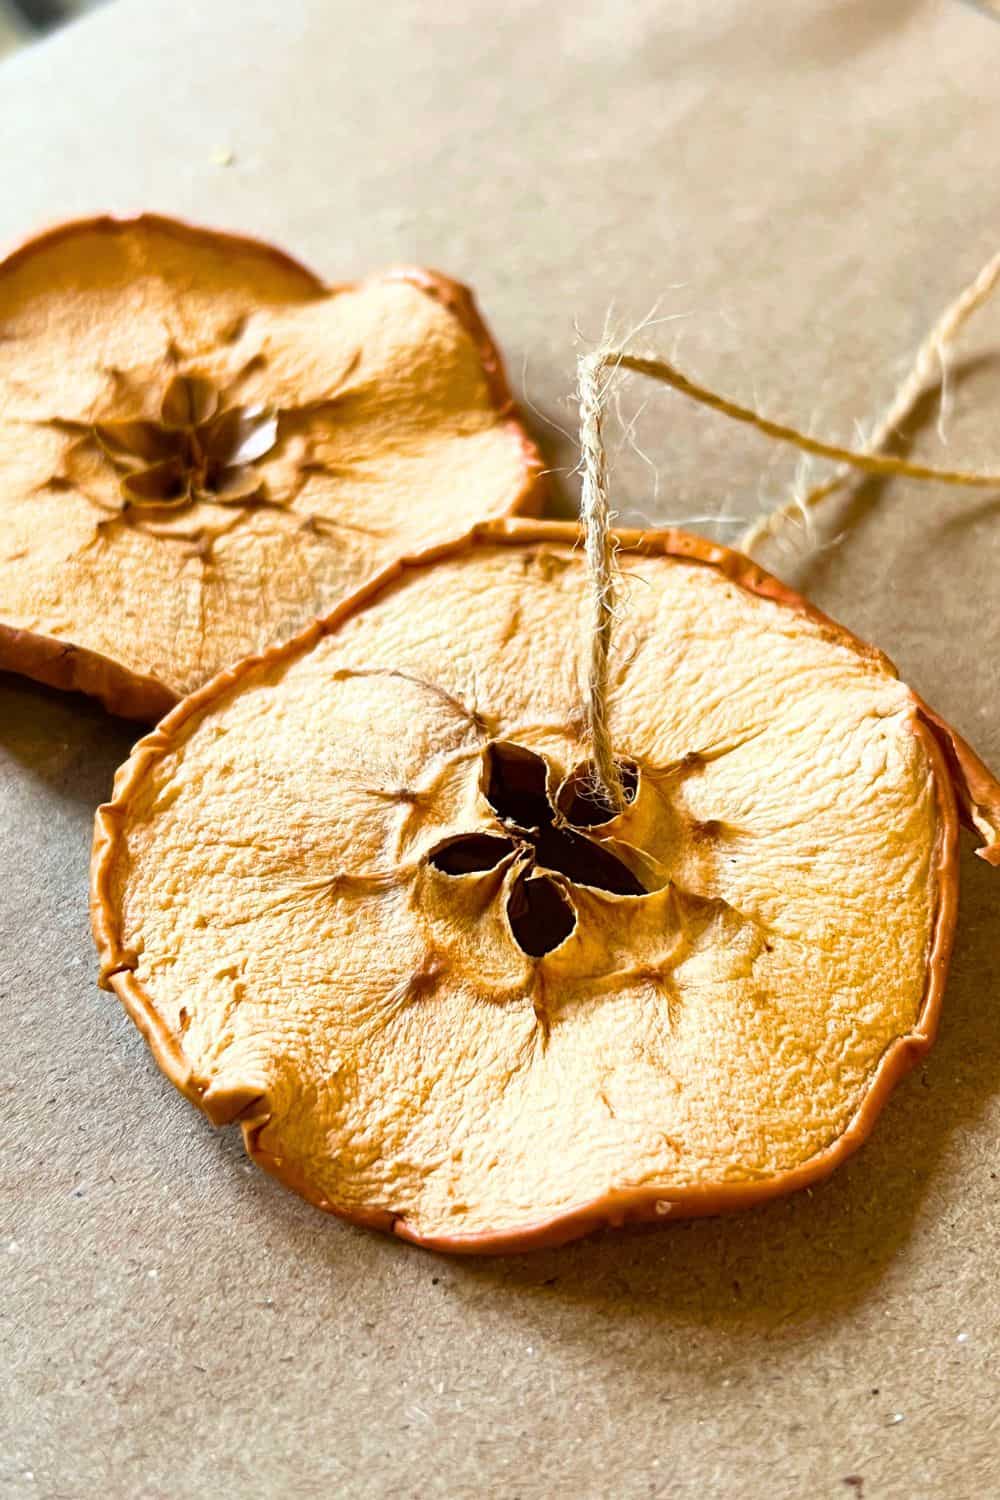
You can core your apples, but sometimes I flip my apple I cut from the stem side. I cut my round apple slices (apple rings) right through the core because they leave beautiful stars in the middle when those slices are dried!
If you cut them too thin, you’ll run the risk of burning them and making them crispy.
If you cut them too thick, it will take a very long time for the dried fruit slices to dry completely.
Once you have cut the apple slices, place them on paper towels to drain extra moisture and also pat them gently with a paper towel. The more moisture you can get off of the slices, the faster they will dry.
CRAFT NOTE: We didn’t find that there are specific best apples for this. I think it depends on how you cut the apples and not what type of apples you use.
Step 2: Dry Apples For Ornaments
This is the step that will take the longest!
Drying apples for ornaments (baking apples) can take anywhere from 1 to 2 hours. (If you’re doing a lot of apples and have cut them thicker, it may take 2-3 hours.)
Layer sliced apple rings on parchment paper in a single layer on a baking sheet (cookie sheet). We also used a nonstick mat like this to keep them from sticking to the pan.
Pre- heat oven to 225 °F (170 °C). Bake for an hour at 225 °F (170 °C), checking periodically. You will also need to turn the apple rings to dry evenly.
The time to dry apple slices will depend on how thick you slice apples, too.
If you want a more fragrant ornament, sprinkle with some cinnamon. Just know that this will make the apples a little darker than how you see them in our pictures. (You can also tie cinnamon sticks to the top when assembling them after baking if you don’t want to sprinkle the slices with cinnamon.)
GET THE FULL PRINTABLE DIRECTIONS FOR DRYING APPLES HERE
Step 3: Make Apple Ornaments
Once your dried apple slices are cooled, it’s time to make ornaments from dried apples!
Cut about 6-inches of twine or yarn for each apple slice. (We use jute twine because I think it gives these ornaments a more old-fashioned look, but you can use any twine, string, or yarn that you have.)
String twine through the center hole or make a small hole at the top of the dried apple with scissors or a knife (at the edges of the ornaments) and add your twine that way.
Tie twine in a loop to hang on the tree.
You can also use them for beautiful nature garland or Christmas garland (e.g., DIY Dried apple and orange slice garland like we did), too.
ENJOY!
MORE DIY ORNAMENTS TO MAKE: Homemade Dried Orange Christmas Ornaments
MORE HOLIDAY CRAFTS: EASY HANDMADE CHRISTMAS ORNAMENTS
Merry Christmas and Happy Holidays!
We’d love to see your completed crafts!

